
LOVE TODAY – free download
I’ve always loved quotes and framed prints. Here’s a free download of one of my favourite spring prints.

Download the free printable version of the “LOVE TODAY” photo here. Enjoy!
I’ve always loved quotes and framed prints. Here’s a free download of one of my favourite spring prints.
Download the free printable version of the “LOVE TODAY” photo here. Enjoy!
Catherine is nature enthusiast, an avid baker, and a force to be reckon when you give her a pair of knitting needles and yarn.
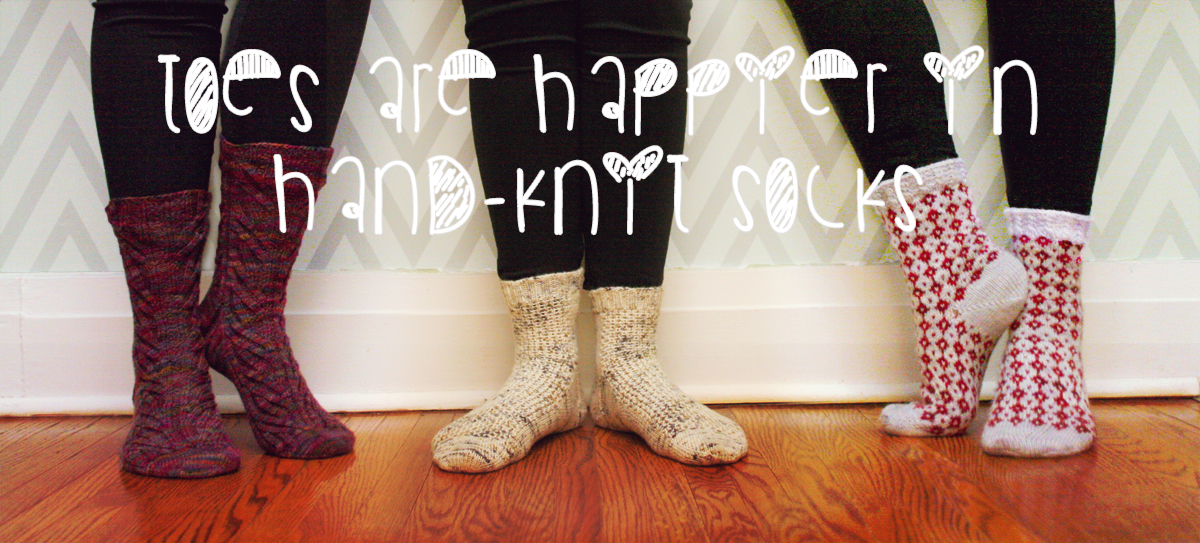
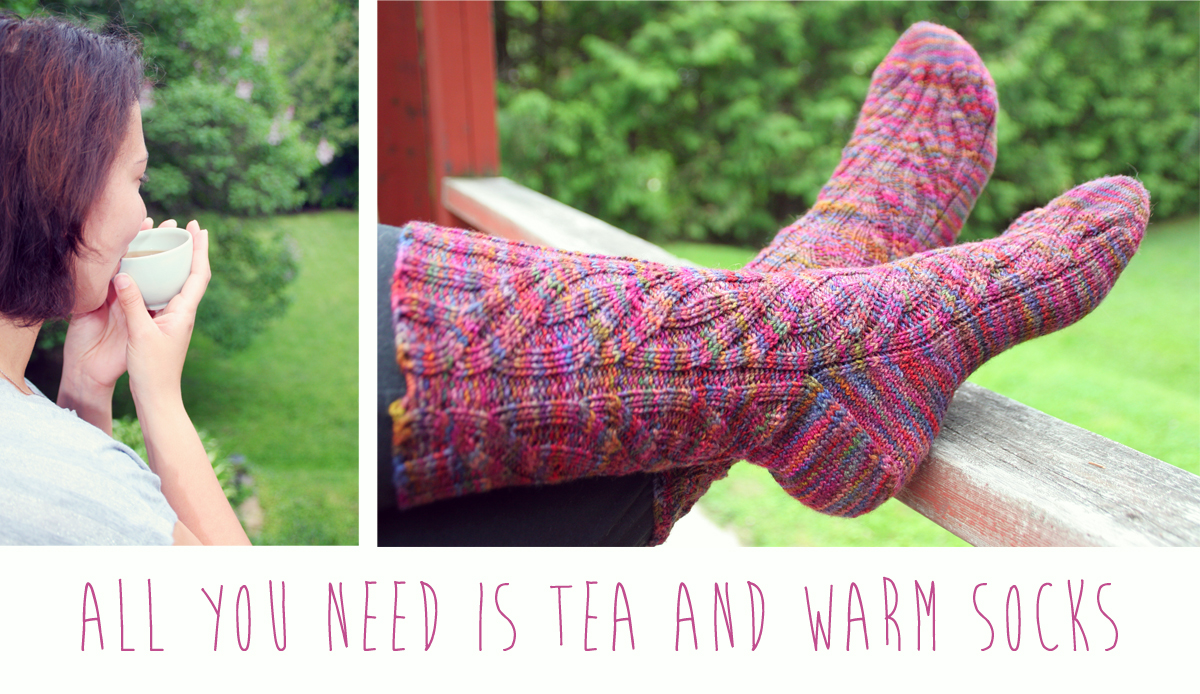 You’ll often find her curled up on the couch or sitting at a table with her yarn and needles and a cup of loose leaf tea. Hand-knit socks are her latest obsession and If you’ve ever been lucky enough to own a pair, then you know how incredibly comfortable they are!
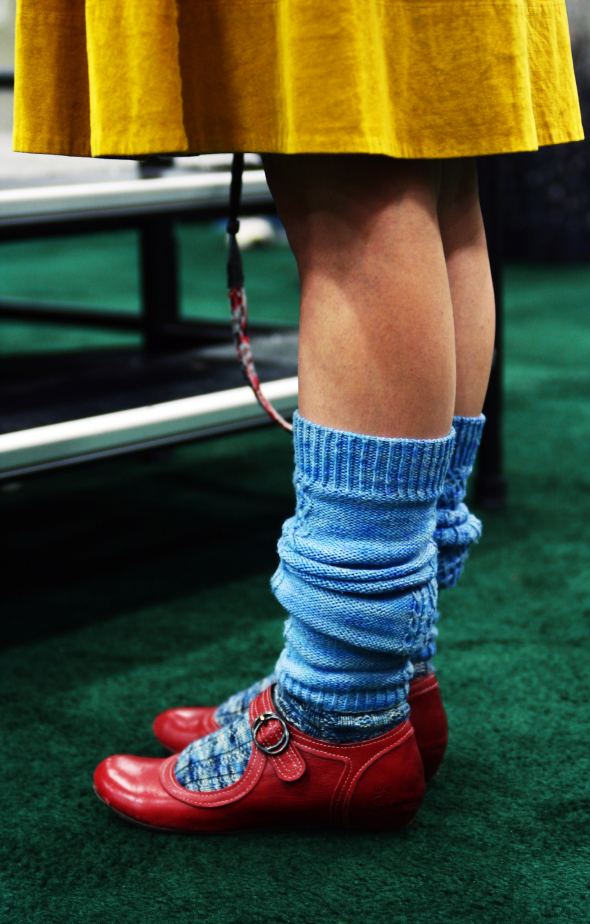 I never thought twice about socks until I worked at Sock Summit in Portland a couple years back. And an adorable pair of red Mary-janes and slouchy blue socks caught my eye. Ever since then, I’ve wanted to learn how to knit my own pair but have always been too intimidated by those skinny double pointed needles.
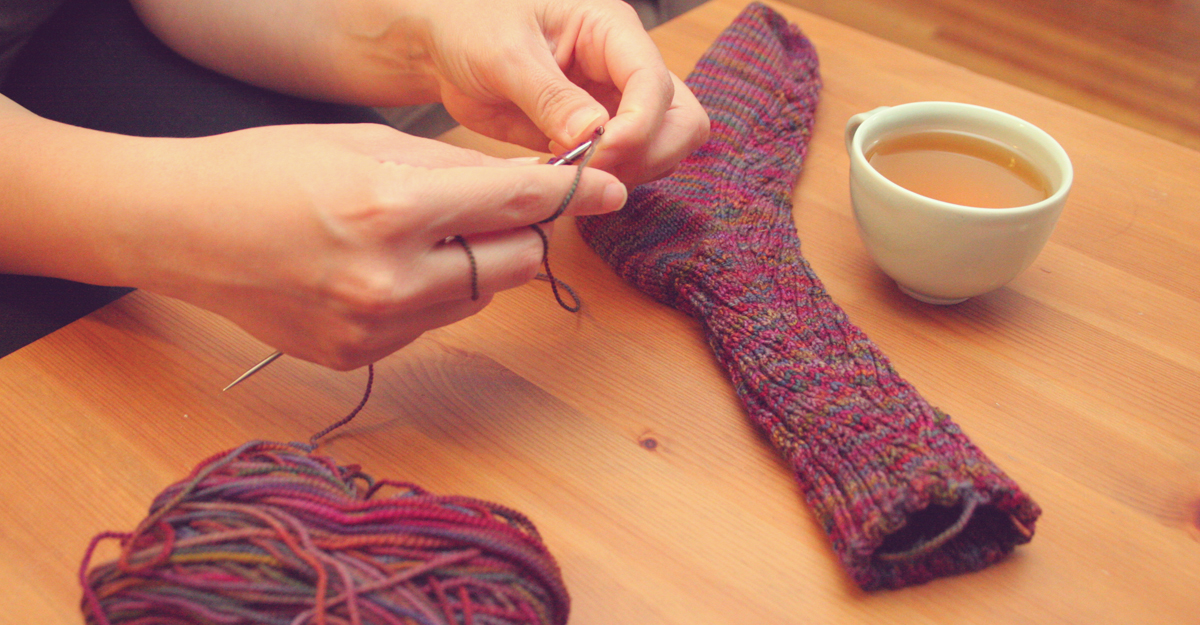
Catherine swears that knitting socks aren’t as hard as they look so she offered up a few tips that helped her when she got started.
We asked Catherine to give us some tips and advice for beginners looking to knit their first pair of socks
 If knitting your own pair is too ambitious, you could also support a fellow knitter and pick up one of their pairs on Etsy!
Let us know if you have any other great tips for the beginner sock knitter!
With many of our friends and family popping out adorable little babies left and right, it was just a matter of time until I would find myself planning one. So of course, I opted for a tea social theme.
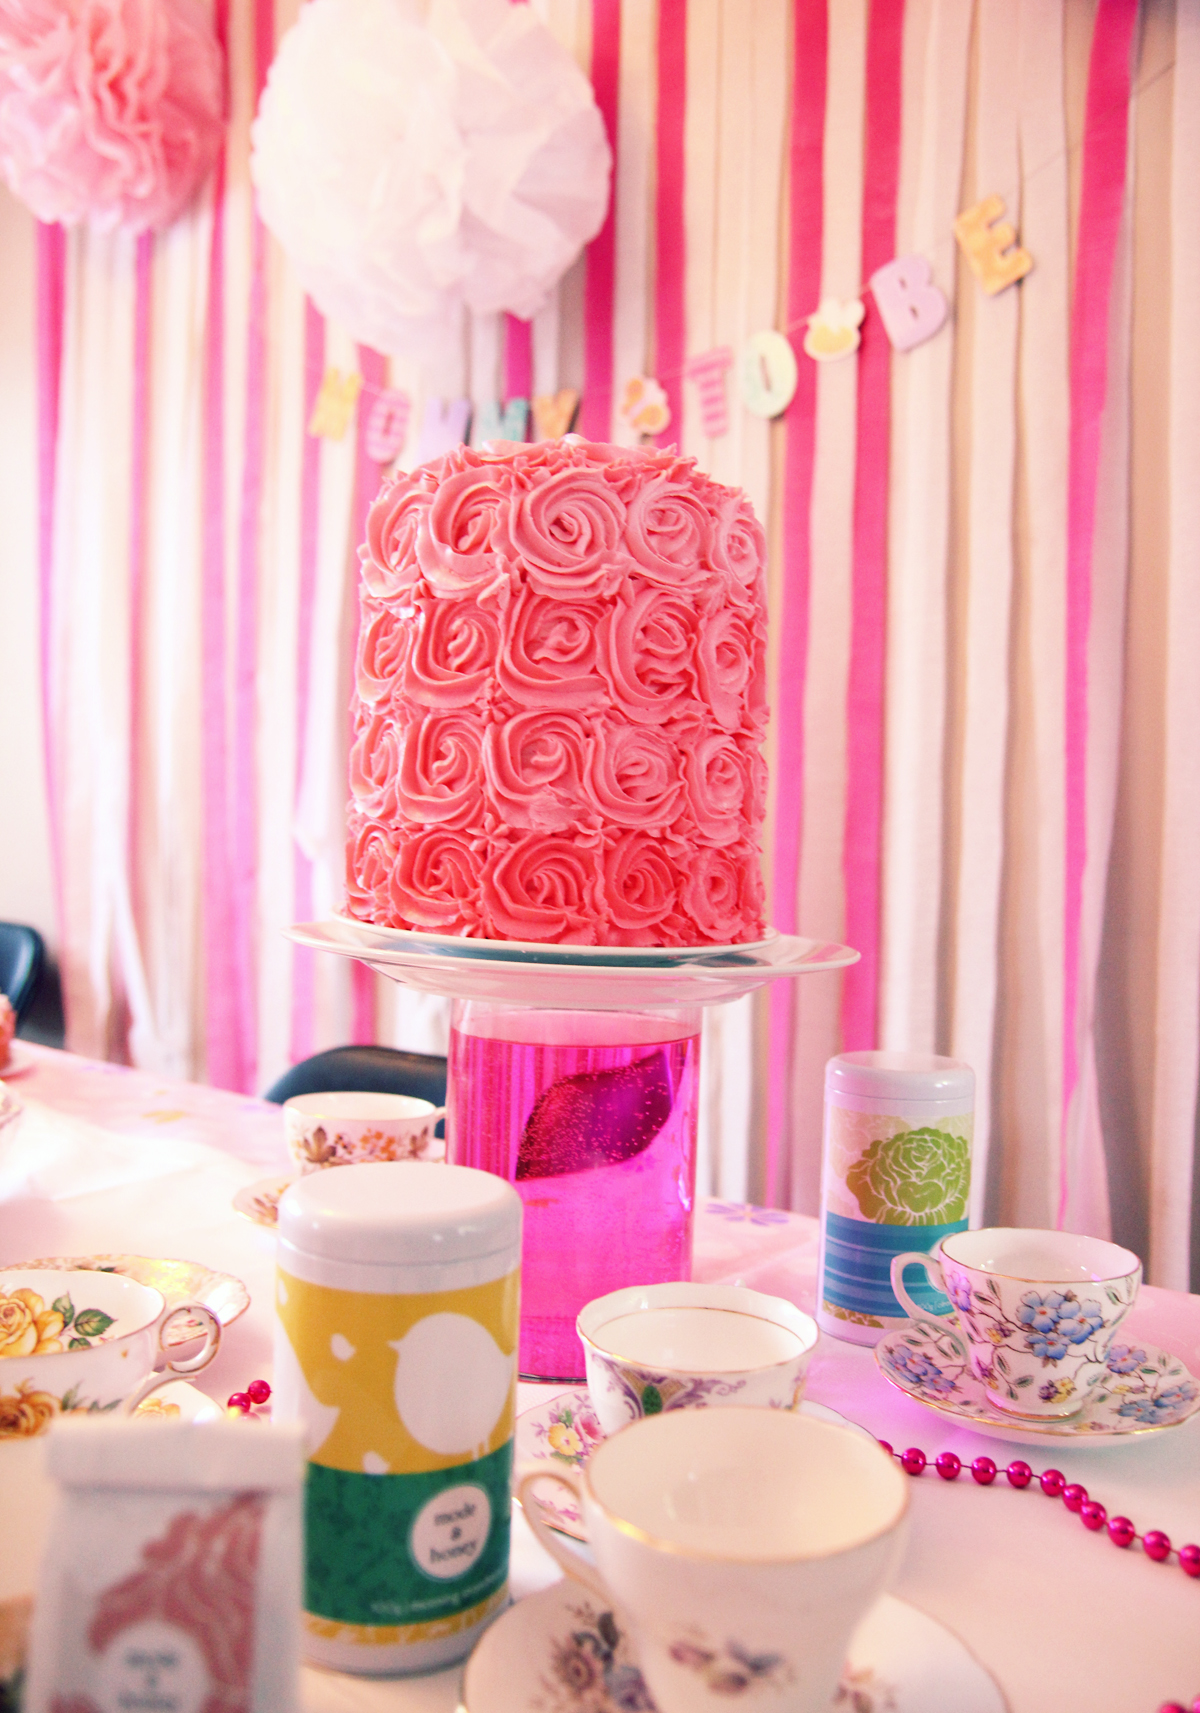
We bought a few rolls of pink and white streamers and hung them down the wall instead of the traditional way of hanging the across the ceilings. This saved a lot of time and made for a great backdrop for photos. And it instantly gave the room a bright splash of colour.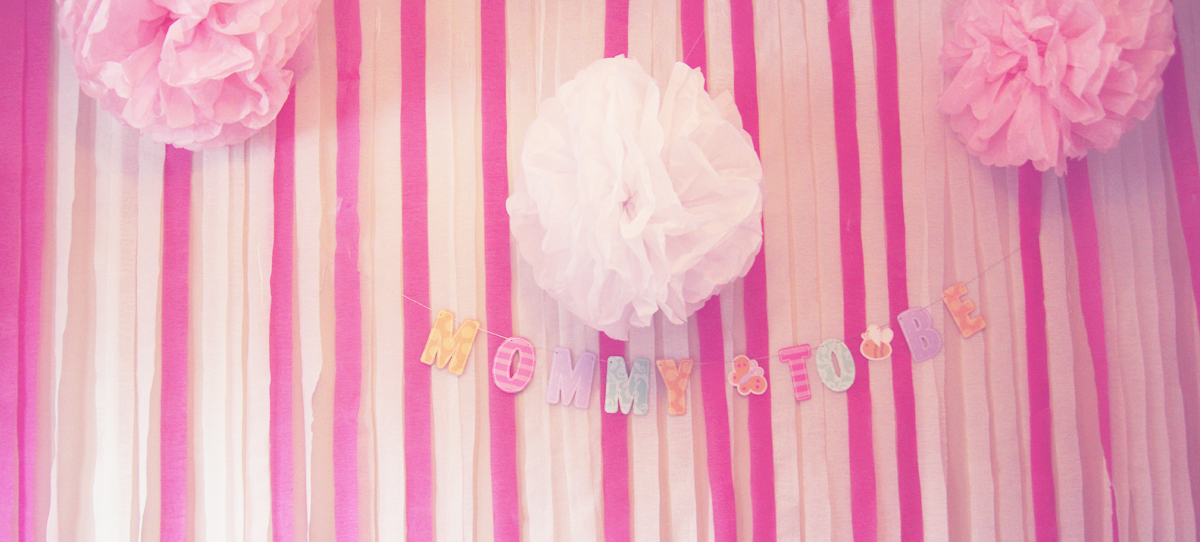
We saw this tutorial on Martha Stewart’s site on how to make giant pom poms. These were super quick and easy to make! The only difficult part was transporting them and hanging them. They were a little heavier than expected and kept falling from the ceiling so we had to reinforce it with a lot of tape.
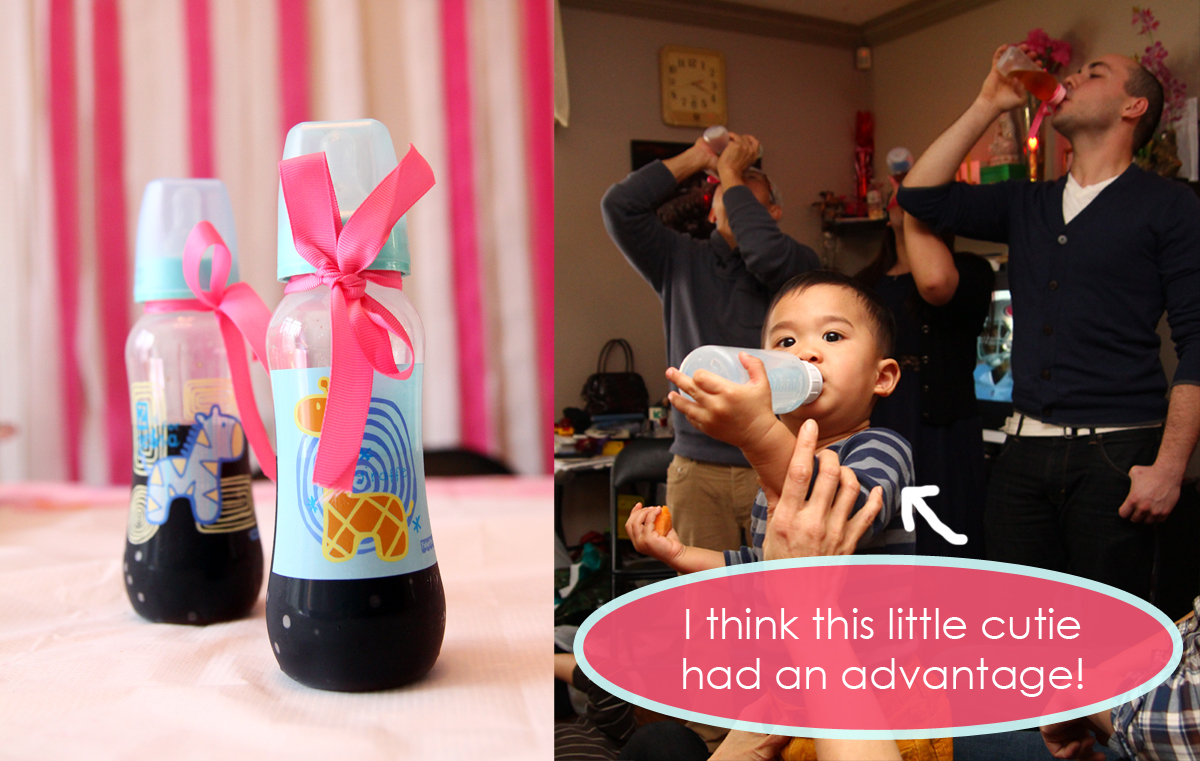
 Games
GamesOf course one of the typical party games is to fill some baby bottles up juice, cold tea, or some sort of adult beverage and have people race to finish their drink.
We challenged each team to mould what they thought the baby would look like. We gave everyone a time limit of 10 mins which added to the fun to watch people frantically moulding before the timer ran out. What I’ve learned is that moulding with play dough is a lot harder than I remembered. Some of the faces that were made were just down right terrifying… but it was a fun activity none the less.

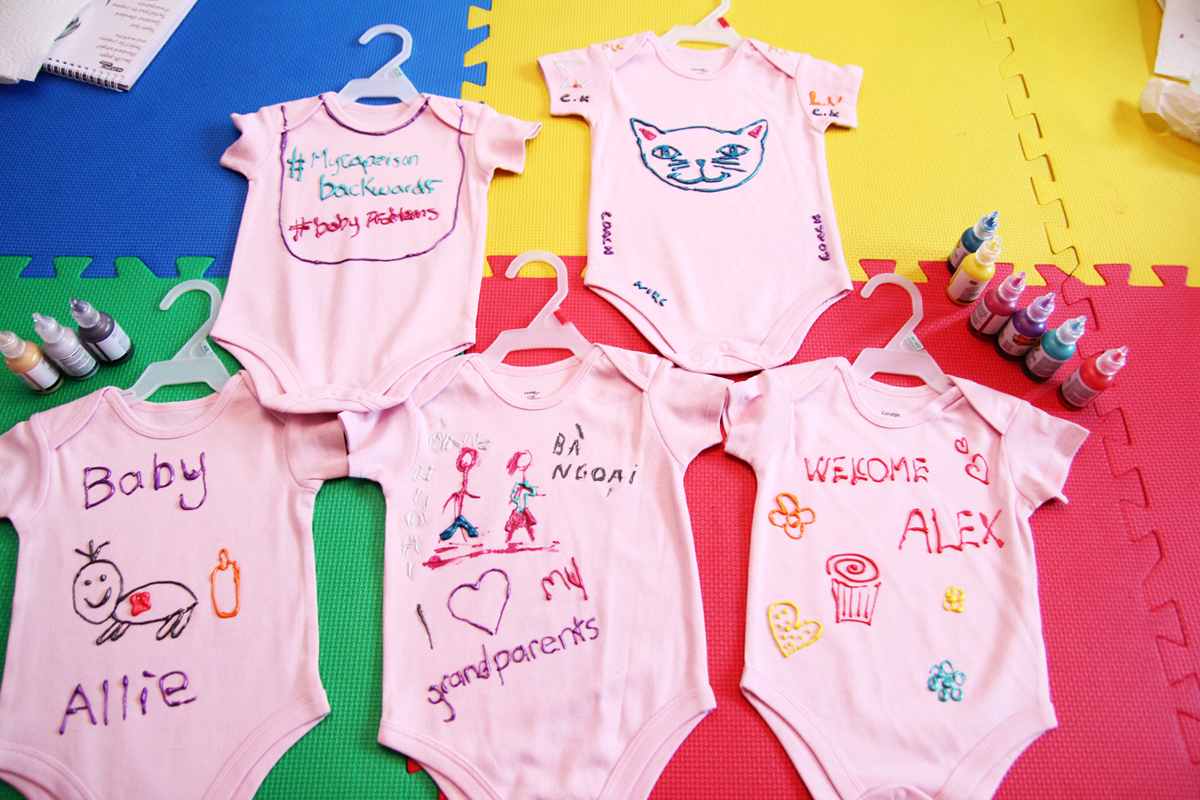
This is a fun activity that the parents can use afterwards. We picked up a bunch of plain onesies, and various colours of fabric paint and let the guests draw designs on them that match their personalities.
And then of course, we served a lot of little treats and a nice variety of tea. Remember to include some non-caffeinated herbal teas as most pregnant moms try to avoid caffeine. Let us know if you have any other fun baby shower ideas! Or send us pictures of your own baby shower tea soiree!
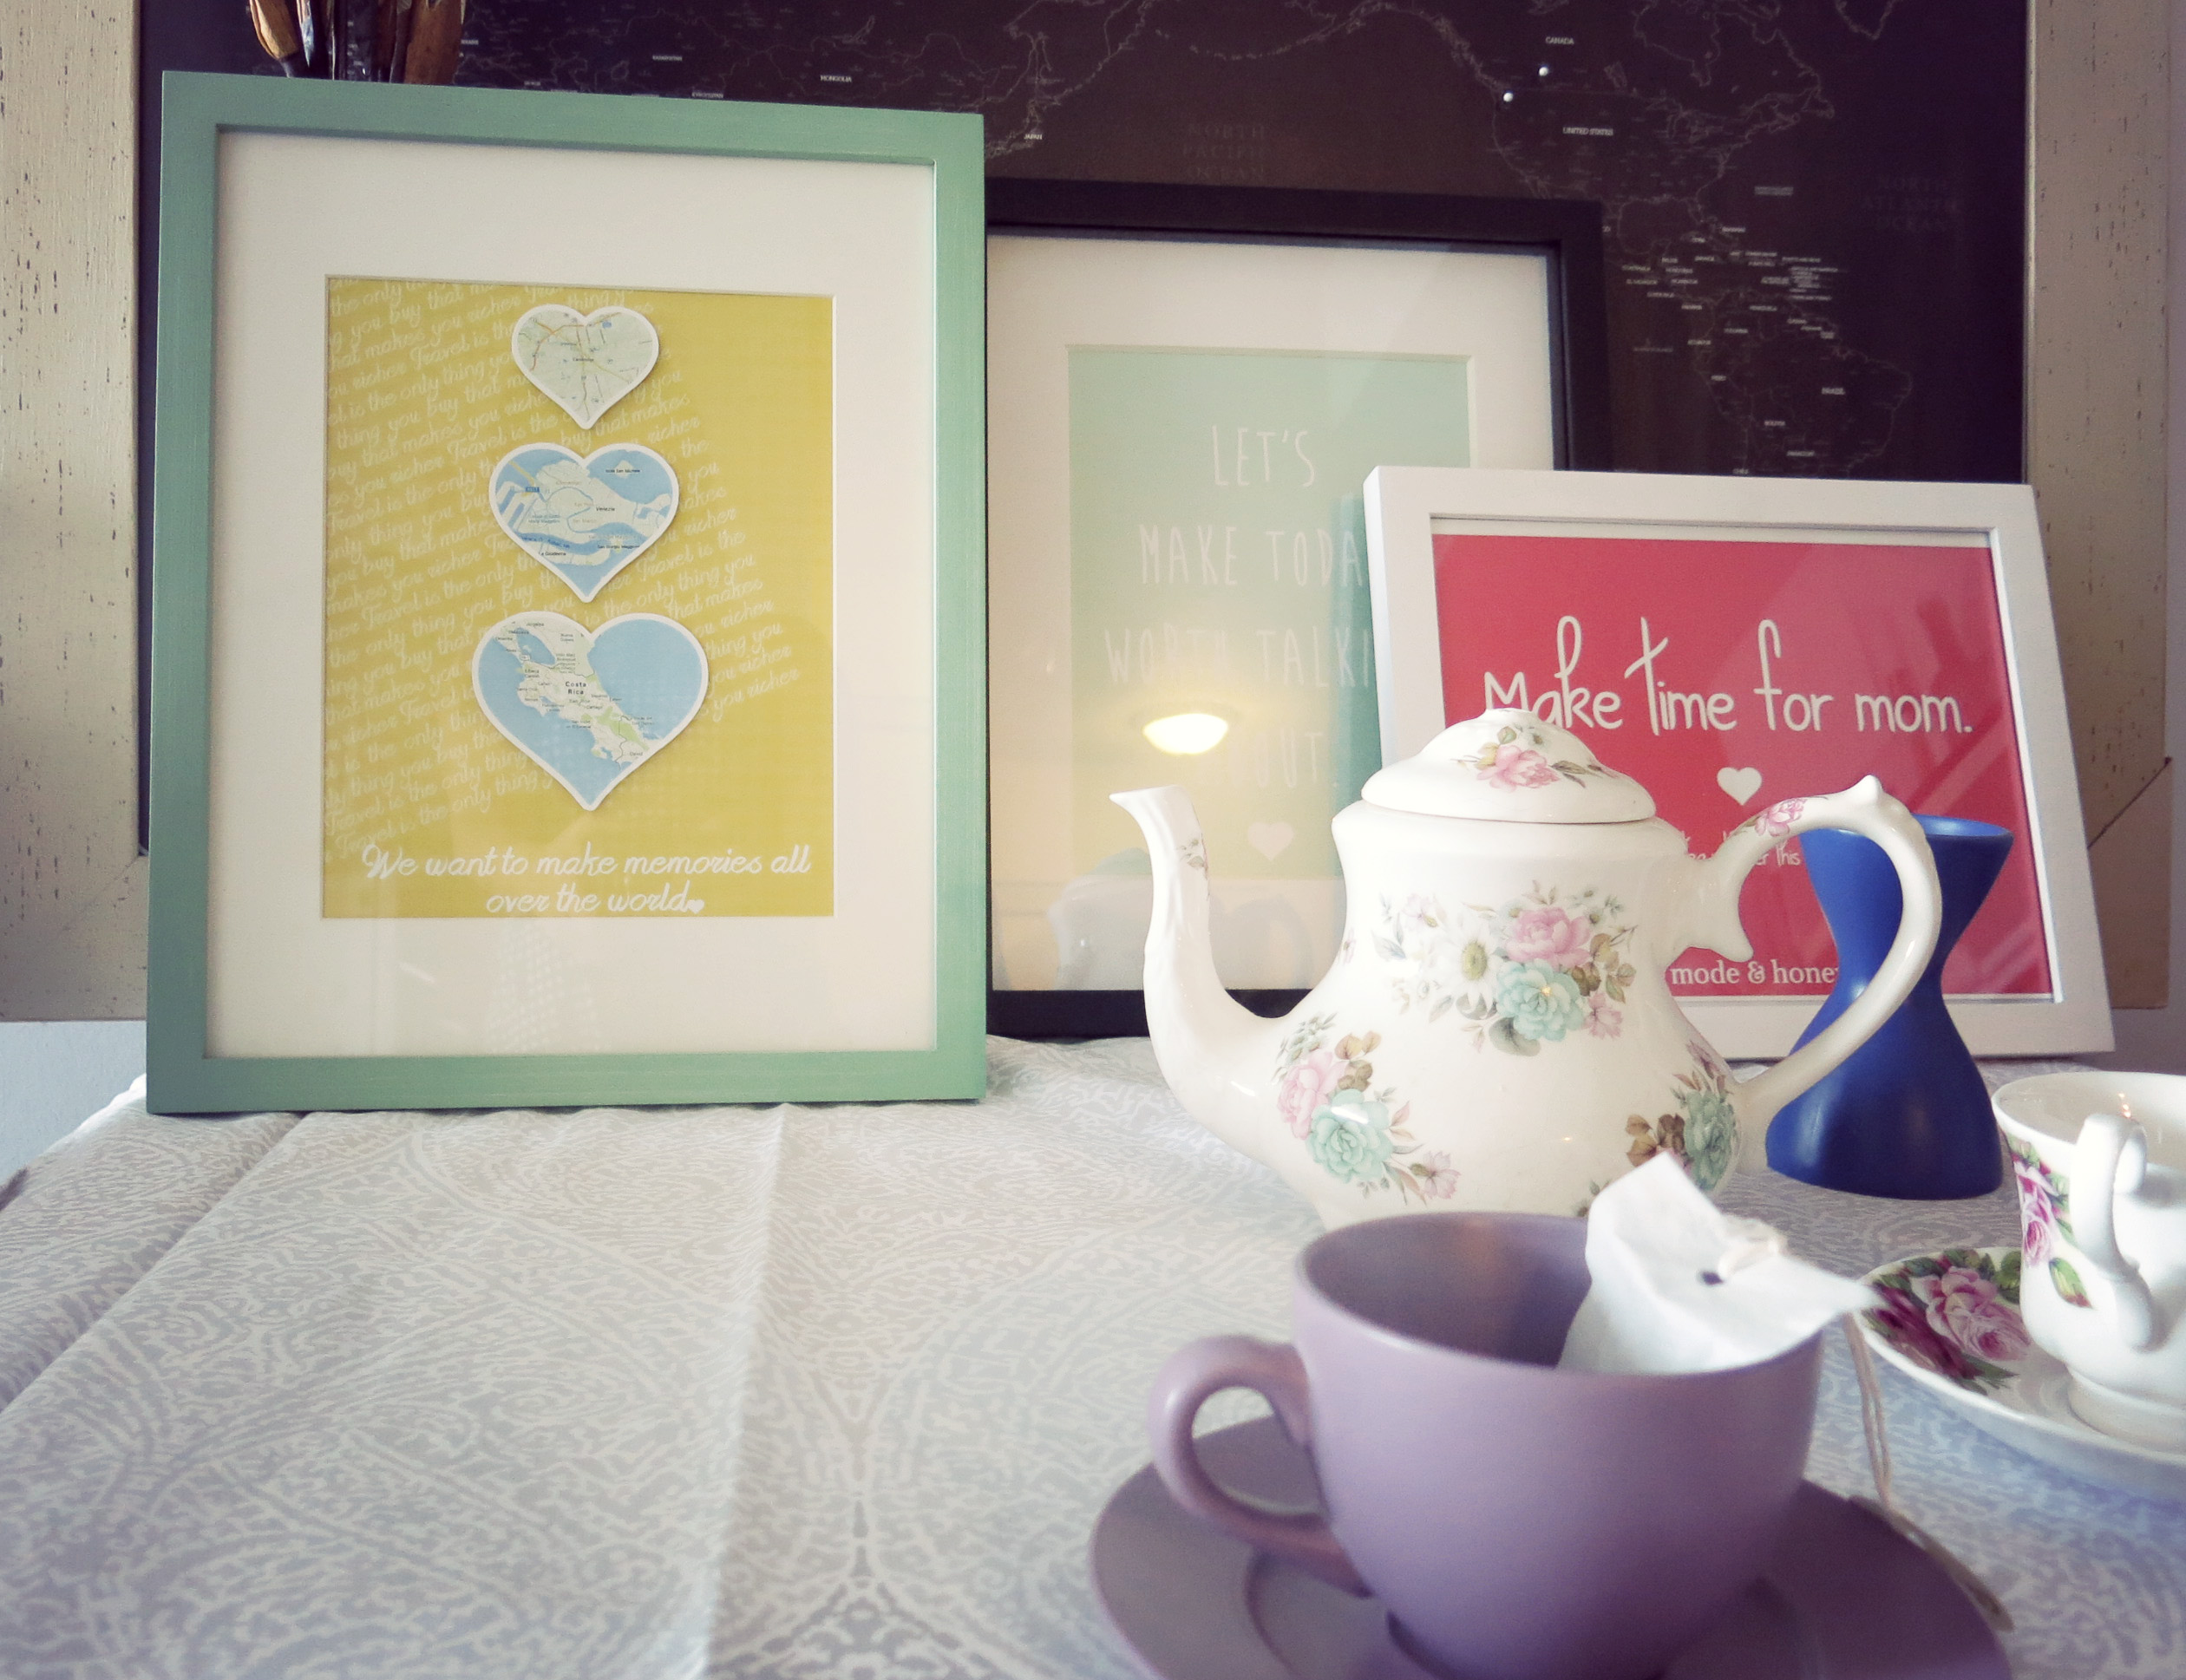
This week’s DIY project is a great gift idea for a travel loving couple.
One of my closest friends had met her husband, got engaged, and got married all in different countries. The two of them are big travellers so when I saw this picture frame craft on Pinterest that incorporated different maps, I just had to make it for her.
Here are some instructions if want to make your own framed map picture.
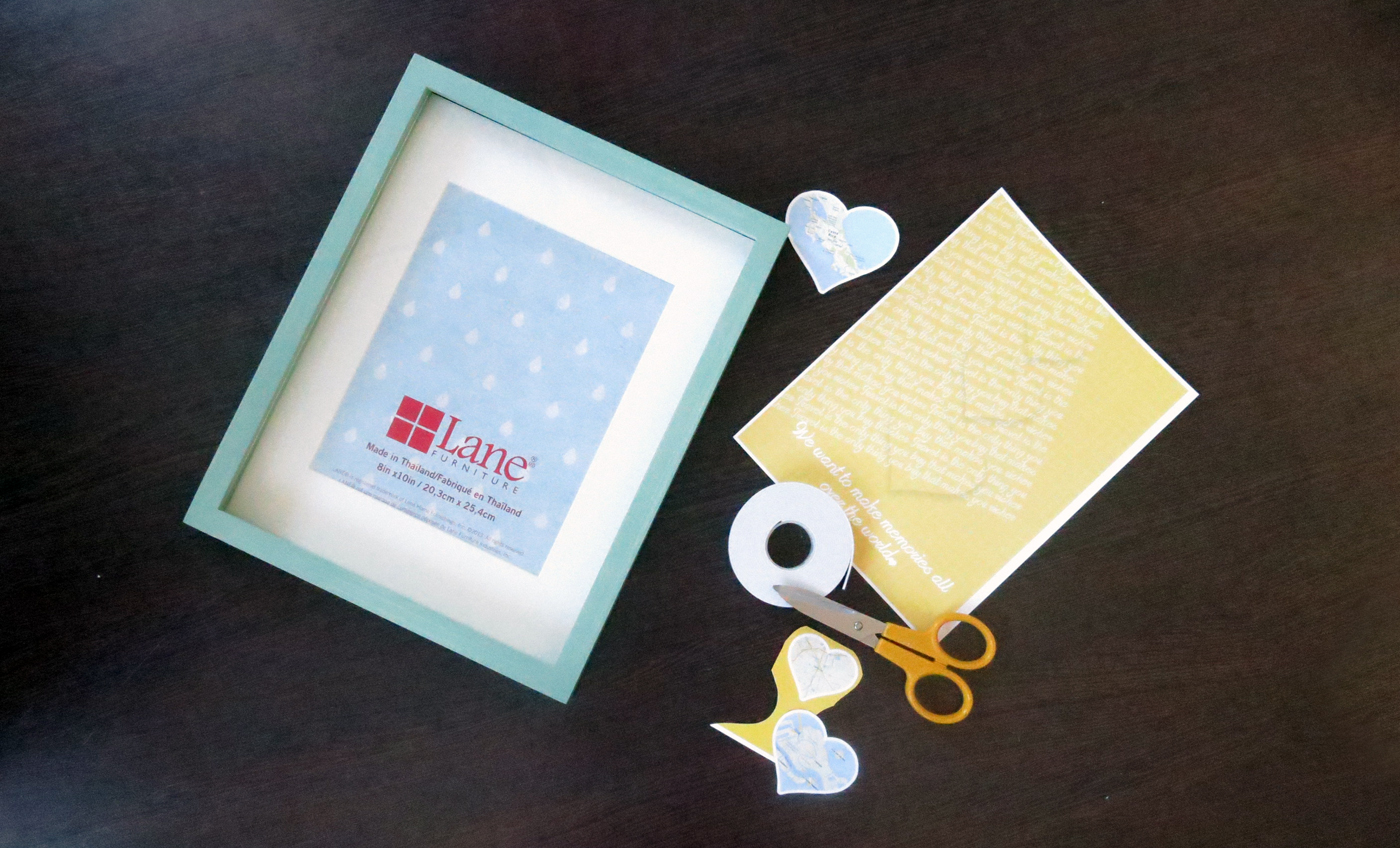
1. Find a picture frame that you like. I always gravitate towards black and white frames but I decided to be a little wild and pick up this blue frame that would compliment the colours from the map. Shadow boxes work really well for this project but I could only find them in square shapes which wouldn’t work as nicely with the composition. Decide how many areas you want to incorporate into your frame and do a rough sketch so you have an idea of what frame shape would work best for your project.
2. Find a background. You can use scrap book paper, gift wrap, or anything else you can find. I wanted to personalize it a bit so I designed a background and had it printed. I love how the maps stood out on yellow so I used that for my base. I used one of her favourite travelling quotes and repeated it in the background and added a little quote that I thought represented them well along the bottom. If you want to use this background for your picture, leave me a comment or email me and I will send it to you.
3. Find maps of all the places you want to include. Since this was for a wedding, I decided to include 3 significant places from their love story. Where they met, where they got engaged, and where they got married. If you can’t find maps, you can take usually find different maps of areas online. I decided to cut the maps out in heart shapes. But whatever shape you want is up to you. I’d recommend cutting out the shapes on scrap paper so you can play around with the sizes and placement before cutting into your map.

4. Once you are happy with the placement of your hearts, use glue, or double sided tape to stick them down. I wanted to add a bit of depth to the picture so I used foam double sided tape to raise the maps off the background ever so slightly.

5. TA DA! There you have it, a perfect gift for your travel loving friends!
Let me know if you’ve done a similar project. Or if you’ve made any other travel themed DIY projects!
 This week’s post is courtesy of Michelle. After seeing some of her projects on instagram, I was very excited when she agreed to do a tutorial on how to reupholster a bench. I admire her simple, and whimsical style and love her taste in fabrics. Follow along as she shows us how to turn an old foot stool in to an adorable children’s bench.


How cute is the finished product!? Michelle made it look so simple that I’m now hunting through the classifieds to find an old storage bench to reupholster myself! Good luck with your own projects and let me know how they turn out!
 You may remember the save the date photos I did for my friends a couple months ago. Well the date finally arrived and I was lucky enough to celebrate their wedding with them in Costa Rica just last week.
UUUUUUUUURRRRRRGGGGGG you know that feeling where you’ve waited too long to book and then flights are a billion dollars? Ya.. that’s what happened with all the direct flights to Costa rica. Indirect flights were about half the price so I took it as an opportunity to book a longer overnight layover to do a bit of exploring. That’s how I found myself in Panama City for 18 hours. My family and friends were slightly horrified that I was going to be in this “dangerous” city by myself. Of course there are bad neighbourhoods (just like in any city) and I would recommend that a single girl be cautious and aware of her surroundings, but the culture and personality of Panama city is definitely worth experiencing.
I was mentioning that I wasn’t sure how to get to the hostel from the airport and a coworker told me that she had some family in Panama and offered to have her cousin pick me up. He was so friendly and sweet that it put me in great spirits after having to wait for almost 2 hours to get through customs, immigration, and baggage. When I got to the Los Mastros hostel, I was told that the water was shut off in the city for the day. Apparently since it’s still a developing country, due to construction and maintenance, sometimes they just have to shut off the water. WWWWWWWWWHHHHHHHHHAAAAAAAATTT?!?!?!?!? Some hotels and restaurants will have a special reserve so you can still use the washrooms. The little $15/night hostel I stayed at though wasn’t quite so fancy. We had to carry a bucket full of water up the stairs in order to flush the toilet. This brought me back to my adventures in Vietnam.
I was still in my Canadian winter clothes and there was nothing I wanted to do more than get out of my sweats and hop into the shower, but I settled on wiping down my face with a wet nap and throwing on a dress. I was excited to get out and explore the city, and luckily for me, I met a friendly American at the hostel. He was actually going to meet a friend who lived in Panama so I tagged along.
We hopped into a cab and went to what felt like a sketchy area and stopped at this little microbrew. I was absolutely exhausted at this point but within 15 mins of sitting on the patio, I looked around and quickly remembered why I love traveling so much. There I was, on a patio with two fascinating people that I didn’t even know existed until 30 mins ago, chowing down on some seriously delicious pizza and craft beer at La Rana Dorada and having my new friends give me a lesson on mining for Bitcoins, with the sun starting to set in the background. The unpredictability of what was to come, and being in a place that was so new and different, yet feeling so comfortable is what drives my desire to keep exploring. Everything about that moment was just perfect.
We ended up bar hopping and checking out a few of the different hot spots in the area. The rest of the night will be left out as my poor mother reads my blog and I think she may be better off not knowing about my shenanigans. Don’t worry mom! I’m sure I didn’t do anything that dad wouldn’t have done at my age!
I didn’t take many photos in Panama but here are a few from the night.
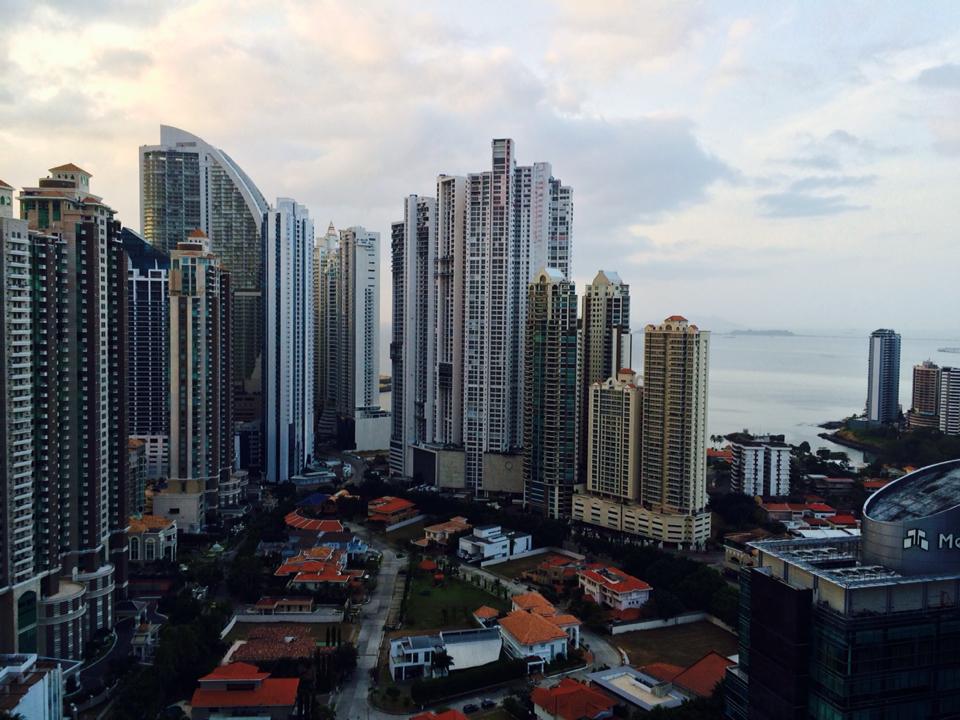
Enjoying the view one last time before heading to the airport
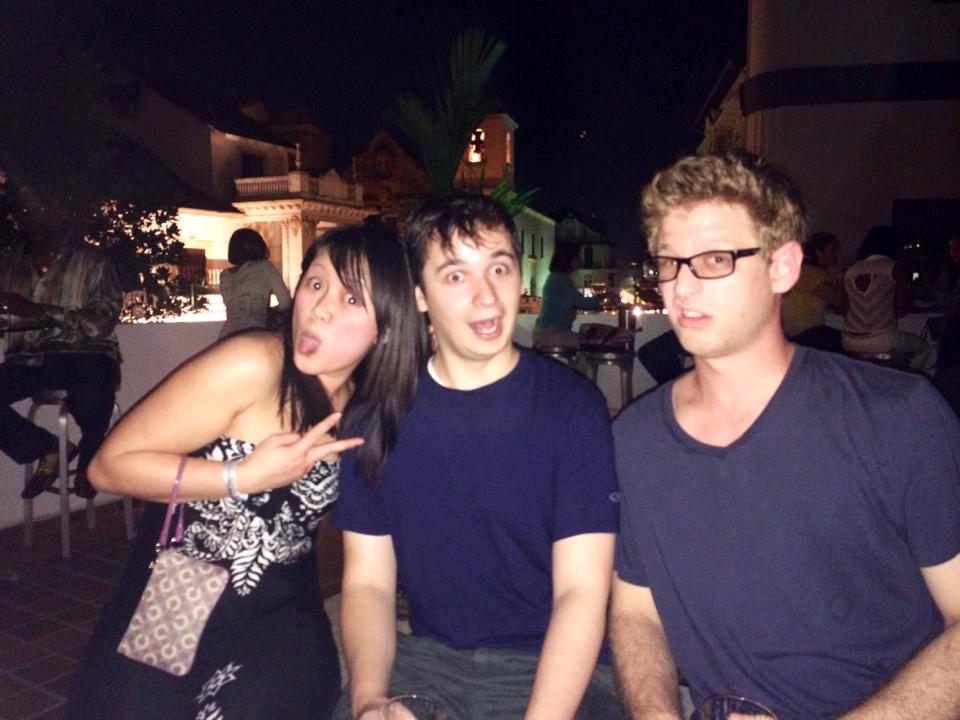
Rooftop bar with some cool Americans
Then early in the morning (6:30am!! Why do I do this to myself?!), my new friend was nice enough to take me to the airport so I could head to Costa Rica to join my friends.
An hour and a half flight later, I landed in Liberia airport and hopped onto a shuttle courtesy of the bride and Xplore Costa rica, and made my way to Tamarindo (which is about an hour away). We stayed at Cala Luna resort. HOLY MOLY this place was nice! It was a stark contrast from the minimalist hostels that I’m used to. As soon as I walked into the lobby, I was greeted with a cool towel, a beautiful cocktail, and a nice lad insisted on taking my backpack for me. I didn’t take any photos of the villas so the following resort photos are from Cala Luna’s website.
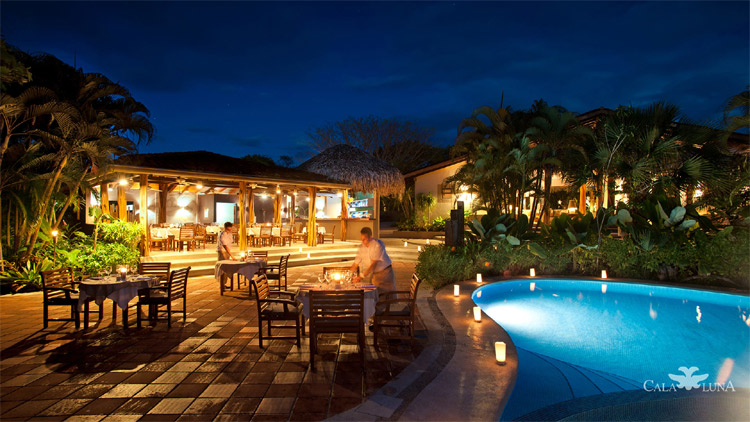
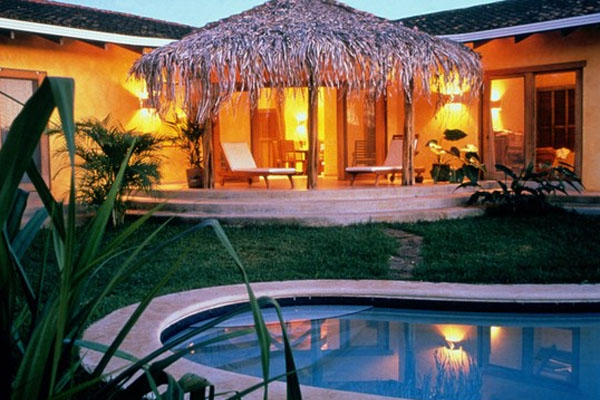
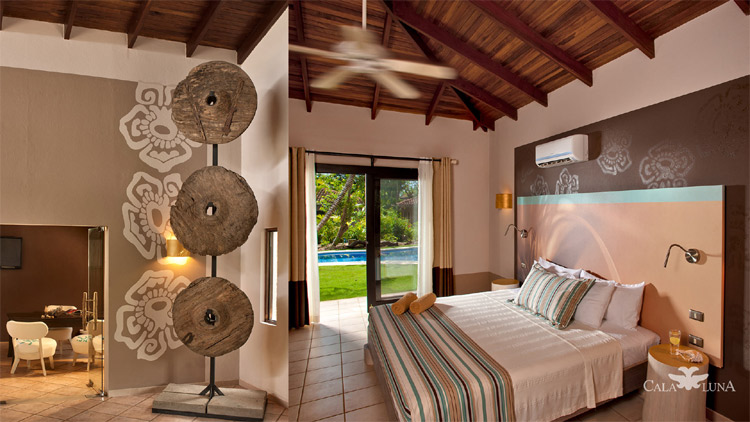
Ridiculously luxurious, right?! Now to some of the fun stuff! Excursions!
As a ‘thank you’ to all the guests, the bride and groom generously treated all of the guests to a catamaran ride on the Marlin del rey. I’ve had a bit of a soft spot for sail boats ever since my summer at The disabled Sailing Club, so I was beyond excited for this excursion. And it DID NOT disappoint! I loved every single thing about the catamaran ride. They picked us up at 2 and drove us out to an island where I got to try snorkelling and paddle boarding for the first time.


And then after we were all pooched from the activities, they made a really delicious buffet style lunch as we sailed around. We did a bit of whale watching, and then headed back to shore as the sun was setting. This was the perfect activity for the wedding guests as people of all ages and risk levels could enjoy it.
The next day, we were all signed up for a full day adventure excursion through Xplore Costa rica. Our day included some ziplining, rapelling, rafting, mudbaths, hot springs, and a buffet style lunch. We were offered a special rate because there were 40+ of us but I think the normal rate is _____. I’m a big chicken with a serious fear of heights and just the thought of that falling feeling in my stomach is enough to make me sick. So I was really weary of going zip lining but after the first line, I can promise you that it’s really not scary! The worst part for me was walking the steps up to each platform. You don’t get that falling feeling at all! Rafting – Since the tide was still pretty low when we went, the rapids weren’t as intense as they can be in the fall. I was paired with one of the experienced rafters so we didn’t get stuck along the way as many of our beginner pairs. This was an excellent workout for your arms.. and if you want to really test out your relationship, you can pair up with your significant other. See how much you guys like each other after yelling at each other about your inabilities to steer.. and accidentally (maybe intentionally?) hitting it other in the head with the paddle over and over… The only downside with pairing up with one of the workers is that you constantly have to stop to help dislodge other less experienced paddlers from the rocks and bushes. My arms were really tired after the zip lining and rafting so I opted out of the rappelling since once you repel down, you have to be able to climb back up. I have the upper body strength of a 6 month old and didn’t have the confidence that I would make it back up. Is it just me or does the term mud bath imply laying in some kind of bath tub filled with mud? I guess for sanitary reasons.. a mud bath actually meant someone was going to paint mud all over your body, and then you hang out in the sun until it dries and then you can hop into the river to wash it all off. How awesome is it to swim in a place like this?!
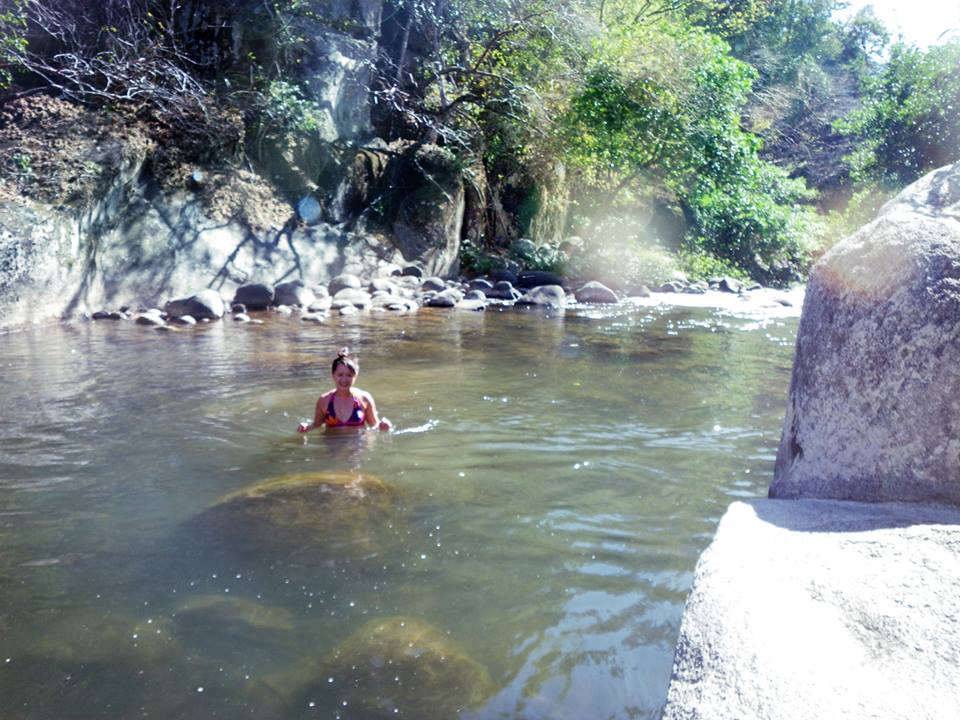
Then you can hop over to one of the hot springs and let your muscles relax after a long day of activities.
The next day, a bunch of people went horseback riding, but after my 2 hour ride in Calgary, I think maybe I’m done with horses. Instead, I went to town to try and find some surf lessons. Most places range from 30-40 for a group lesson. I’ve also heard a bunch of people grab really cheap lessons by walking along the beach and just asking some locals. I decided to get a private lesson for $35. This included a 2 hour lesson, the board, and a rash guard (which is really just a thick shirt). I think having a private lesson helped me learn a lot faster.
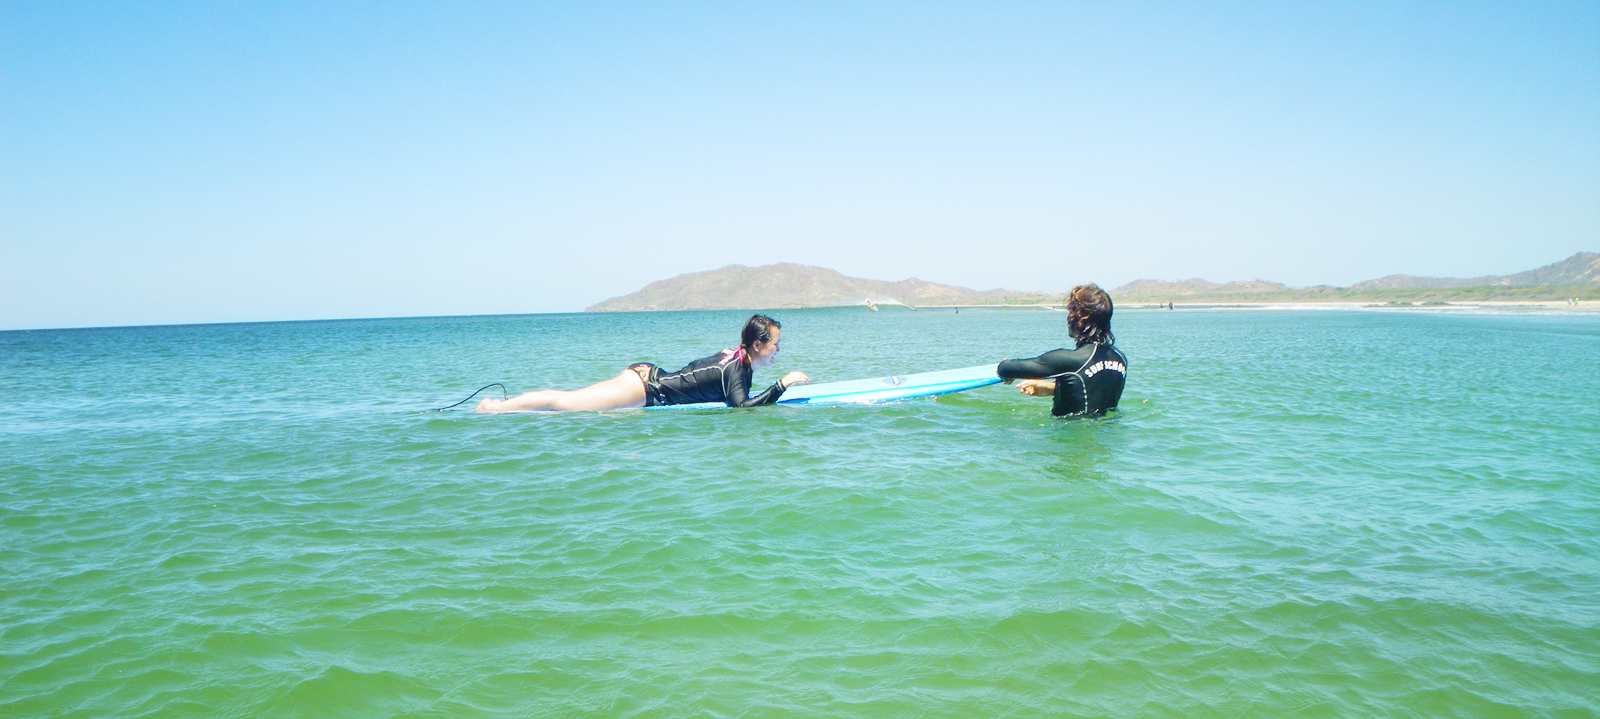
We spent about 15 minutes on land practicing jumping up on the board before he decided I was ready to hop in the water. (OMG was he serious?!) I was able to semi stand up for half a millisecond on my third try but once you’re able to stand up, you kind of get a feeling for what you’re supposed to do. I think the hardest part of the whole thing was being able to get the timing right. I opted to go surfing the day before the wedding and ended up with a couple of bruises on my arms and legs. I also got bumped in the head a few times so if you’re a bride, I probably would hold off on the surfing until after the wedding photos. The awesome part is that renting a board for a full day is only 10 bucks so on Saturday once everyone left, I rented a board again and just hung out in the water by myself for a few hours.
Due to a bit of a mix up with the schedule, I ended up staying an extra day once the rest of the wedding guests left. I opted to save some money and moved out of the beautiful Cala Luna and settled into Blue Trailz Surf Hostel. This was a cute little hostel with a kitchen, air conditioning, and warm water. For 15 bucks a night, I couldn’t complain.
Most places will take American dollers
It costs 29 US dollers to leave Costa rica. You have to pay this departing tax at the airport. Make sure you have cash as they take credit card charges as a cash advance.
If you’re craving snacks, try some of their local brands instead of some of the bigger north American brands that you’re familiar with. A can of Pringles or a bag of doritos can cost anywhere from 4-6 dollars, but a bag of plantain chips is only 1 doller.
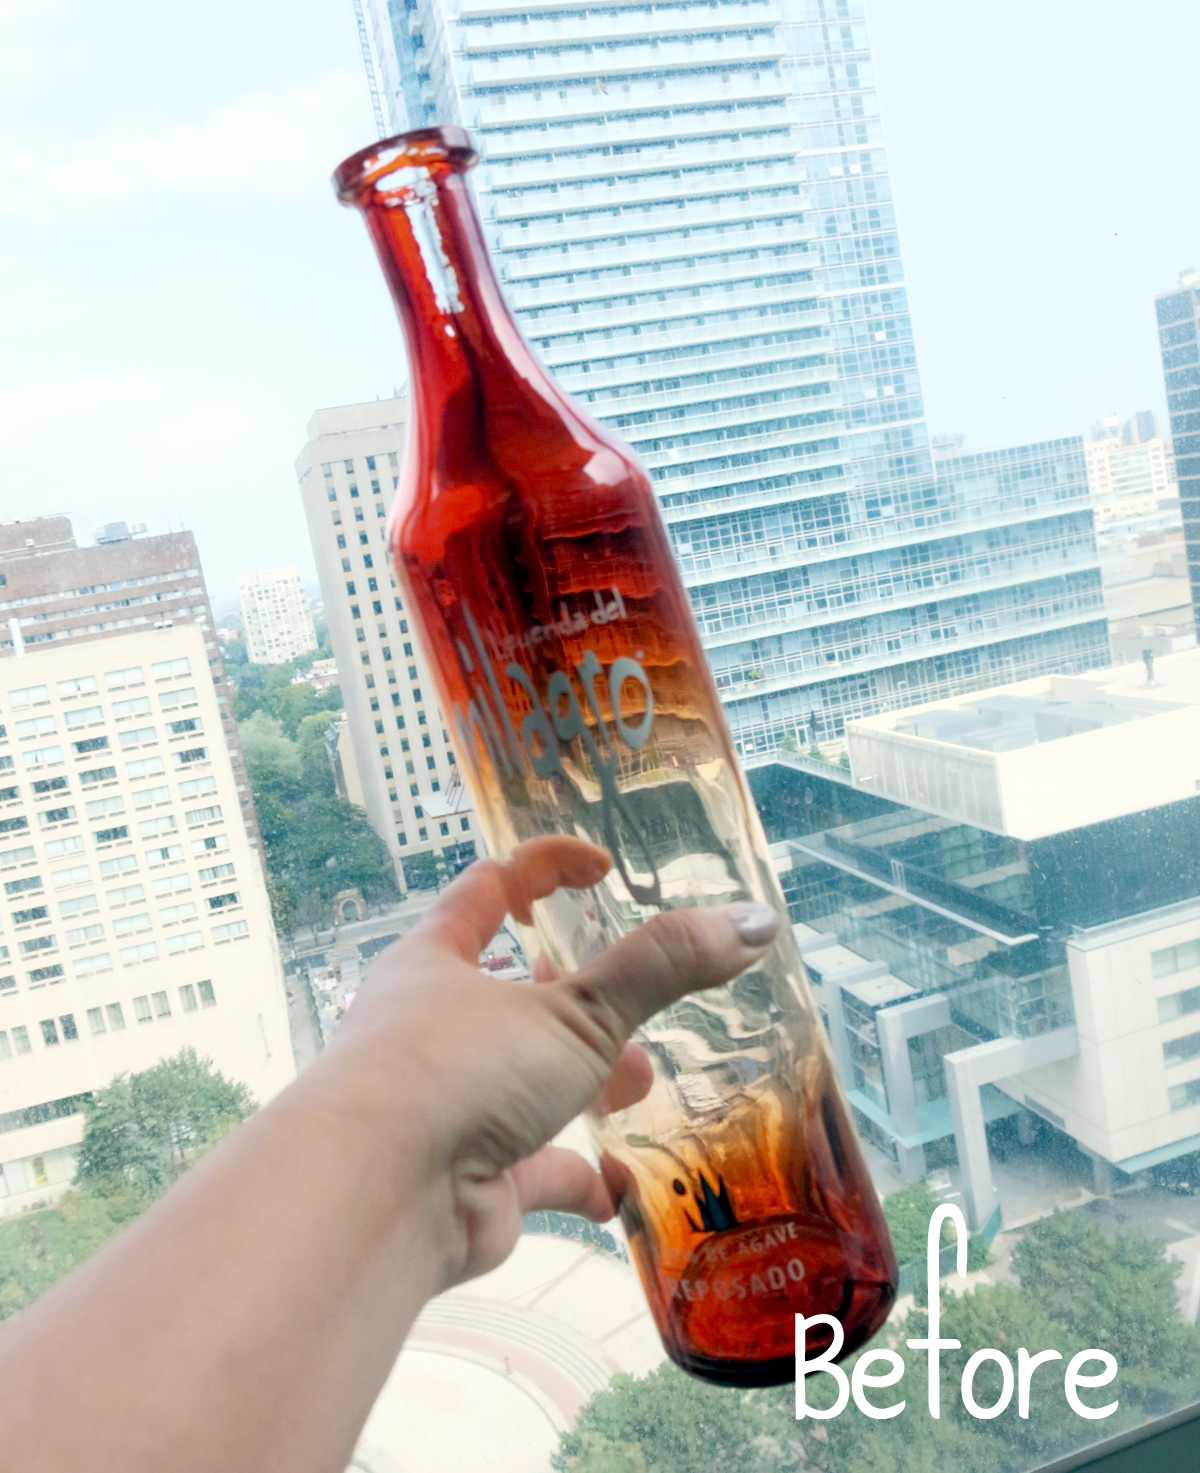
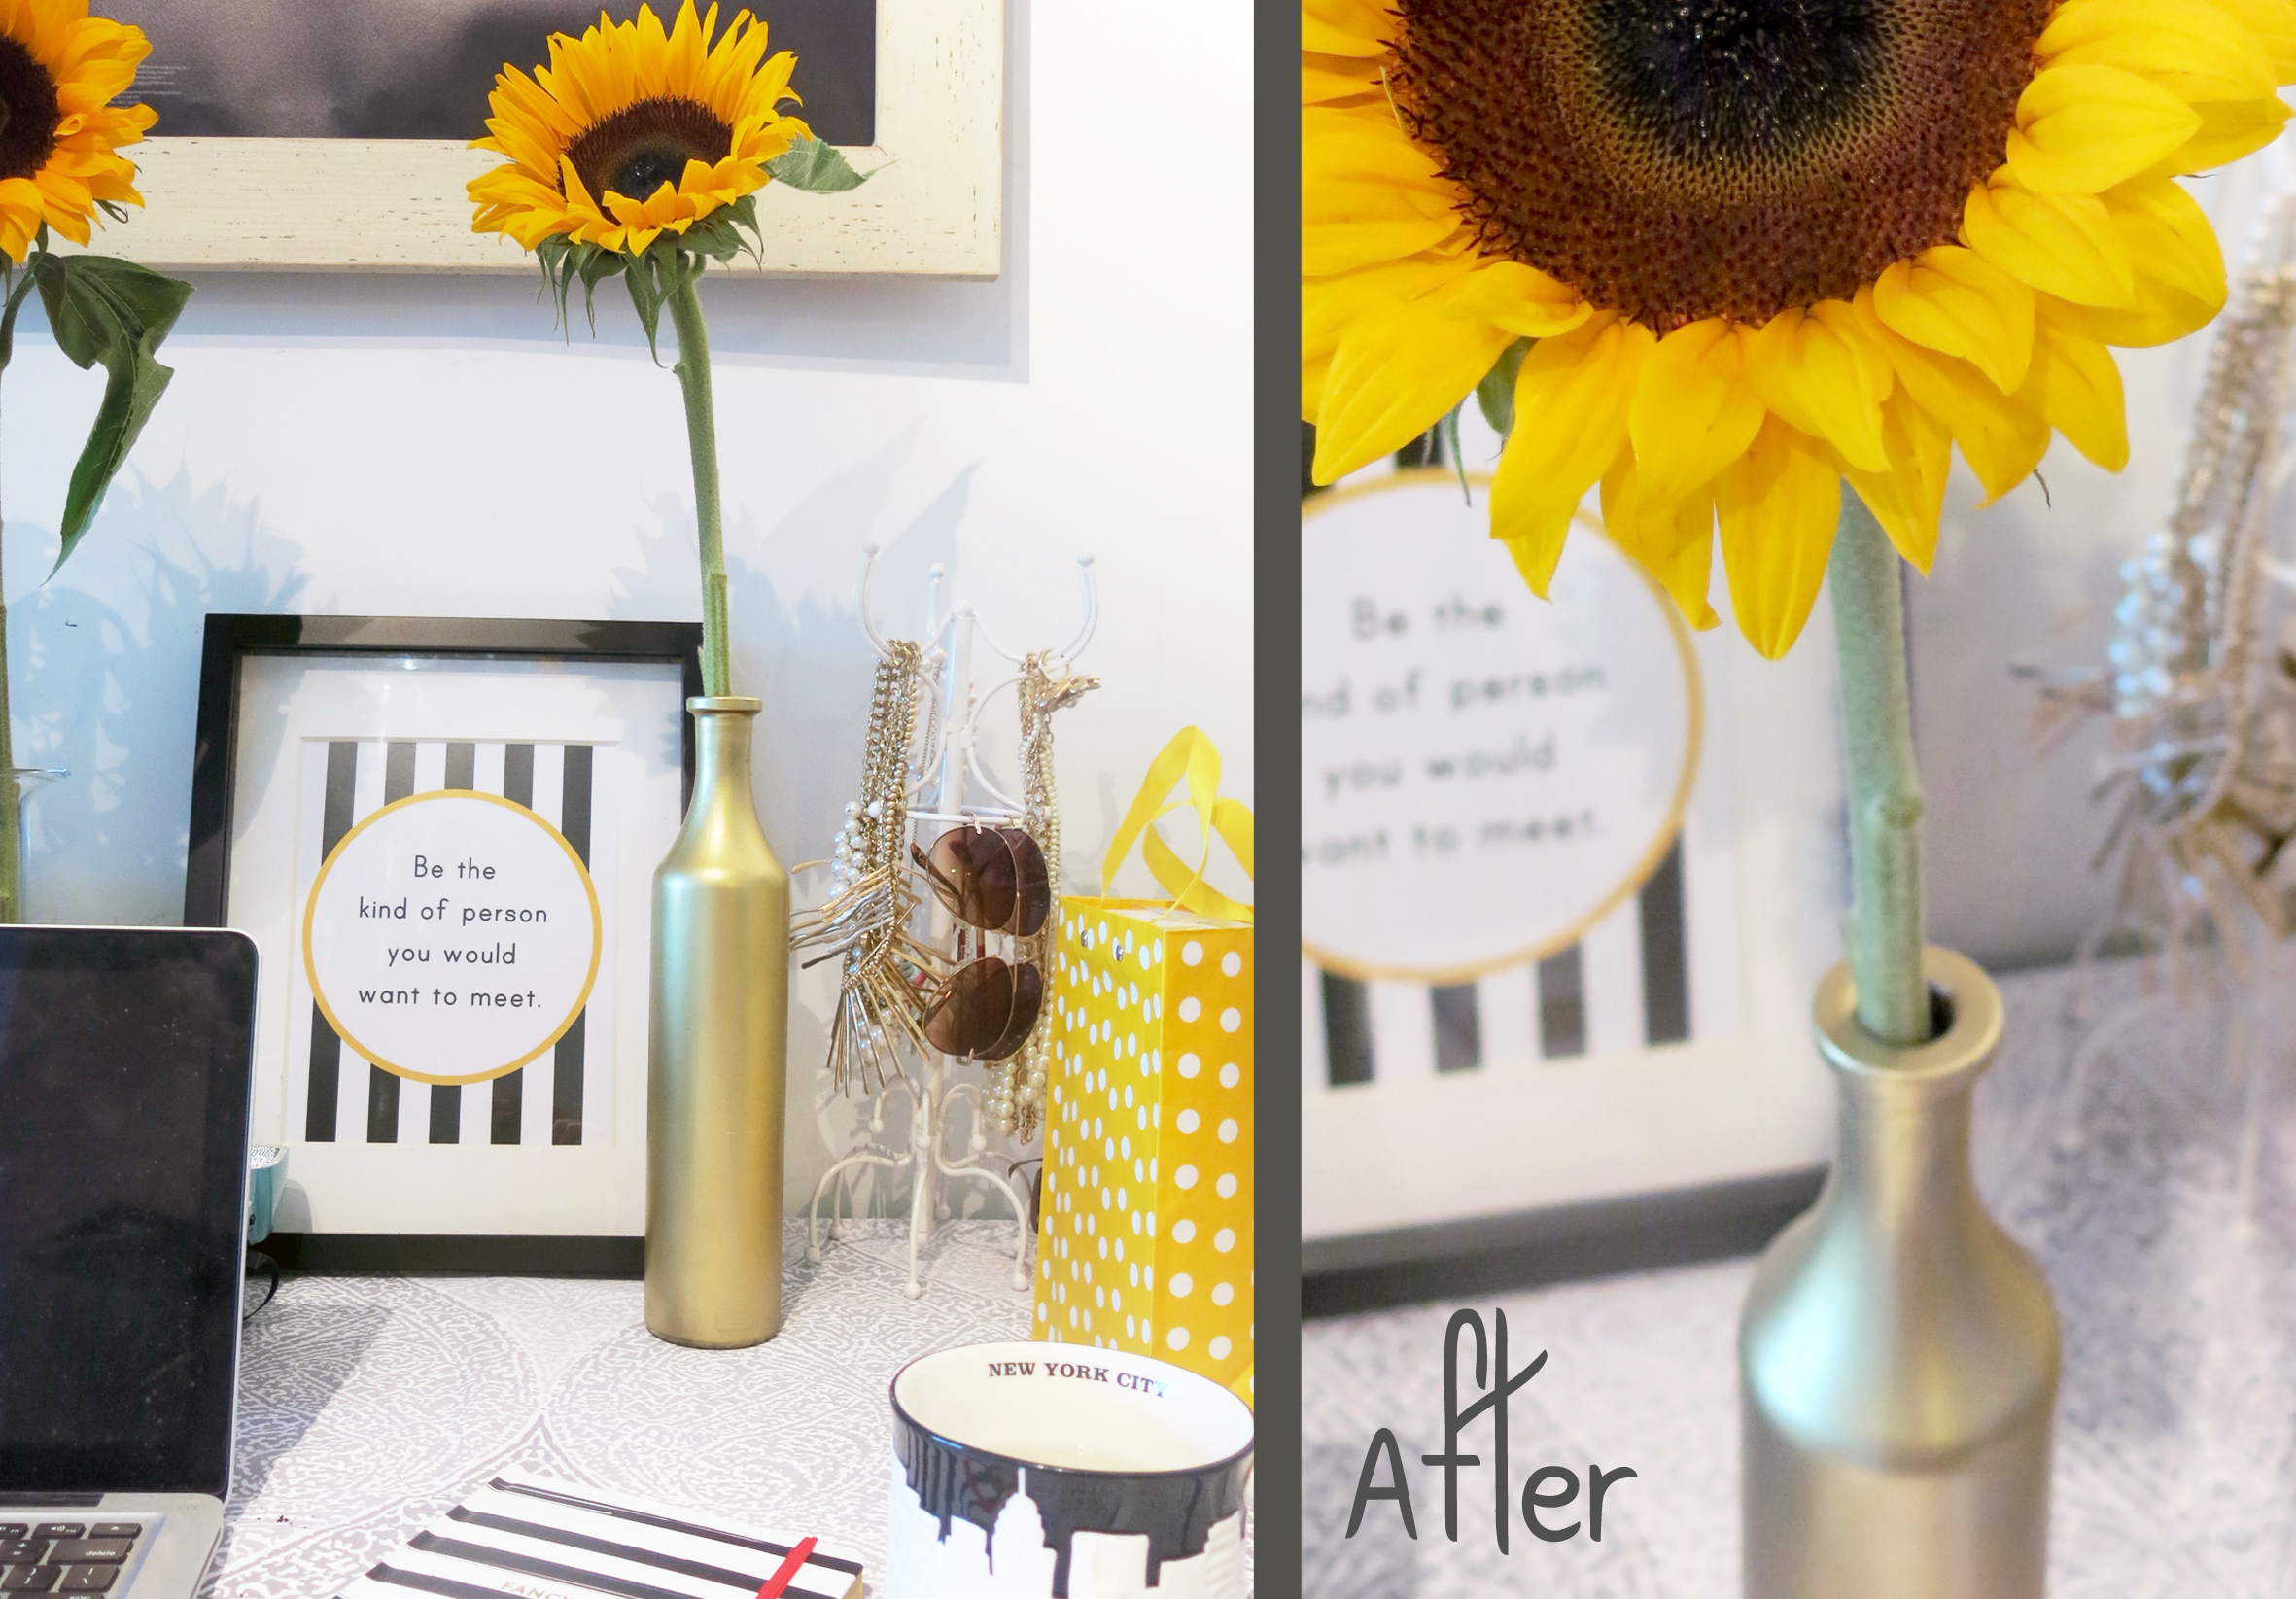
After a trip to the market and coming home with more sunflowers than I have vases for, I had to whip up a quick solution. After digging through the recycling bin, I found an empty tequila bottle that would be perfect. Make sure you peel off any labels so that your finished project is nice and smooth. I use hot water and steel wool to get off the stubborn labels.
Gold spray paint has become a staple around the house so I grabbed a can, an old pizza box and some paper and set up shop on the balcony. If it’s a windy day, I’d recommend taping down your cardboard/paper so it doesn’t blow on to your project.
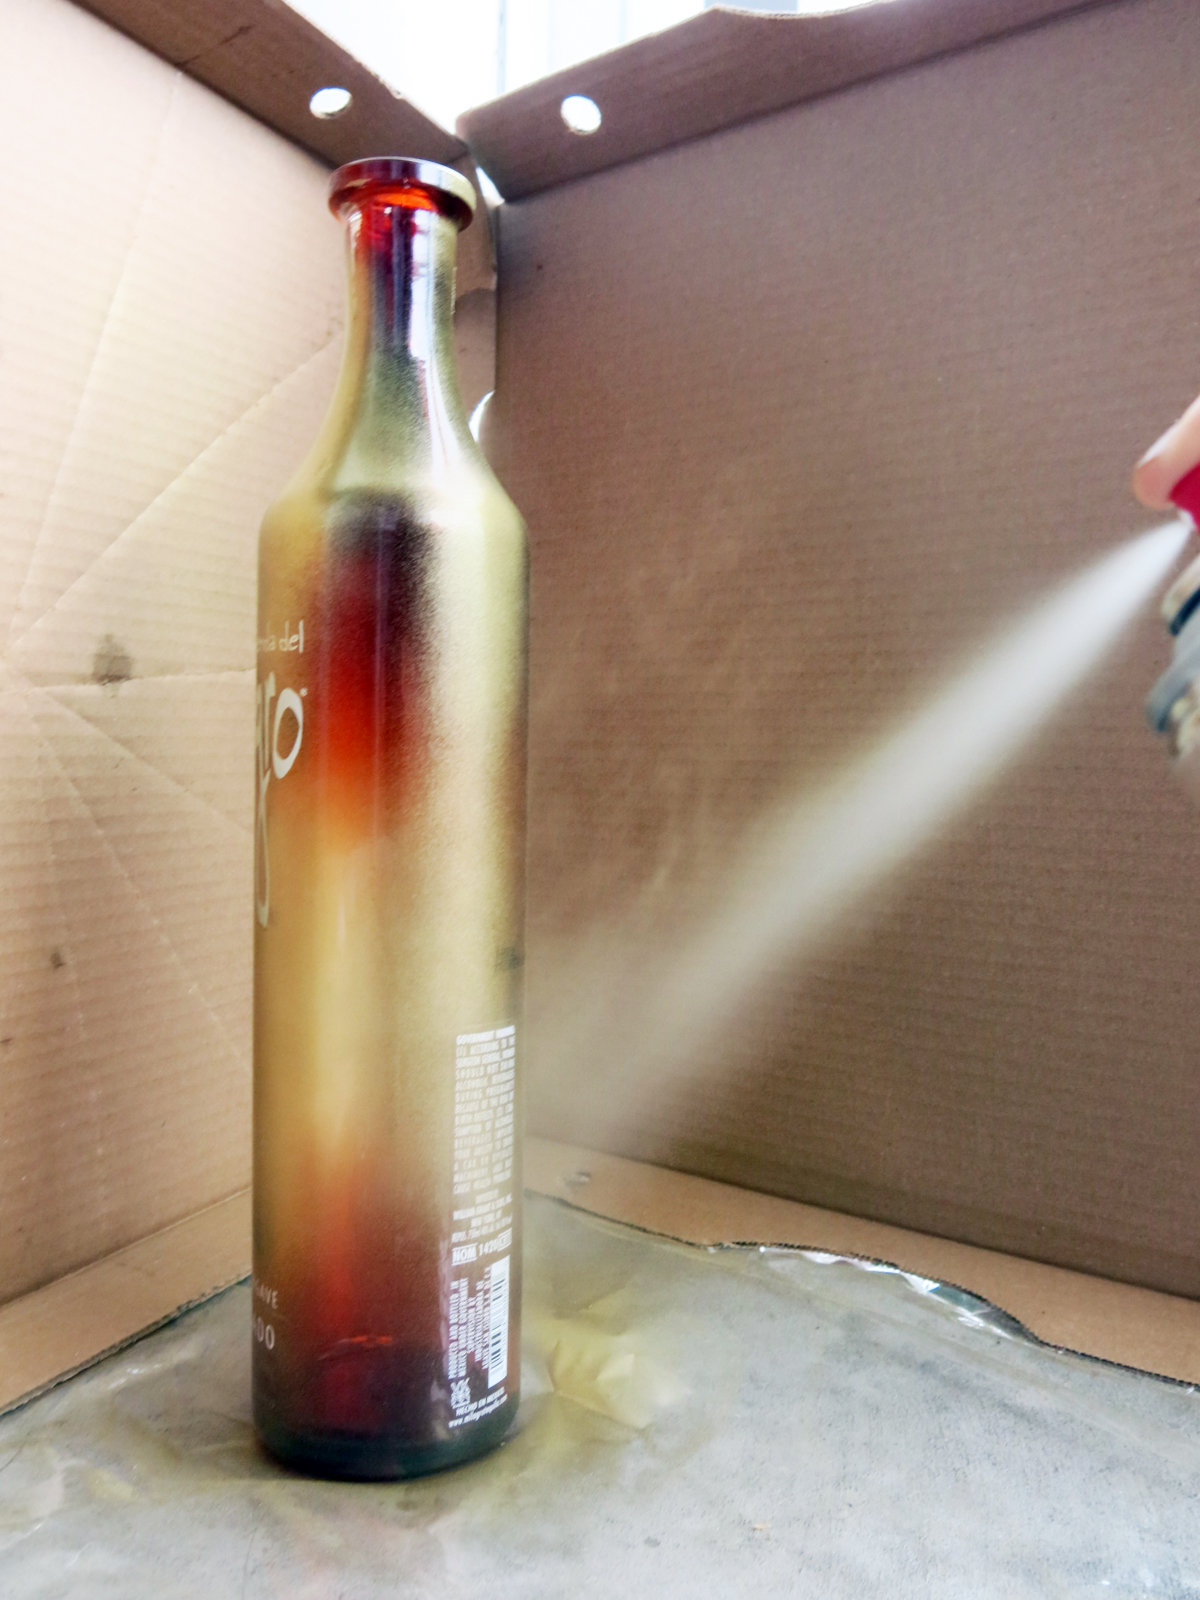
I used Krylon Premium 18k Gold plate spray paint. When spraying layers, multiple thin layers works much better than trying to cover everything in one coat. When you spray on a layer that is too think, the paint doesn’t dry as quick and it will start to drip down the bottle.
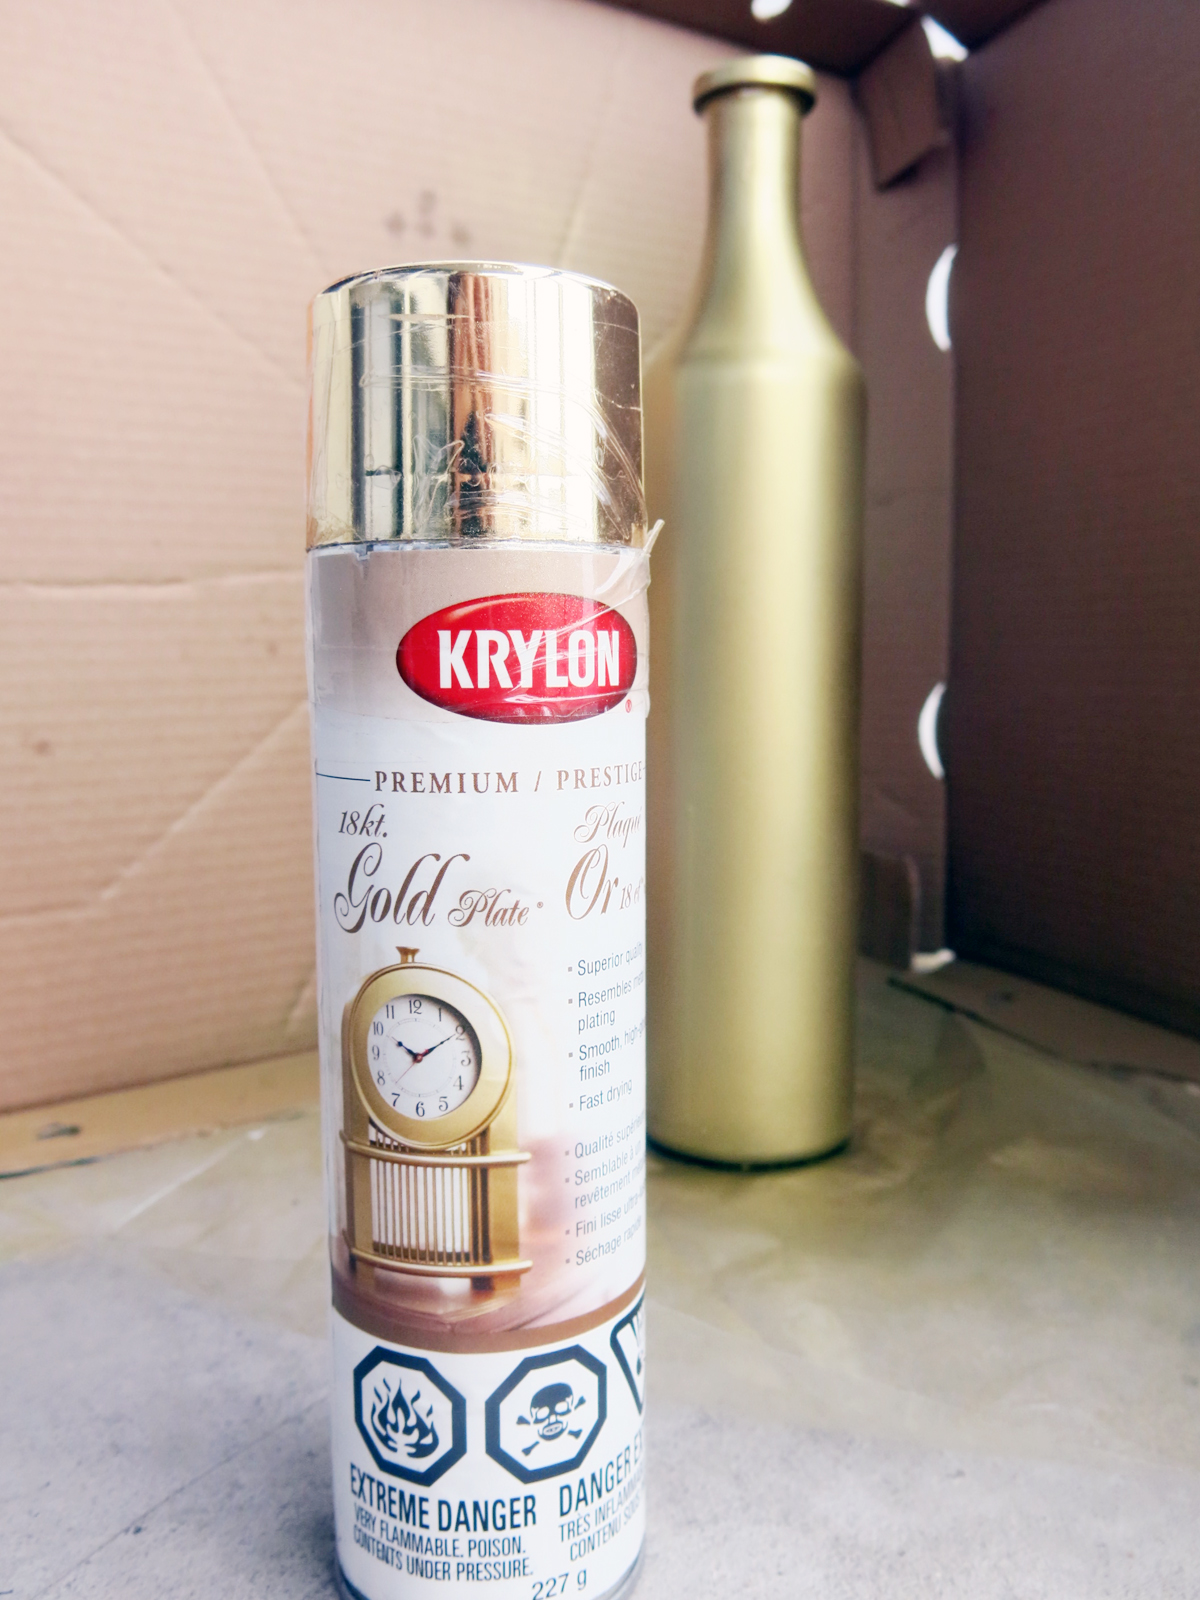
The whole project took a little over an hour and I think it’s a nice addition to my desk.
As a kid, I could never get enough of those rocket ship popsicles! Though I have slightly more grown up tastes now, I still love a good popsicle on a hot summer’s day. Using green matcha tea adds tons of great antioxidants as well as a delicious flavour into these easy to make treats.
I used this great recipe for green tea mango popsicles from the minimalist baker and used honey instead of agave and added a tea spoon of coconut oil into the green tea portion.
Here are a few tips for making your own popsicles.

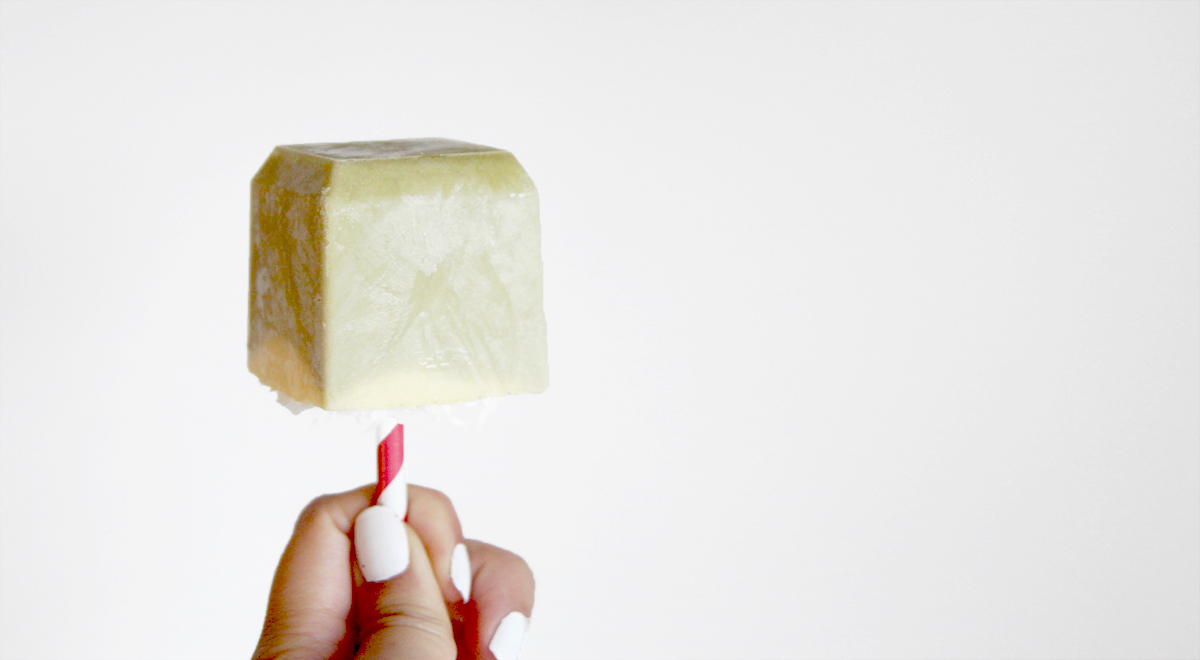
Once they are frozen, grab some friends and sit back and enjoy these delicious treats!
If there’s one thing in the world I can’t get enough of, it’s babies. There is absolutely nothing I love more than cuddling a newborn and just taking in their intoxicatingly delicious new baby smell. (Is that creepy? Other people feel this way too, right?) Well luckily for me, we just had two little ones join the family this year! And there’s plenty more to come!
Anyways.. some of you may remember Rachel from my Europe posts. She’s the craziest, funnest, and most ridiculous girl I know and she has added so much colour into my already colourful life. She’s expecting her first baby so of course I had to grab the camera and snap some photos of her gorgeous baby bump. She’s 8 months pregnant here and she kept saying that she felt huge and wasn’t loving the way she looked. Please tell her that her she’s crazy!
Hope you like the photos!
 I’ve had a few people ask about this photo so here are some tips if you want to take one for yourself. This was taken against a plain wall with a big window in front of her. We wrapped a bed sheet and she held the one end together with her hand that’s hidden. Remember to pull tightly around the bust and belly to really show off the shape of the body. We had to carefully fold each of those little creases to make sure the sheet laid nice and flat against her body.

 Since we had a big white sheet handy, we hung it from one of the windows in her living room and used it as a plain backdrop that also doubled as some nice back lighting.
 We used the bed sheet again here and just laid it on the couch to give a non-distracting surface so we could keep the focus on her.

If you’re in Toronto and are interested in booking a photo shoot, feel free to contact me at ngoc@soundslikeknock.com. Rates start at $175/hour.
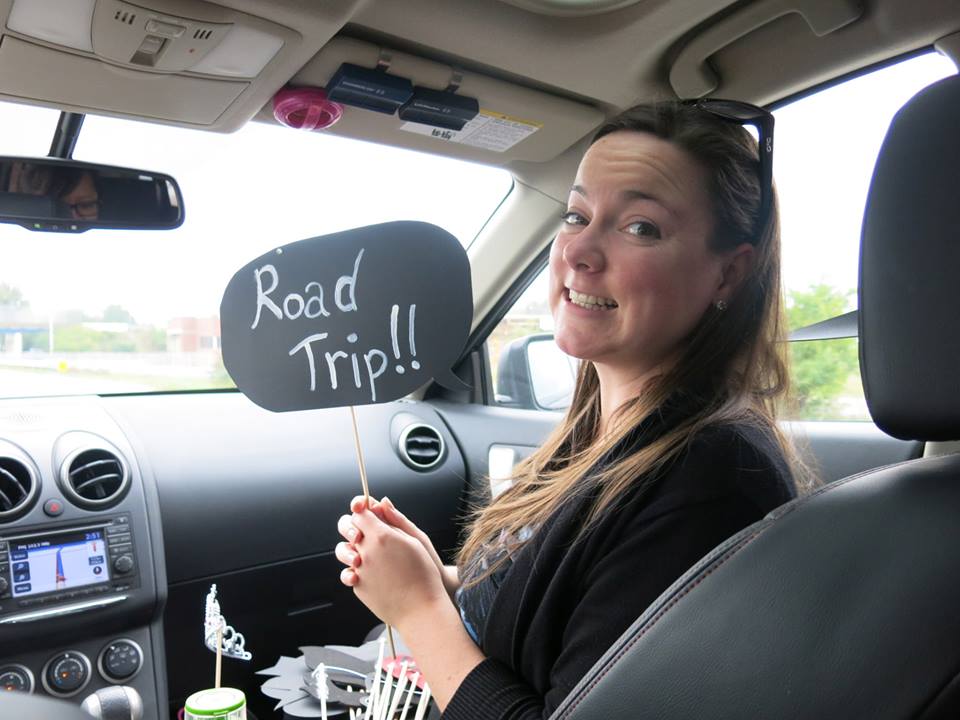
Nashville has never been a place that I ever thought about going to before. But I’m all for visiting new places so when my friend told me that she wanted to have her bachelorette there, I was pumped to cross another state off of my list of places I’ve been.
We decided to drive down to save some money. The drive from Toronto going non-stop is about 12 hours. We decided to drive leisurely on the way there and stop for food and snacks so it actually took us about 14 hours.
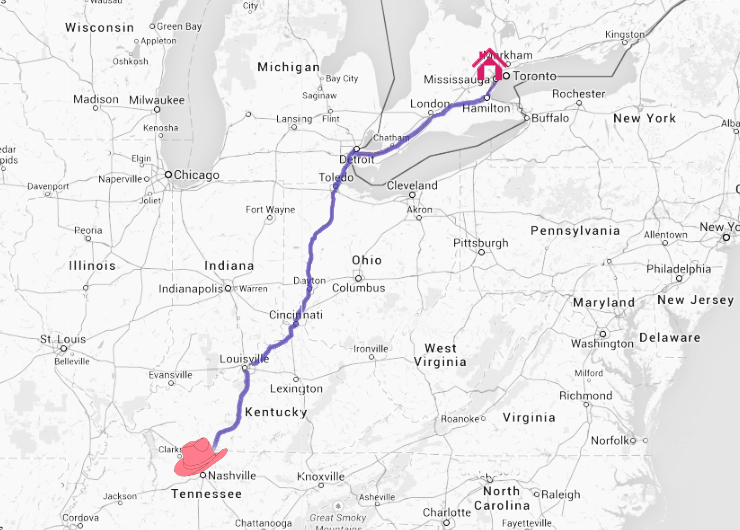
 If you’re planning on doing the drive, here is the path we took, and some suggestions for stops along the way.
Toronto > Detroit > Lima > Cincinnati > Louisville > Nashville
Detroit – The Hudson cafe is a cute place for breakfest/brunch that serves pancakes, sandwiches, waffles and other breakfesty things (I’d only stop in downtown detroit during the day… and even then.. be more cautious..
Lima – it’s a tiny city. You pass a bunch of chain restaurants along the highway so if you’re hoping to lunch, this might be a good stop. We choose to eat at the Cracker barrel. They also have an Olive Garden right beside it as well.
Cincinatti – If you’re hungy for a snack, take a quick turn off the highway for some Graeter’s icecream. Yum!
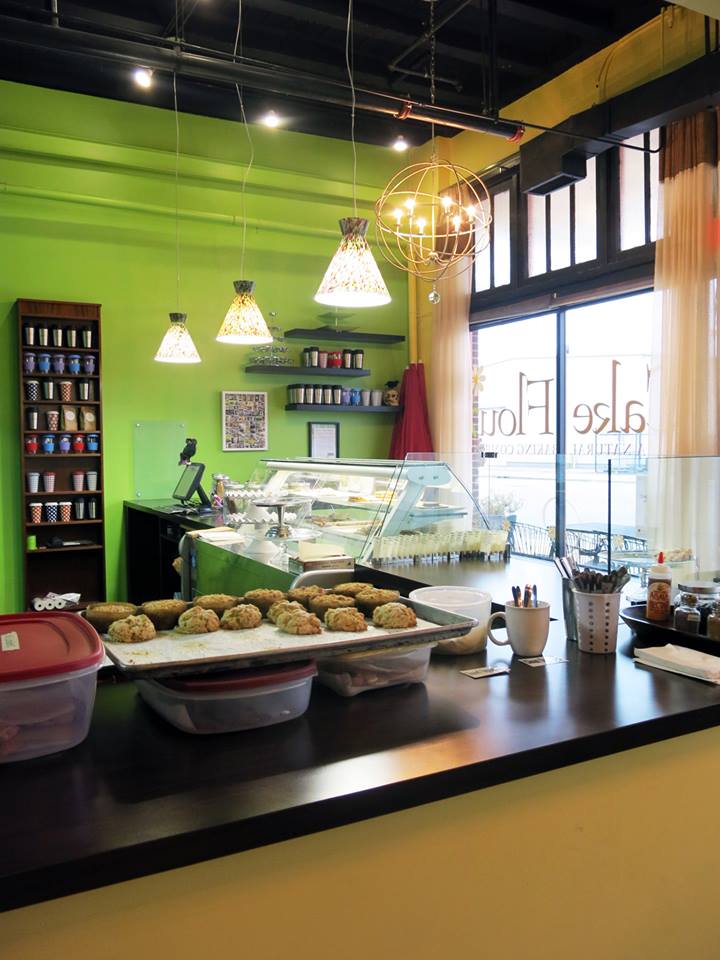
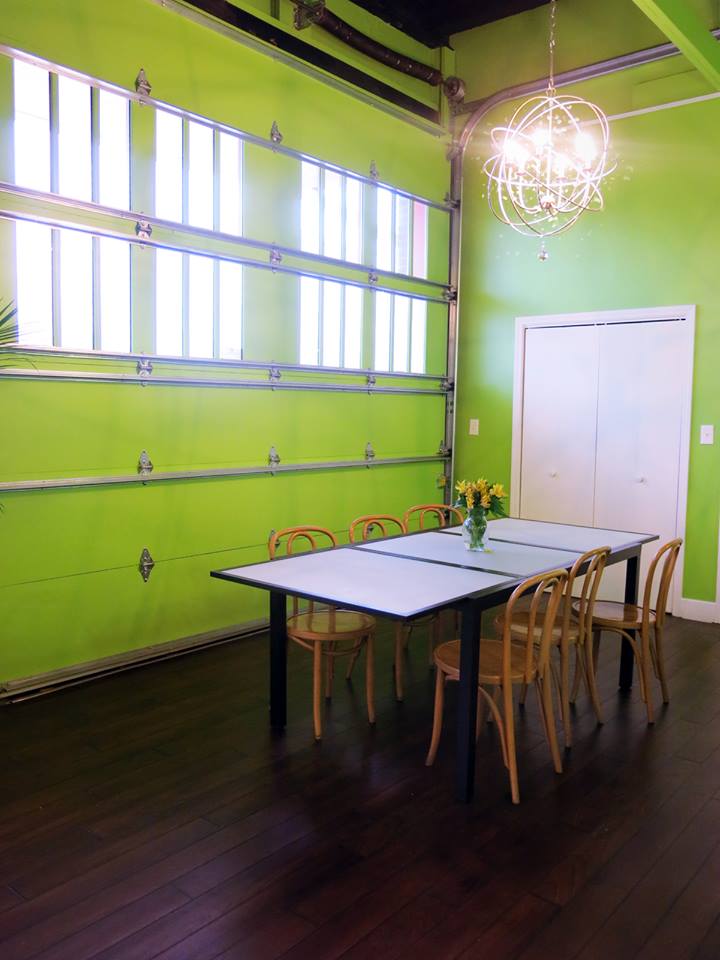
Louisville – Cake flour (They were on that show “The Best Thing I Ever Ate”) They had RIDICULOUSLY delicious treats. We bought a ton of cupcakes, meringues, cookies, and other sweet treats.
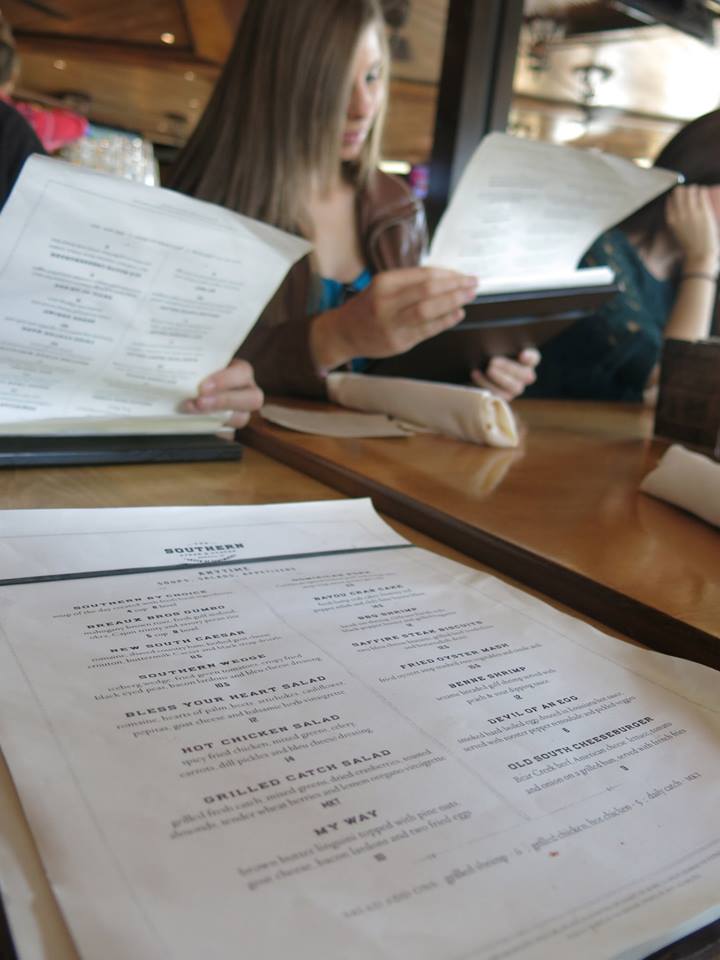
If you want to have dinner in Louisville, a few other good restaurants in the vicinity include Mayan Cafe (Latin), Mojito’s Tapas restaurant (Spanish), and Doc Crow’s (Southern).
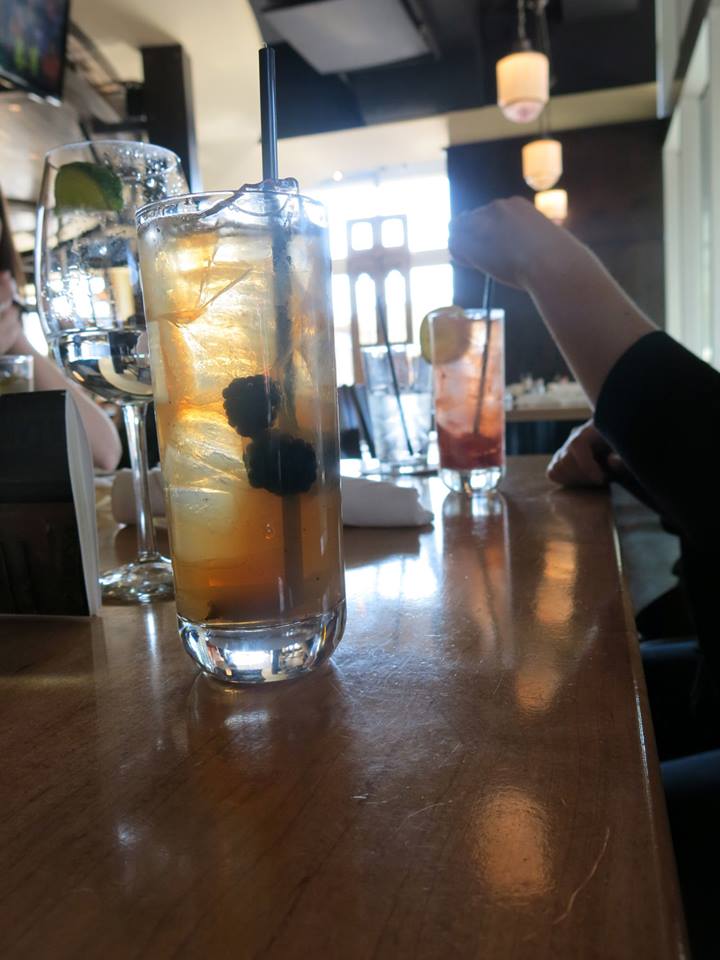
I’m mostly a beer girl but their cocktails here were really good! Blackberry Mountain Tea made with Ole Smoky Blackberry Moonshine, sweet tea, and muddled fresh blackberries comes with high recommendations! Two of the other girls got burgers and said it was some of the best burgers they’ve ever had. They do offer 3 hours of complimentary parking which we didn’t realize until getting into the restaurant so that would have saved us 24 dollars in parking.
Boot country – So it sounds like this place always has a buy 1 get 2 pairs of boots free deal going on. Boots range anywhere from $230-500 so if you can find two friends that also want boots, than it’s a pretty decent deal compared to some of the neighboring boot shops.
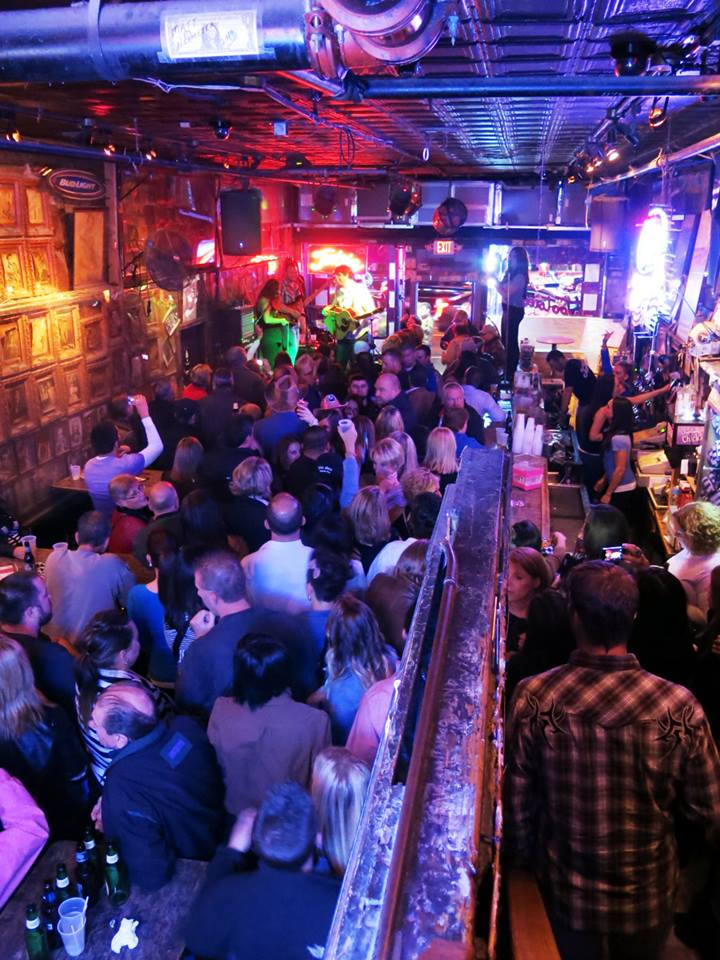
Downtown bars – There are a ton of great bars up and down Broadway. Just walk and stop into any bar that sounds like they have good live music happening. We opted for Honkey tonks and Tootsies which were both really fun and really busy at night.

Pedal Tavern – Check out my previous blog post about how ridiculously fun the Pedal Tavern tour is. Don’t go to Nashville without doing this!
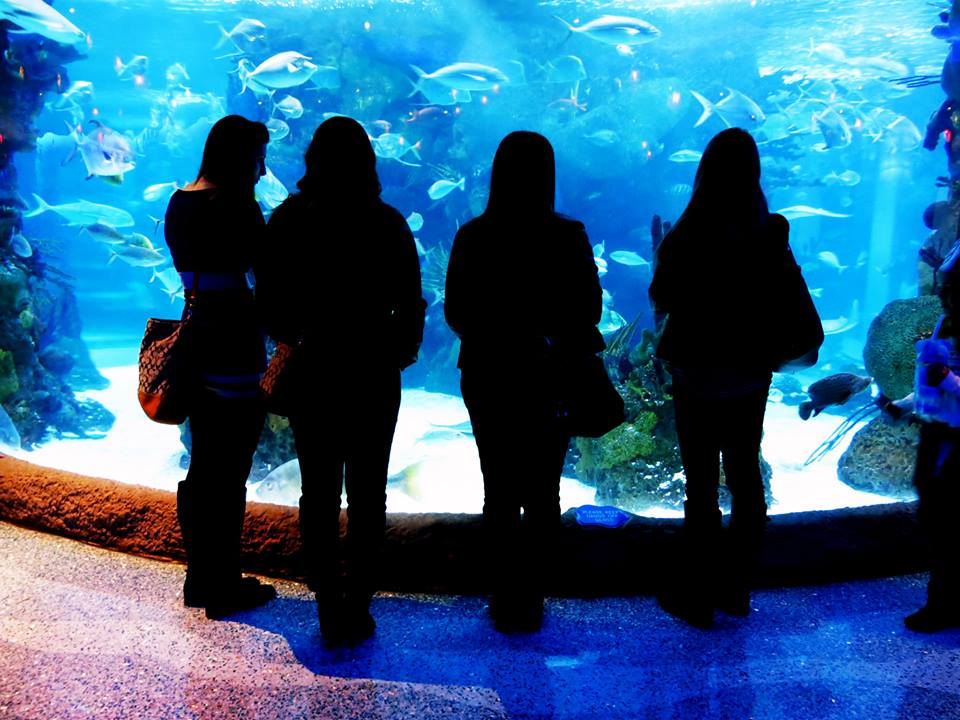
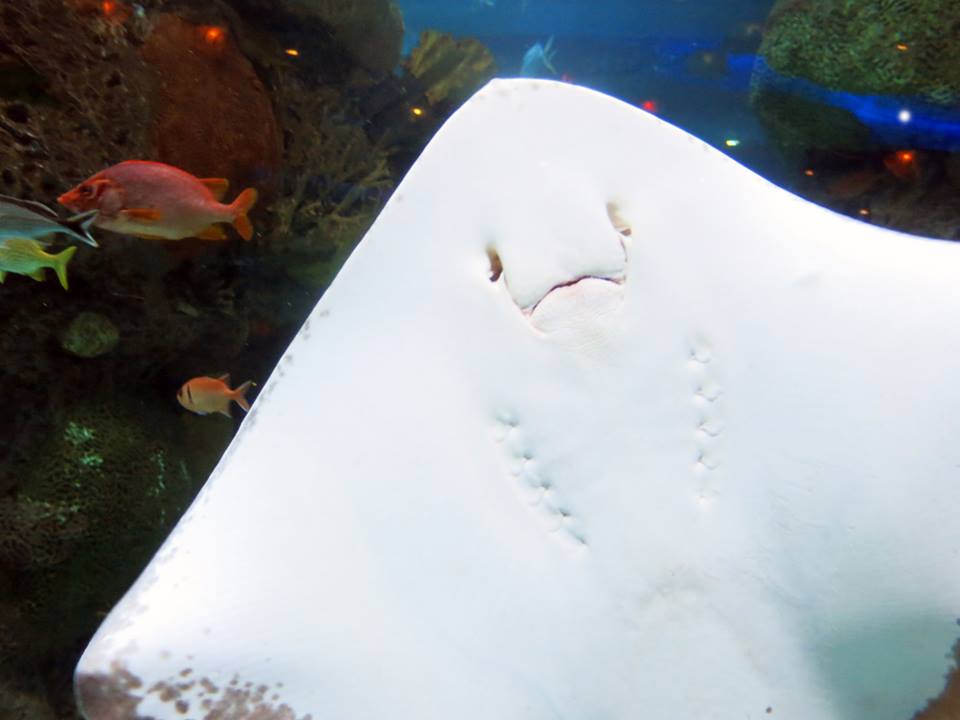
The Opry neighbourhood – The Opry Mills mall, the Grand Ole Opry, and the aquarium all share the same parking lot. I’d recommend doing all 3 places in one day if you’re hoping to incorporate them into your trip.
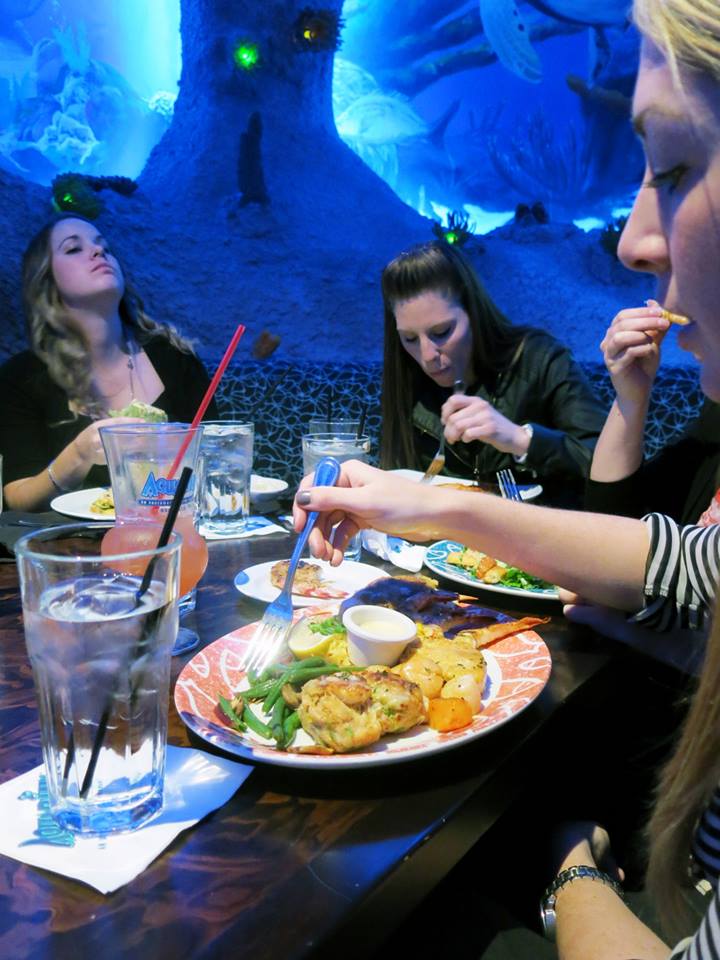
Aquarium restaurant – Lunch at Aquarium which was really neat! The only downside is that they don’t’ have a lunch menu so most of us only got through half of our dinner sized meals. Everything was delicious though. And the view can’t be beat!
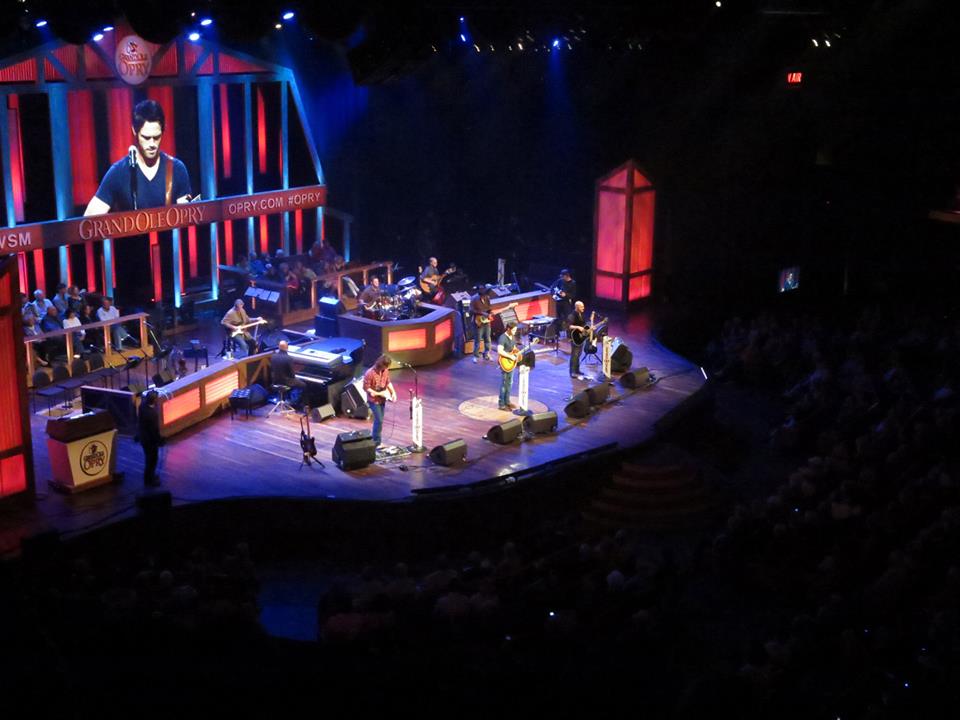
The Grand Ole Opry – for a live radio show. After a few 10 dollar drinks, I was singing along to songs that I had never heard before. So a trick I learned from going to blue jays games, is that the bars are way busier up by the cheaper seats compared to the lower level expensive seats. This was also very true at the Opry. We waited in line for 20 mins before someone came by and told us that there were no lines on the first floor. I can’t promise that this will always be true but it’s a trick that’s worked for me on numerous occasions.
Monster Block Party – So this only happens annually around Halloween but if you happen to be there during that weekend, and happen to like electro-house music… it was absolutely incredible! Steve Aoiki dj’d and jumping around and being surrounded by every kind of costume imaginable is quite the experience!
Nashville is definitely a city worth checking out, even if you’re not a country lovin’ gal!