So Christmas is only 4 weekends away… which means it’s time to start decorating! Over my next few posts, I’m going to show you a few of my favourite DIY holiday decorations.
A friend of mine mentioned that she loved these baby bandanas but they were a bit pricy. So I decided to make a couple of them for her.. and pretty much for every single baby I know.
To make a baby drool bib, you will need:
fabric. For a 6 month old baby, I used fabric that was 14 inches wide. Use either cotton, jersey, or terry cloth.
velcro
sewing machine
Check out this video to see my step by step tutorial.
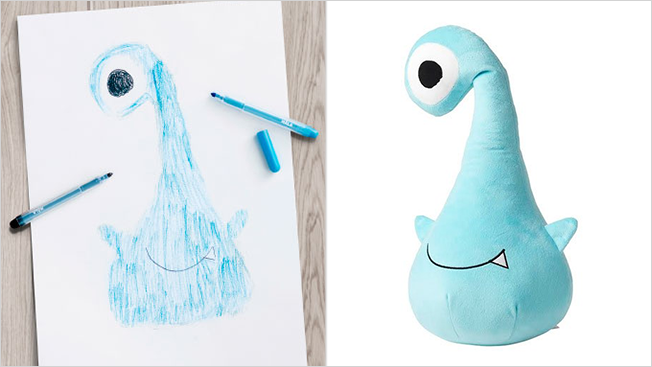
IKEA has taken 10 drawings from children around the world and turned them in to adorable soft toys. This limited-edition line is part of the Swedish company’s Soft Toys for Education Campaign, and they are donating $1 from each sale to UNICEF and Save the Children to support children’s education projects.
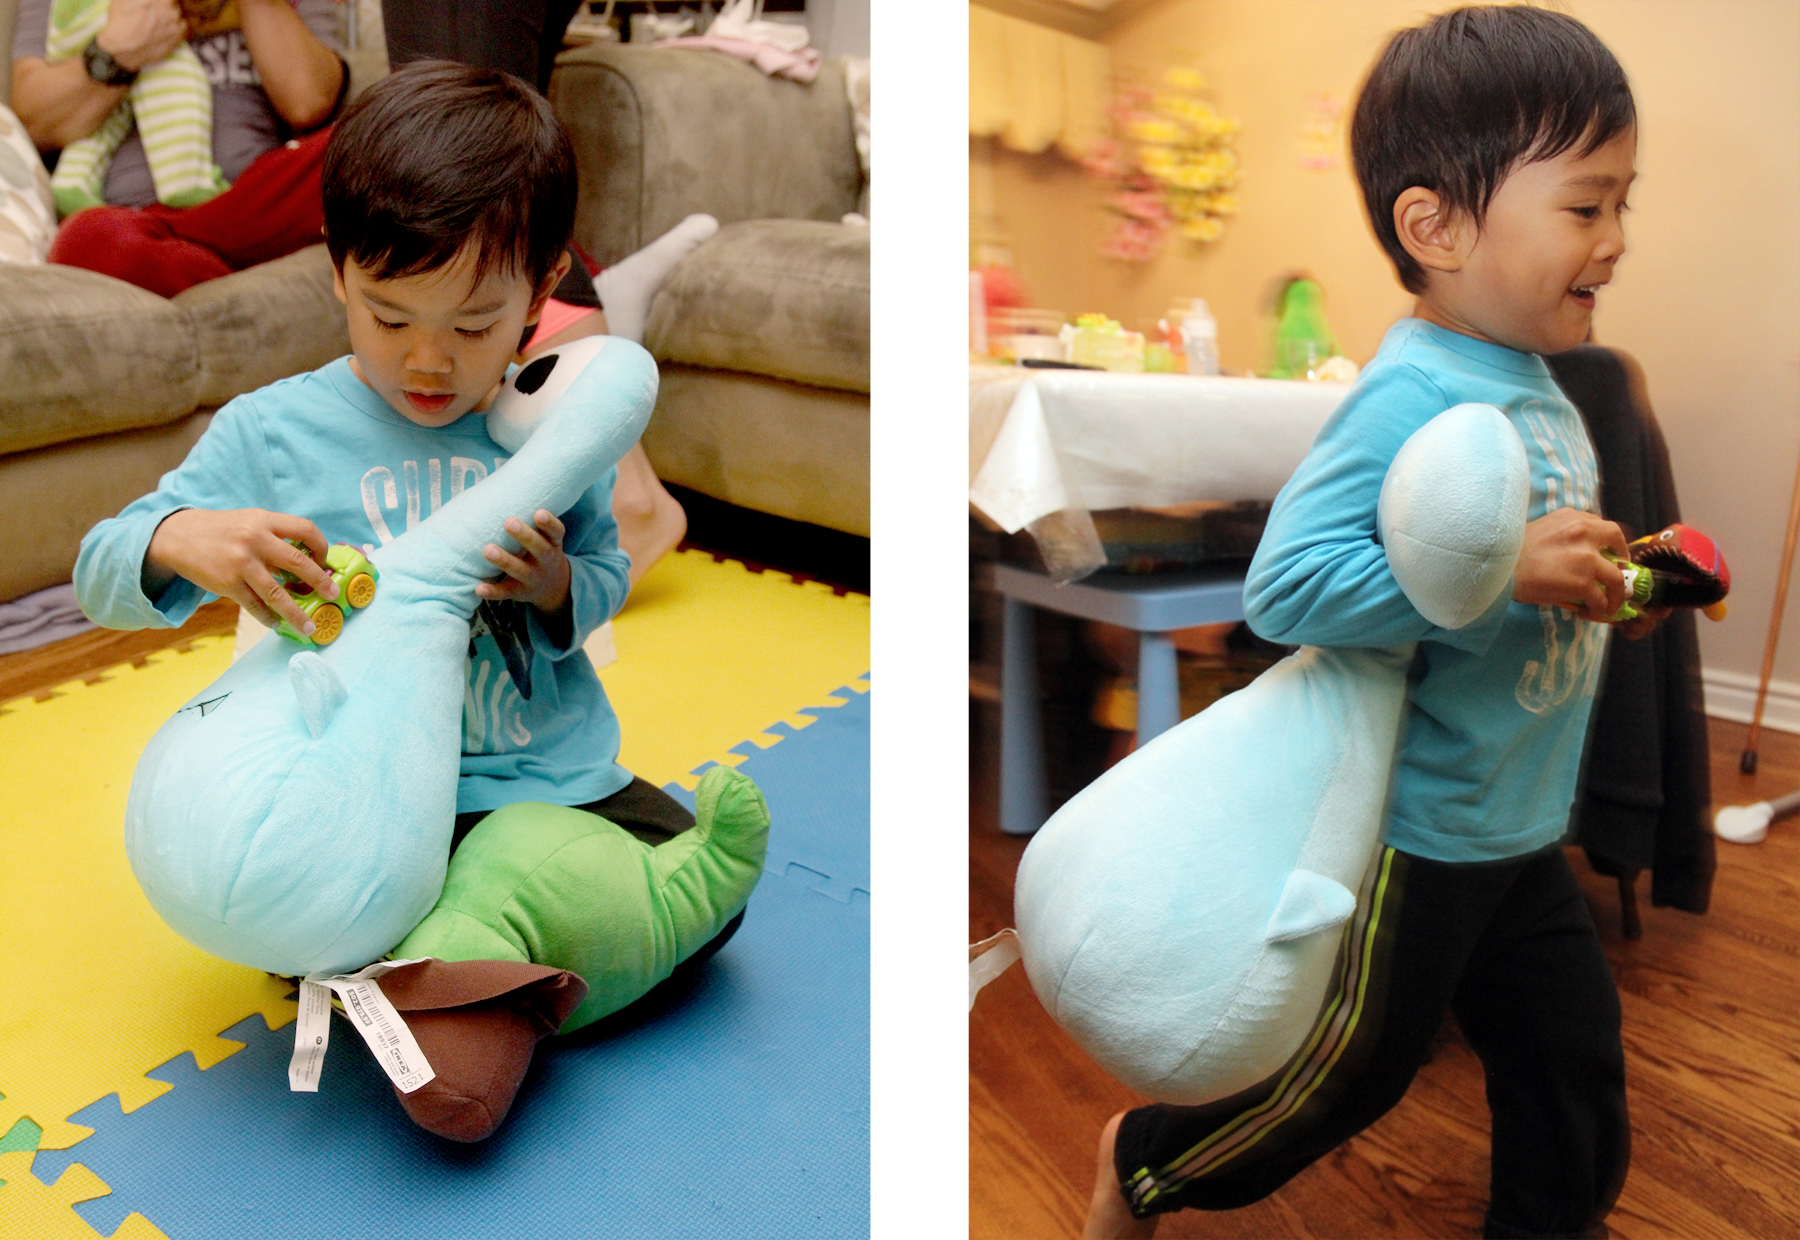
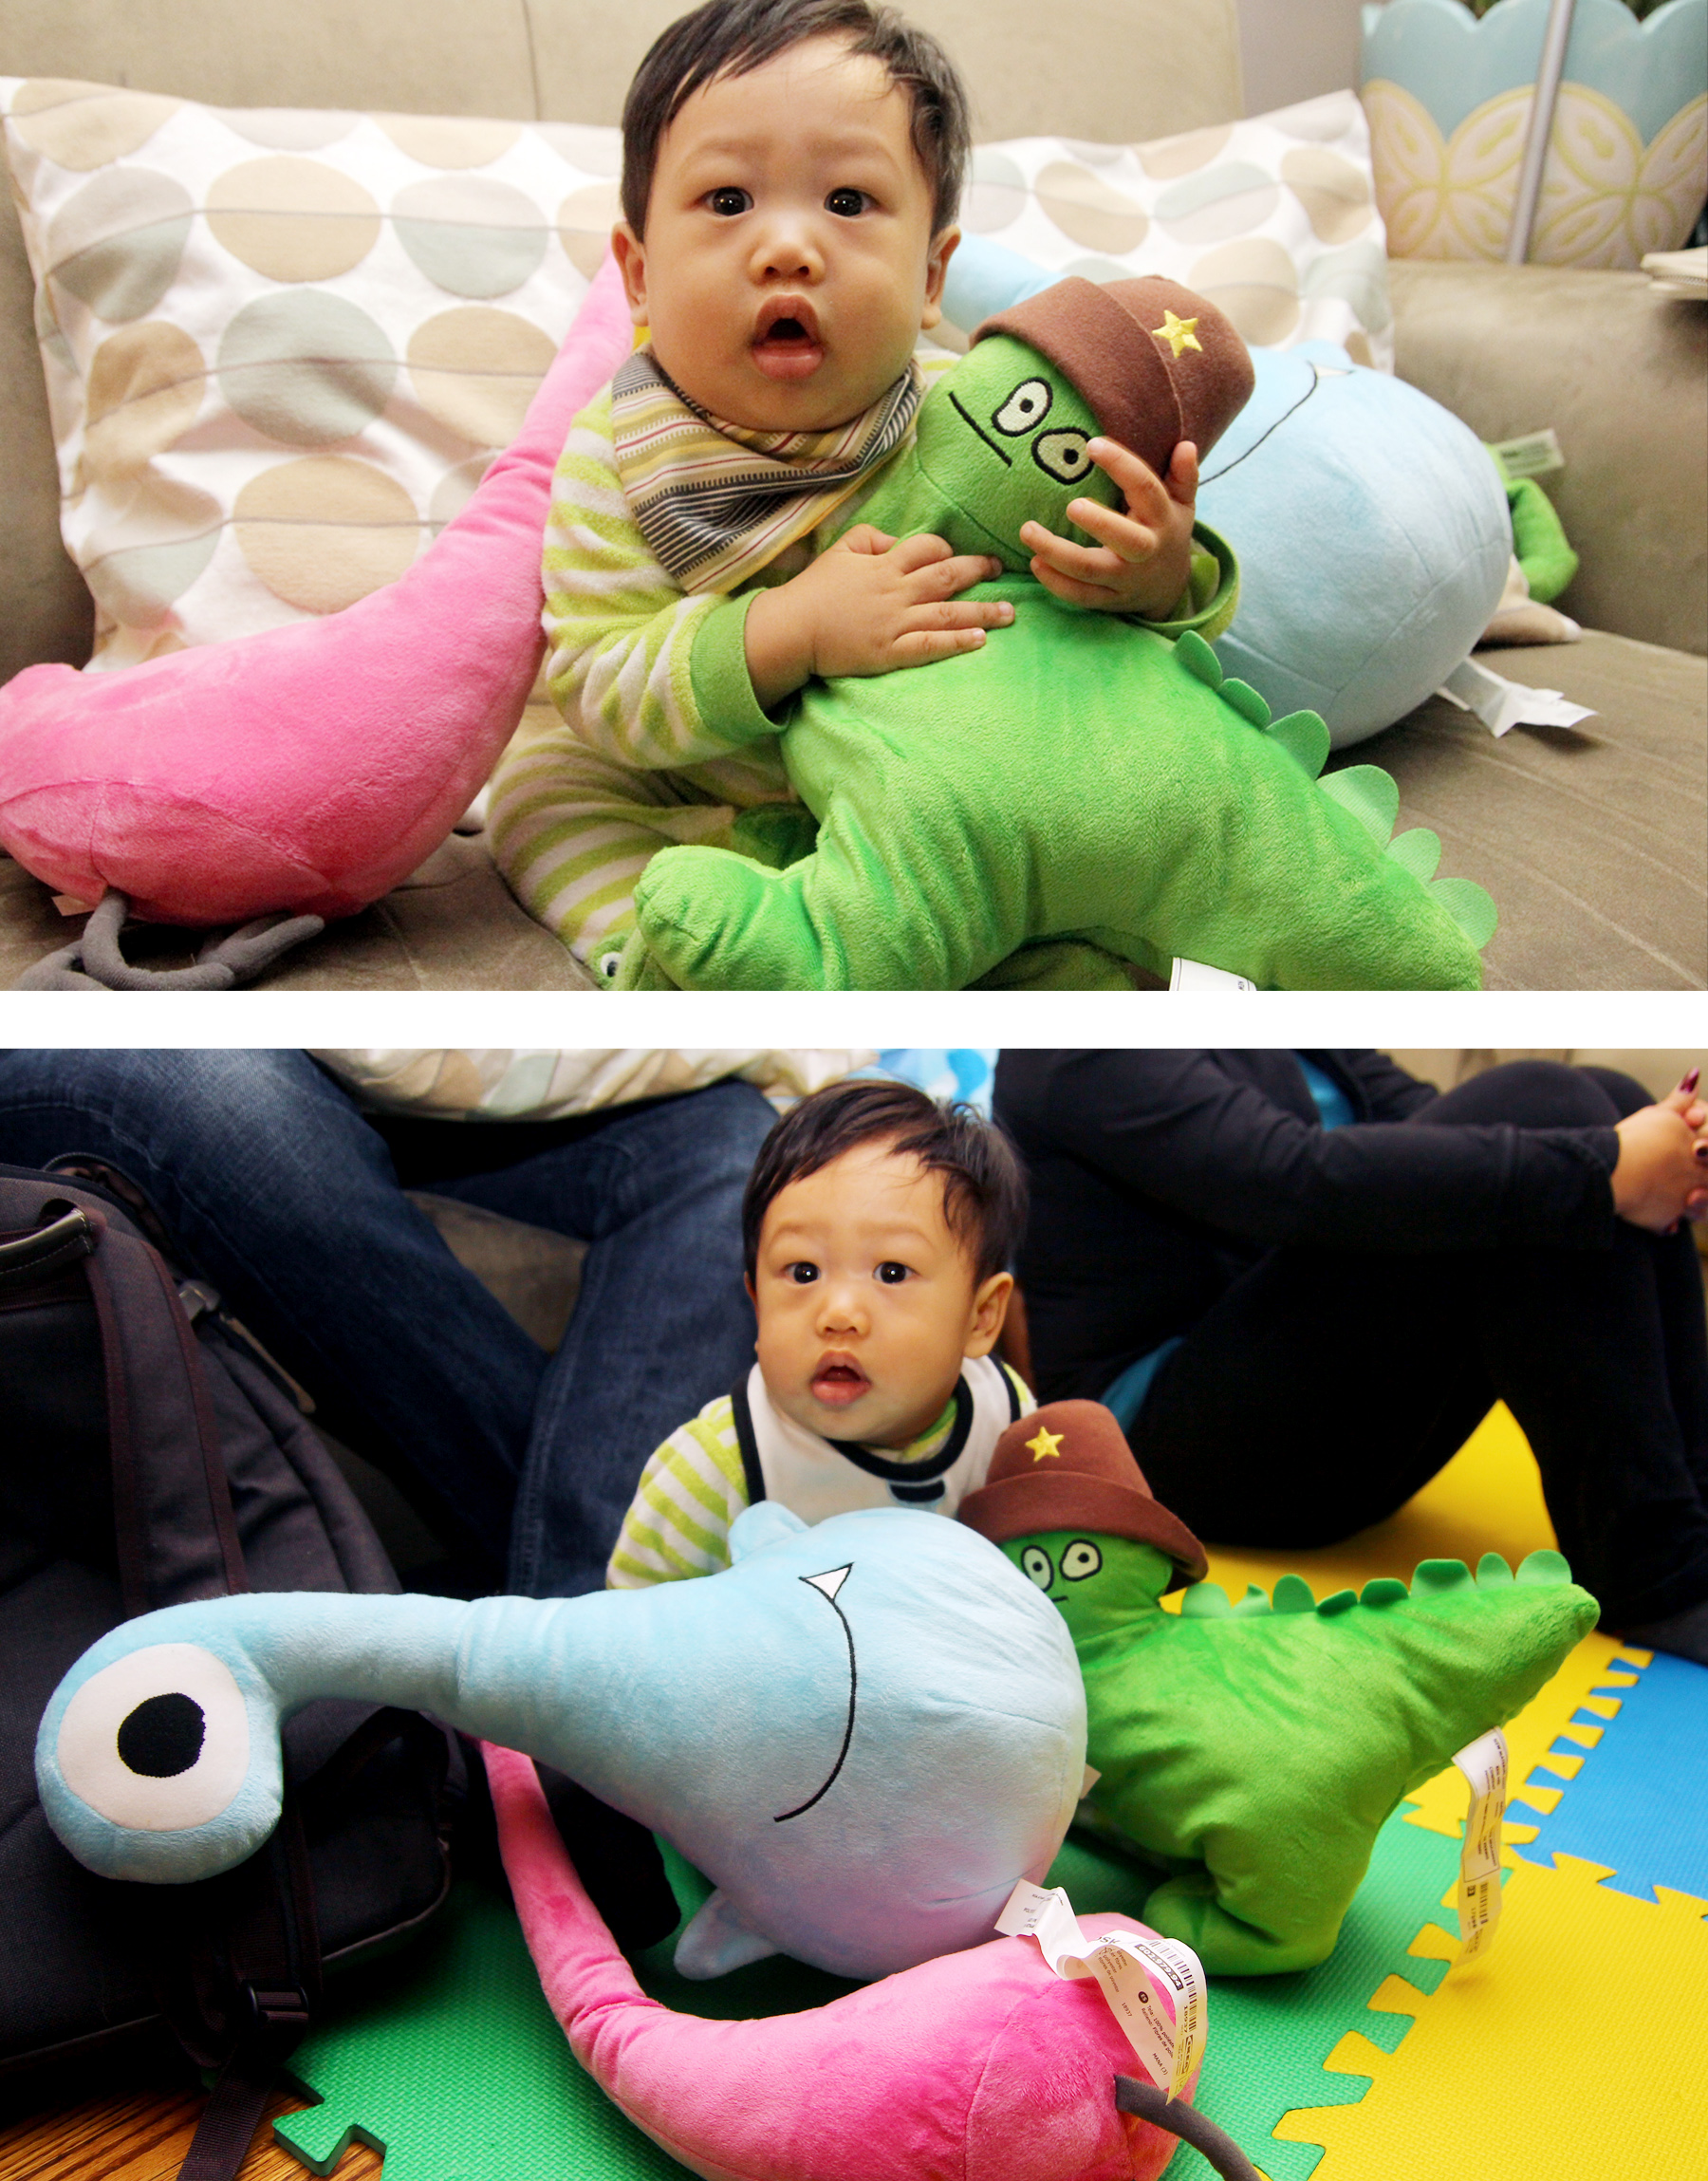
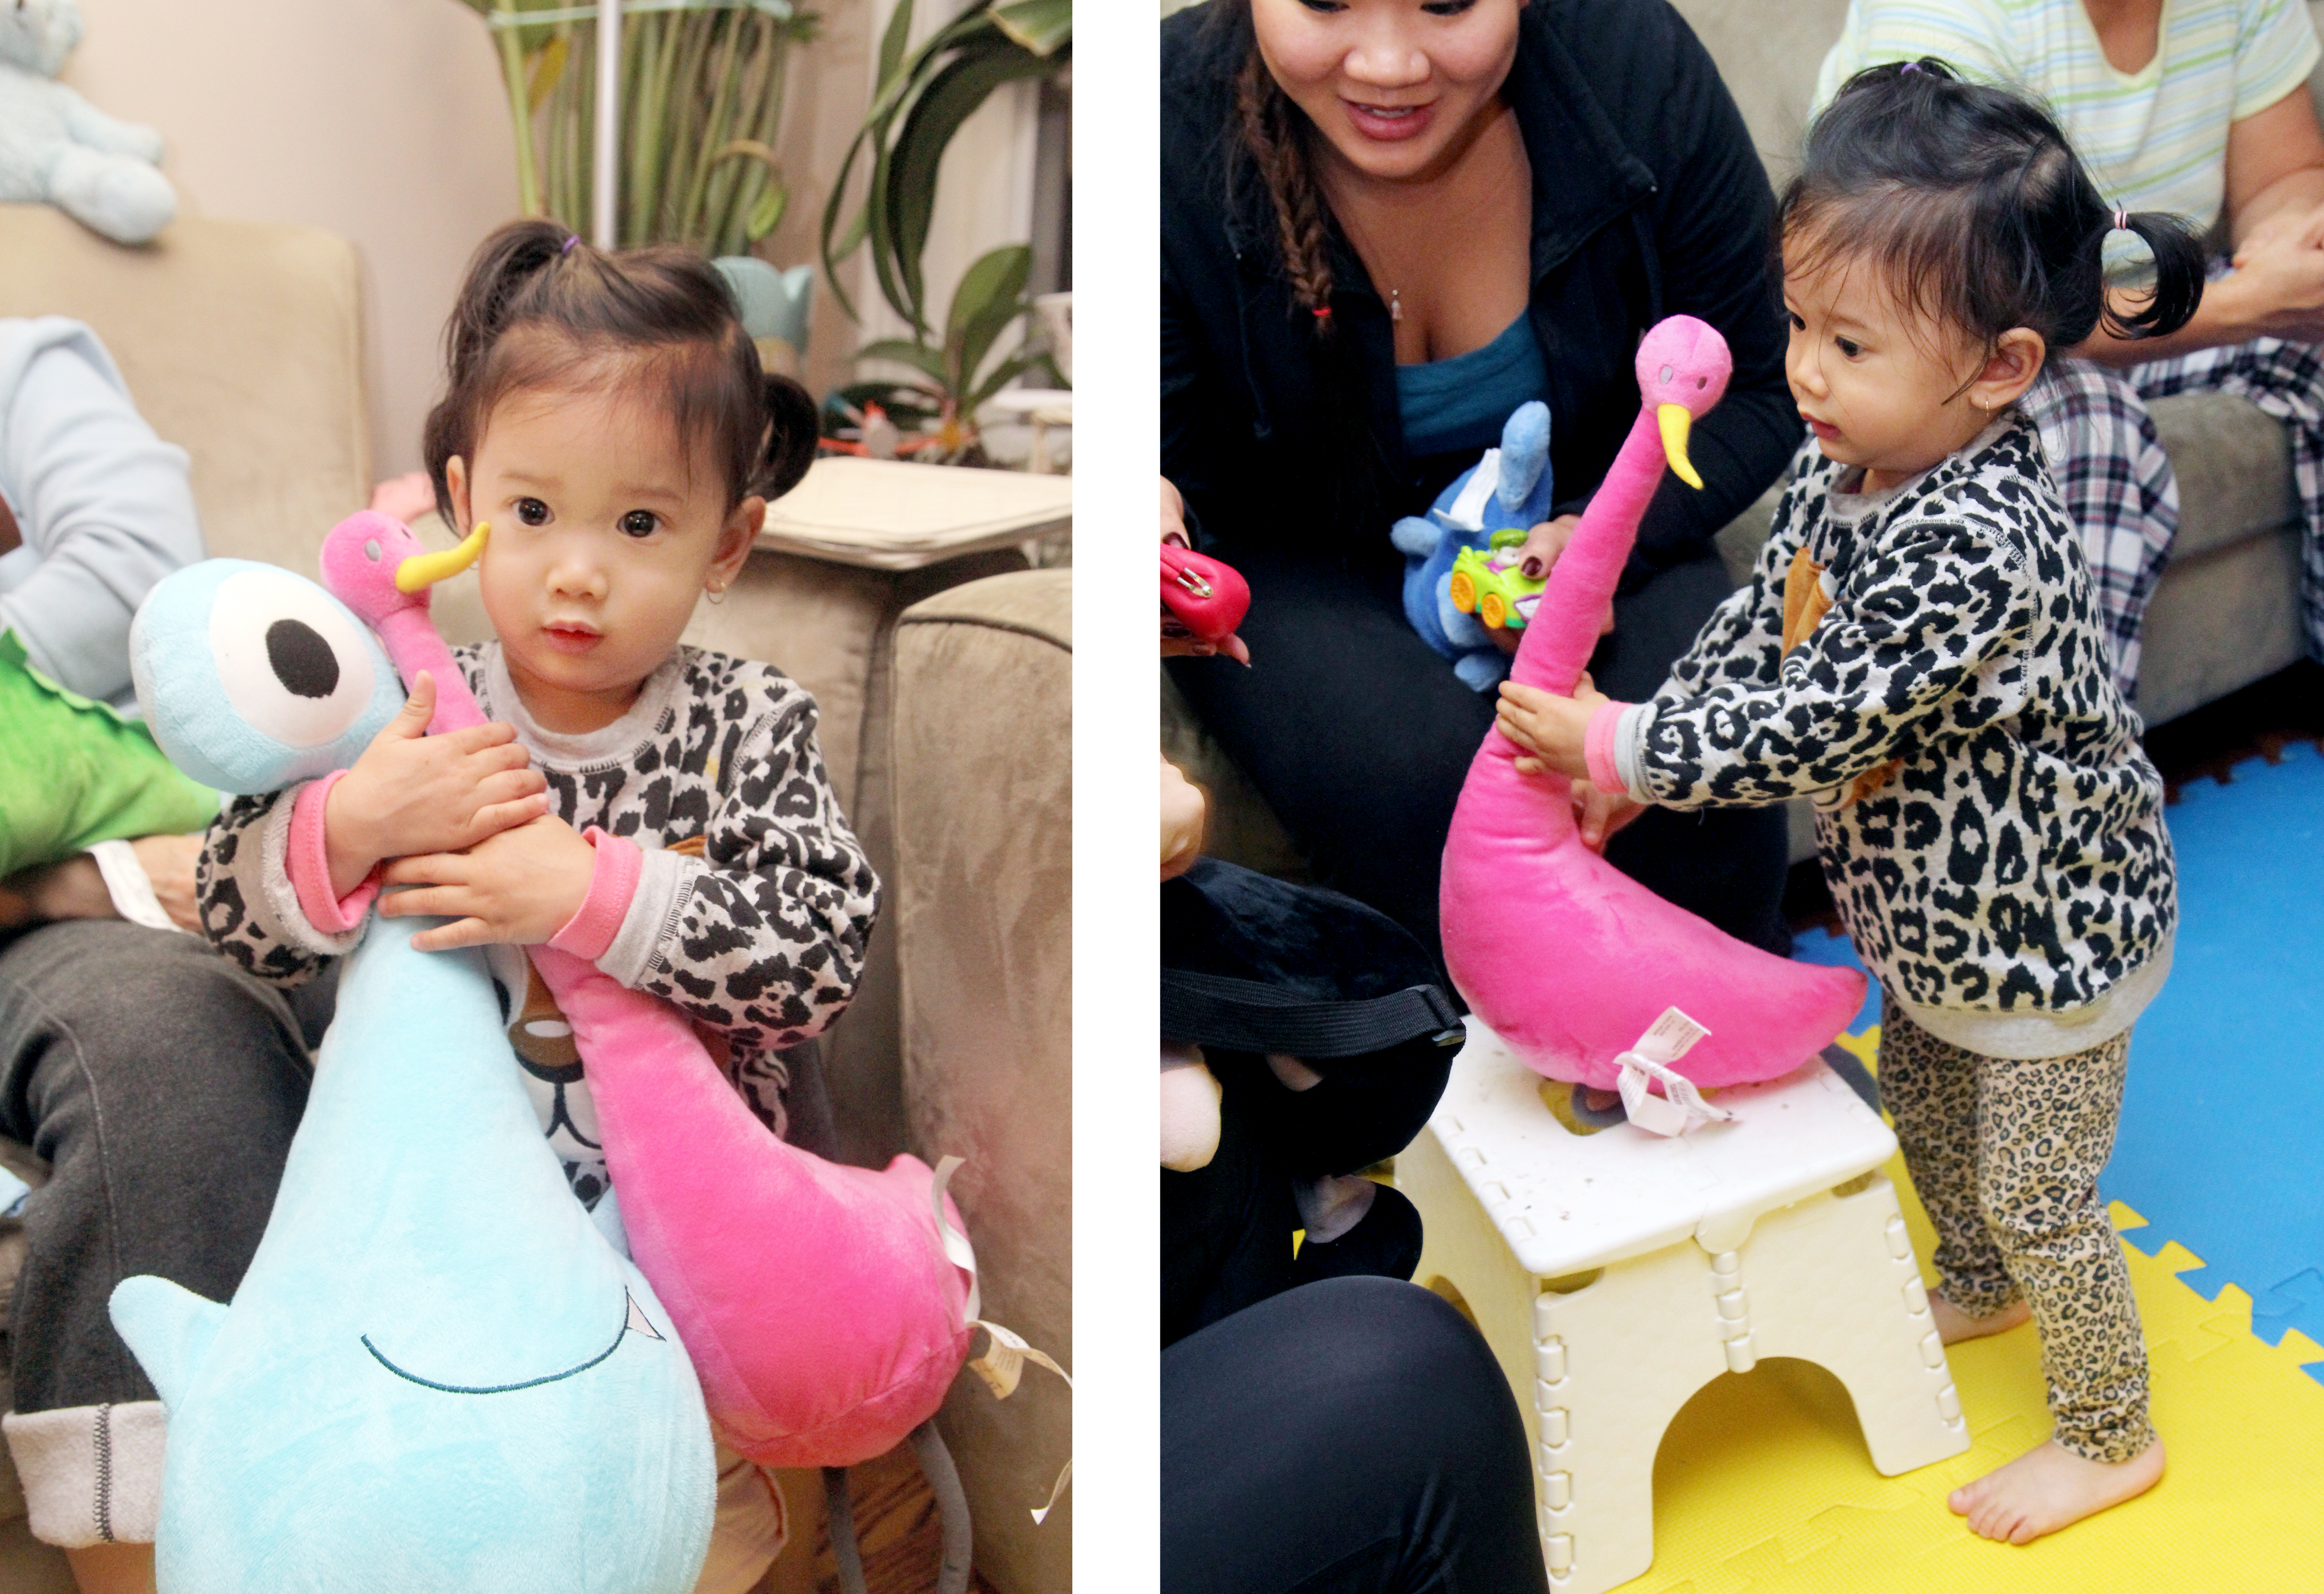
When I saw an ad for these toys, I had to go pick some up for my little cousins. These stuffies are even cuter in person than I had imagined. And the little ones thought they were pretty fantastic as well!
Photo: Adweek and Ikea
Photo: Adweek/Ikea
Photo: Adweek/Ikea
The stuffies were super soft and squishy and easy for their little hands to grab and play with. And they really did all look remarkably like the drawings. To see all the stuffies from this special line, visit: http://www.ikea.com/ca/en/search/?query=SAGOSKATT
IKEA has taken 10 drawings from children around the world and turned them in to adorable soft toys. This limited-edition line is part of the Swedish company’s Soft Toys for Education Campaign, and they are donating $1 from each sale to UNICEF and Save the Children to support children’s education projects.
When I saw an ad for these toys, I had to go pick some up for my little cousins. These stuffies are even cuter in person than I had imagined. And the little ones thought they were pretty fantastic as well!
Photo: Adweek and Ikea
Photo: Adweek/Ikea
Photo: Adweek/Ikea
The stuffies were super soft and squishy and easy for their little hands to grab and play with. And they really did all look remarkably like the drawings. To see all the stuffies from this special line, visit: http://www.ikea.com/ca/en/search/?query=SAGOSKATT
So for my dad’s birthday, he wanted to do something that he’s never done before. If you’ve ever met my dad, you would know that he’s a man of very few words and even less emotions. You may remember him from my sporting life 10K post.
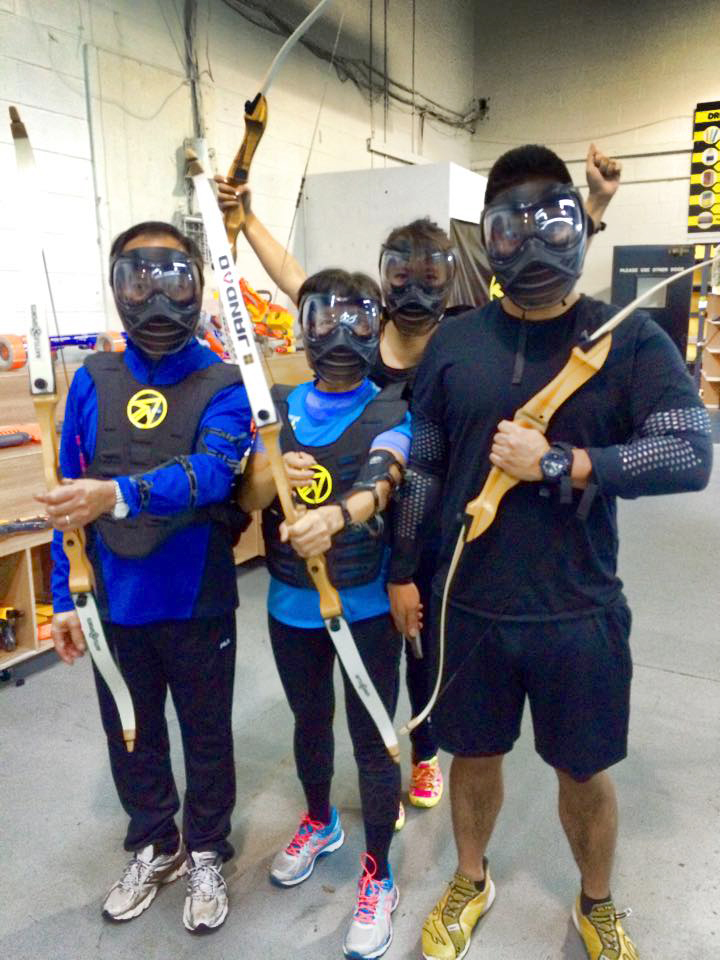
That is pretty much his expression in every photo. So trying to think of something that both he and mom my would enjoy, that would also be fun for my brother was a bit of a challenge. After a bit of research, I stumbled upon archery dodgeball. There are a couple of places around the GTA but we settled on Battle Sports near Downsview station. It costs about $24/person which includes 30 mins of training and then 1 hour of “battle” and all the protective gear.
Booking a session is really easy on their website. You will likely be paired up with other people unless you’re booking a private event or are booking the entire slot for 20 people. I’d recommend getting there 10-15 mins early so you can change and sign your waiver forms. They have lockers in the main area and coat hooks for your jackets.
The session starts off with them teaching you how to properly stand and how to hold the bow and arrow. And then you take turns shooting at the targets that they have set up. The bows come in 3 different weights and the lowest weight (16 lbs) was really easy to shoot. And that’s coming from me, a girl who has the arm strength of a 6 month baby.
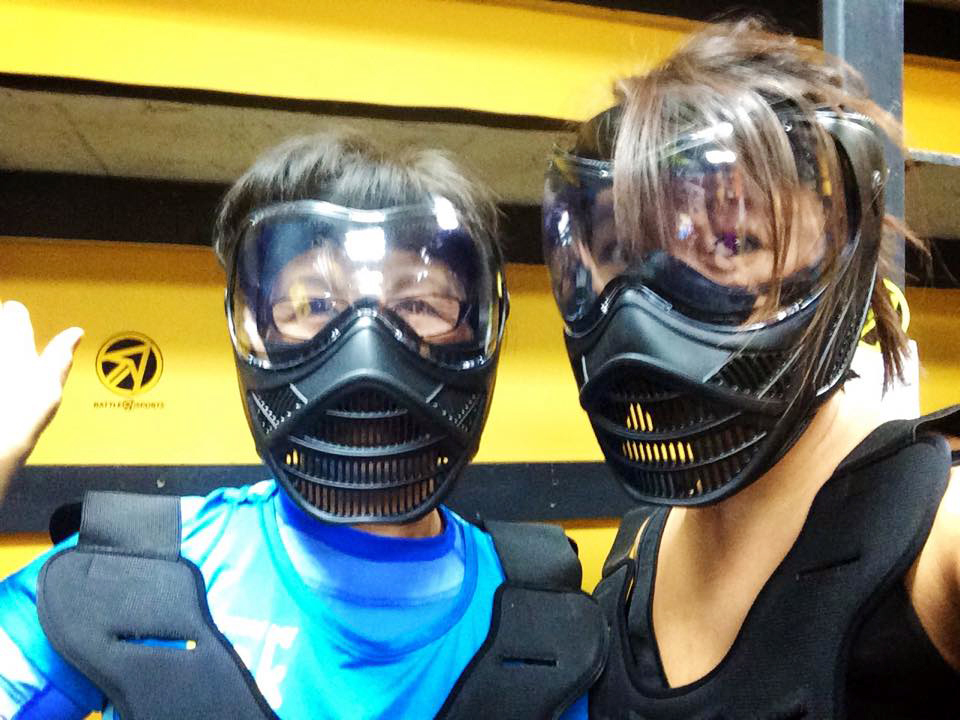
The face masks were a little uncomfortable but I promise, once you start playing and the adrenaline starts rushing, you won’t even notice the masks anymore.
For the dodgeball “battle” part, you are split up in to 2 teams. And just like dodgeball, each team stays on their side, with a “safe zone” in the middle. You can’t shoot your arrow or be hit while you are in the safe zone. One each side, they have some barriers set up where you can shield yourself a bit but you are never fully protected. Once you are hit by the opposing team, then you go stand in the back behind the mesh. Once one side has no more players, the game is over. Each game lasts around 10 minutes. We ended up having enough time to do a practice round, and then 3 games. The hour goes by incredibly quick and had us all in great spirits.
You’re welcome to bring in camera equipment but it’s at your own risk. I got so caught up in the “battle” once it started that it didn’t even occur to me to take photos. However, sometimes, the staff will take some photos and they usually take a big group photo at the end.
I cannot stress how fun this was!! It was pretty well organized and the staff were really friendly and helpful. I’d definitely recommend this for anyone from their teens to their 60s.
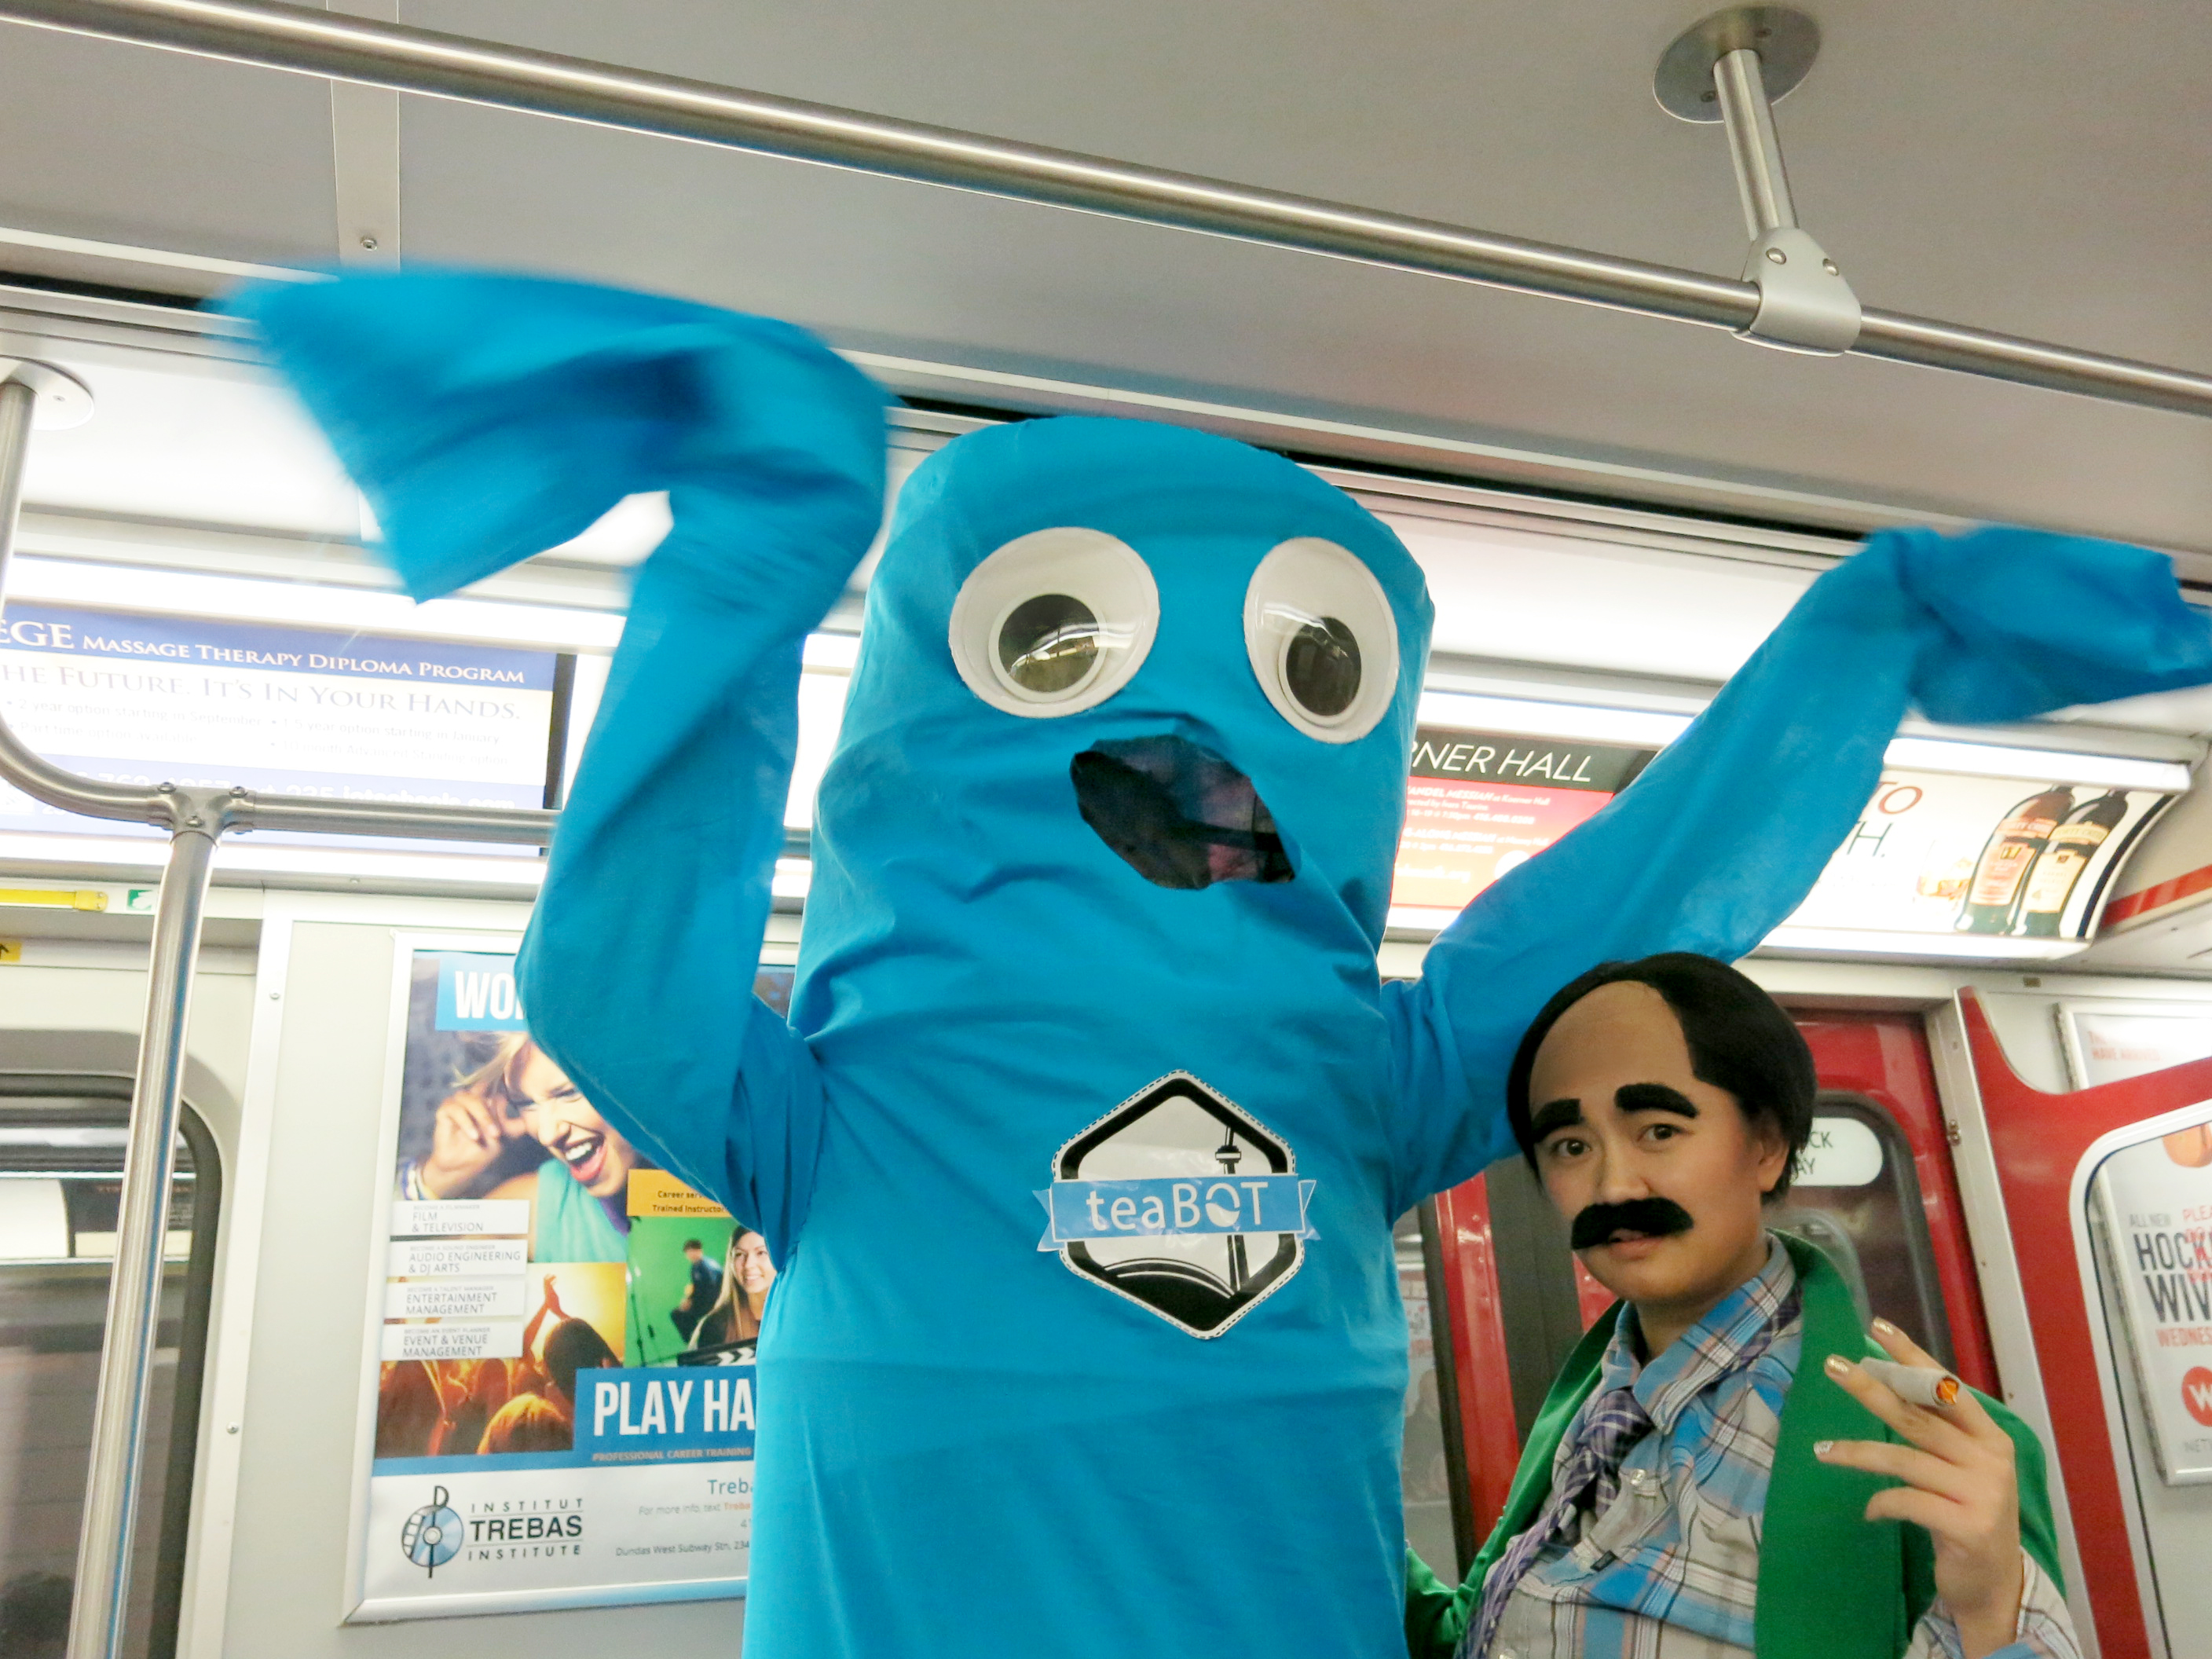
2 pop up laundry hampers, or one of those kid’s long tunnel tubes (make sure it’s wide enough for your shoulders)
A glue gun
Big googly eyes, or white and black fabric to make big eyes
A sewing machine (or you can hot glue it together if you don’t know how to sew)
Needle and thread
Fabric (wide enough to cover the outside of the hamper and long enough to cover your full height plus extra for the sleeves and top of the costume. My fabric was 60 inch x 3.5 yrds for a person who is 6’1 in height.
Step 1. Cut out the bottom of one of the hampers
Step 2. Sew the two hampers together
Step 3. Cut your fabric so that it’s long enough to fully cover the hamper and your feet when you are wearing it.
Step 4. Sew the two ends of the fabric together to create a long tube
Step 5. Flip the fabric inside out so that the seam is on the inside, and then stick the hampers inside
Step 6. Bunch off the top and sew it closed.
Step 7. Cut out the mouth. This hole is where you will be able to see out while wearing your costume. If you are using a dark hamper like me, just cut the mouth out of the fabric layer and leave the hamper layer in tact. If you’re using a light coloured hamper, you may want to cut the mouth hole through both the fabric and hamper layer and then glue some black mesh to close off the mouth so that it’s harder to see your face when you are wearing the costume.
Step 8. Cut two rectagles that are wide enough to loosely cover your arms. The length should be at least 1.5 times longer than your arms to get some good flailing movement.
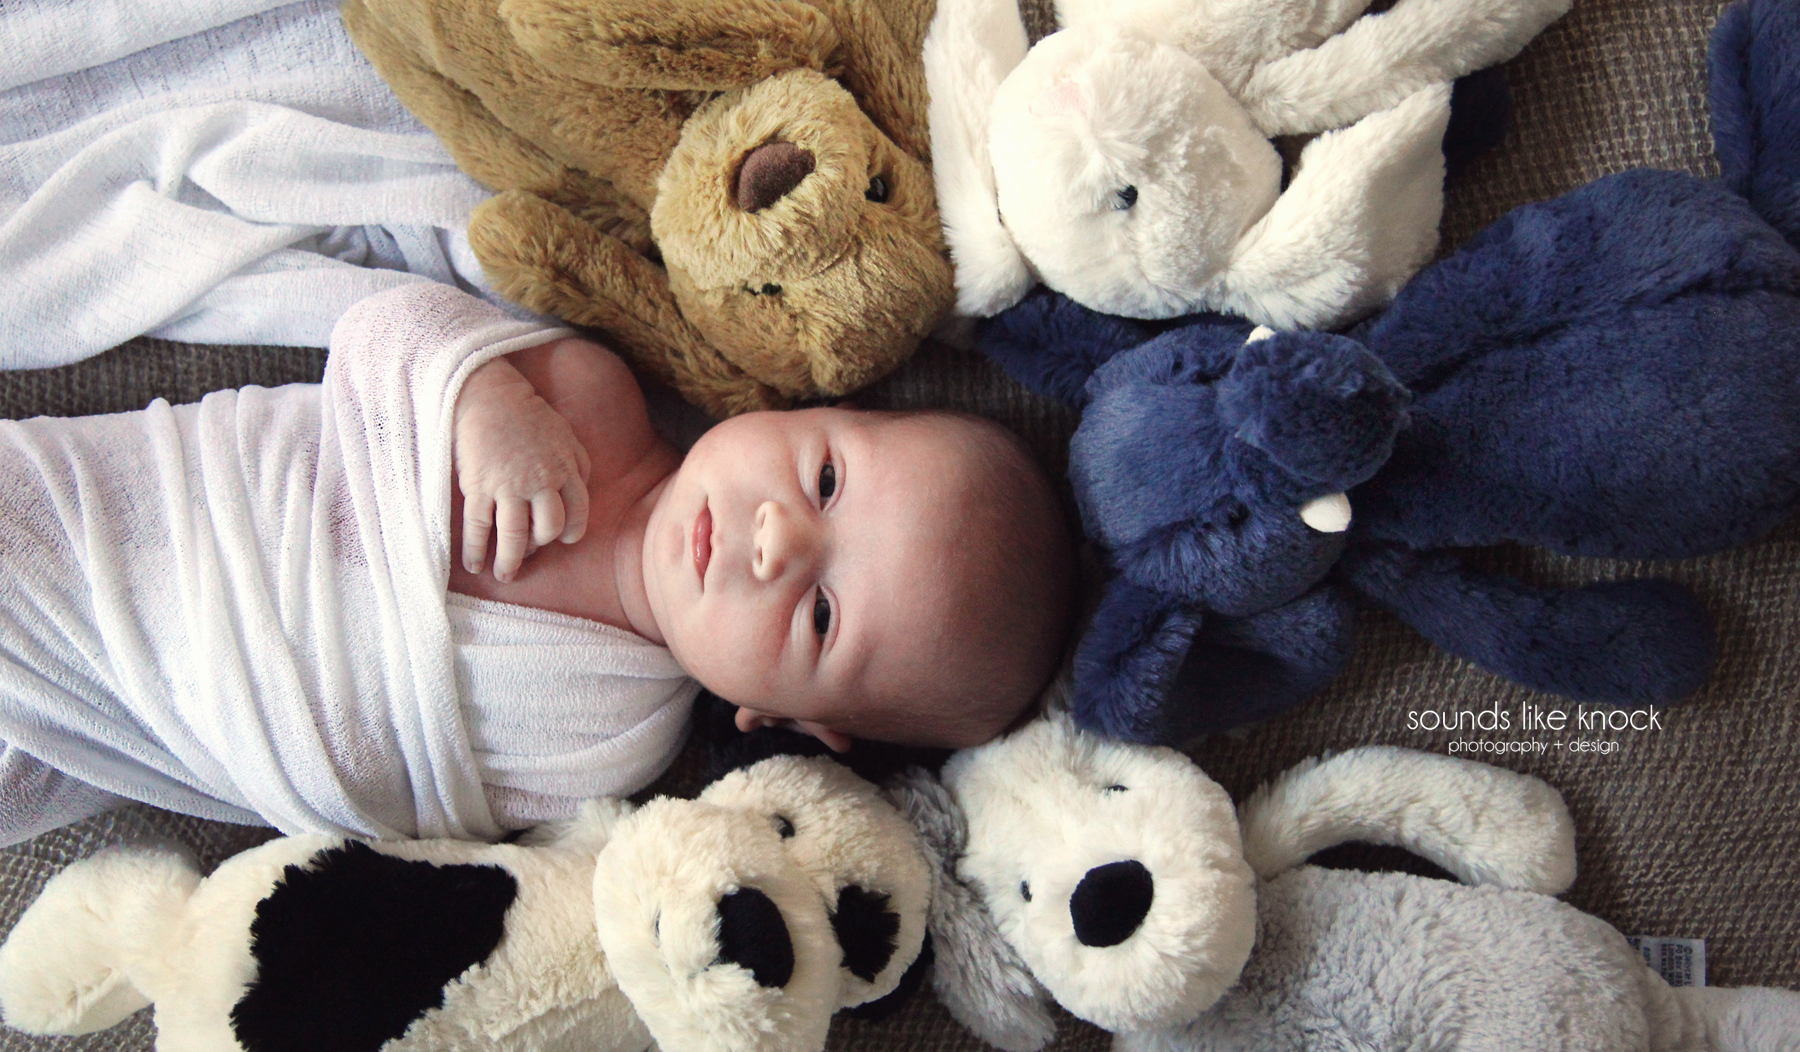
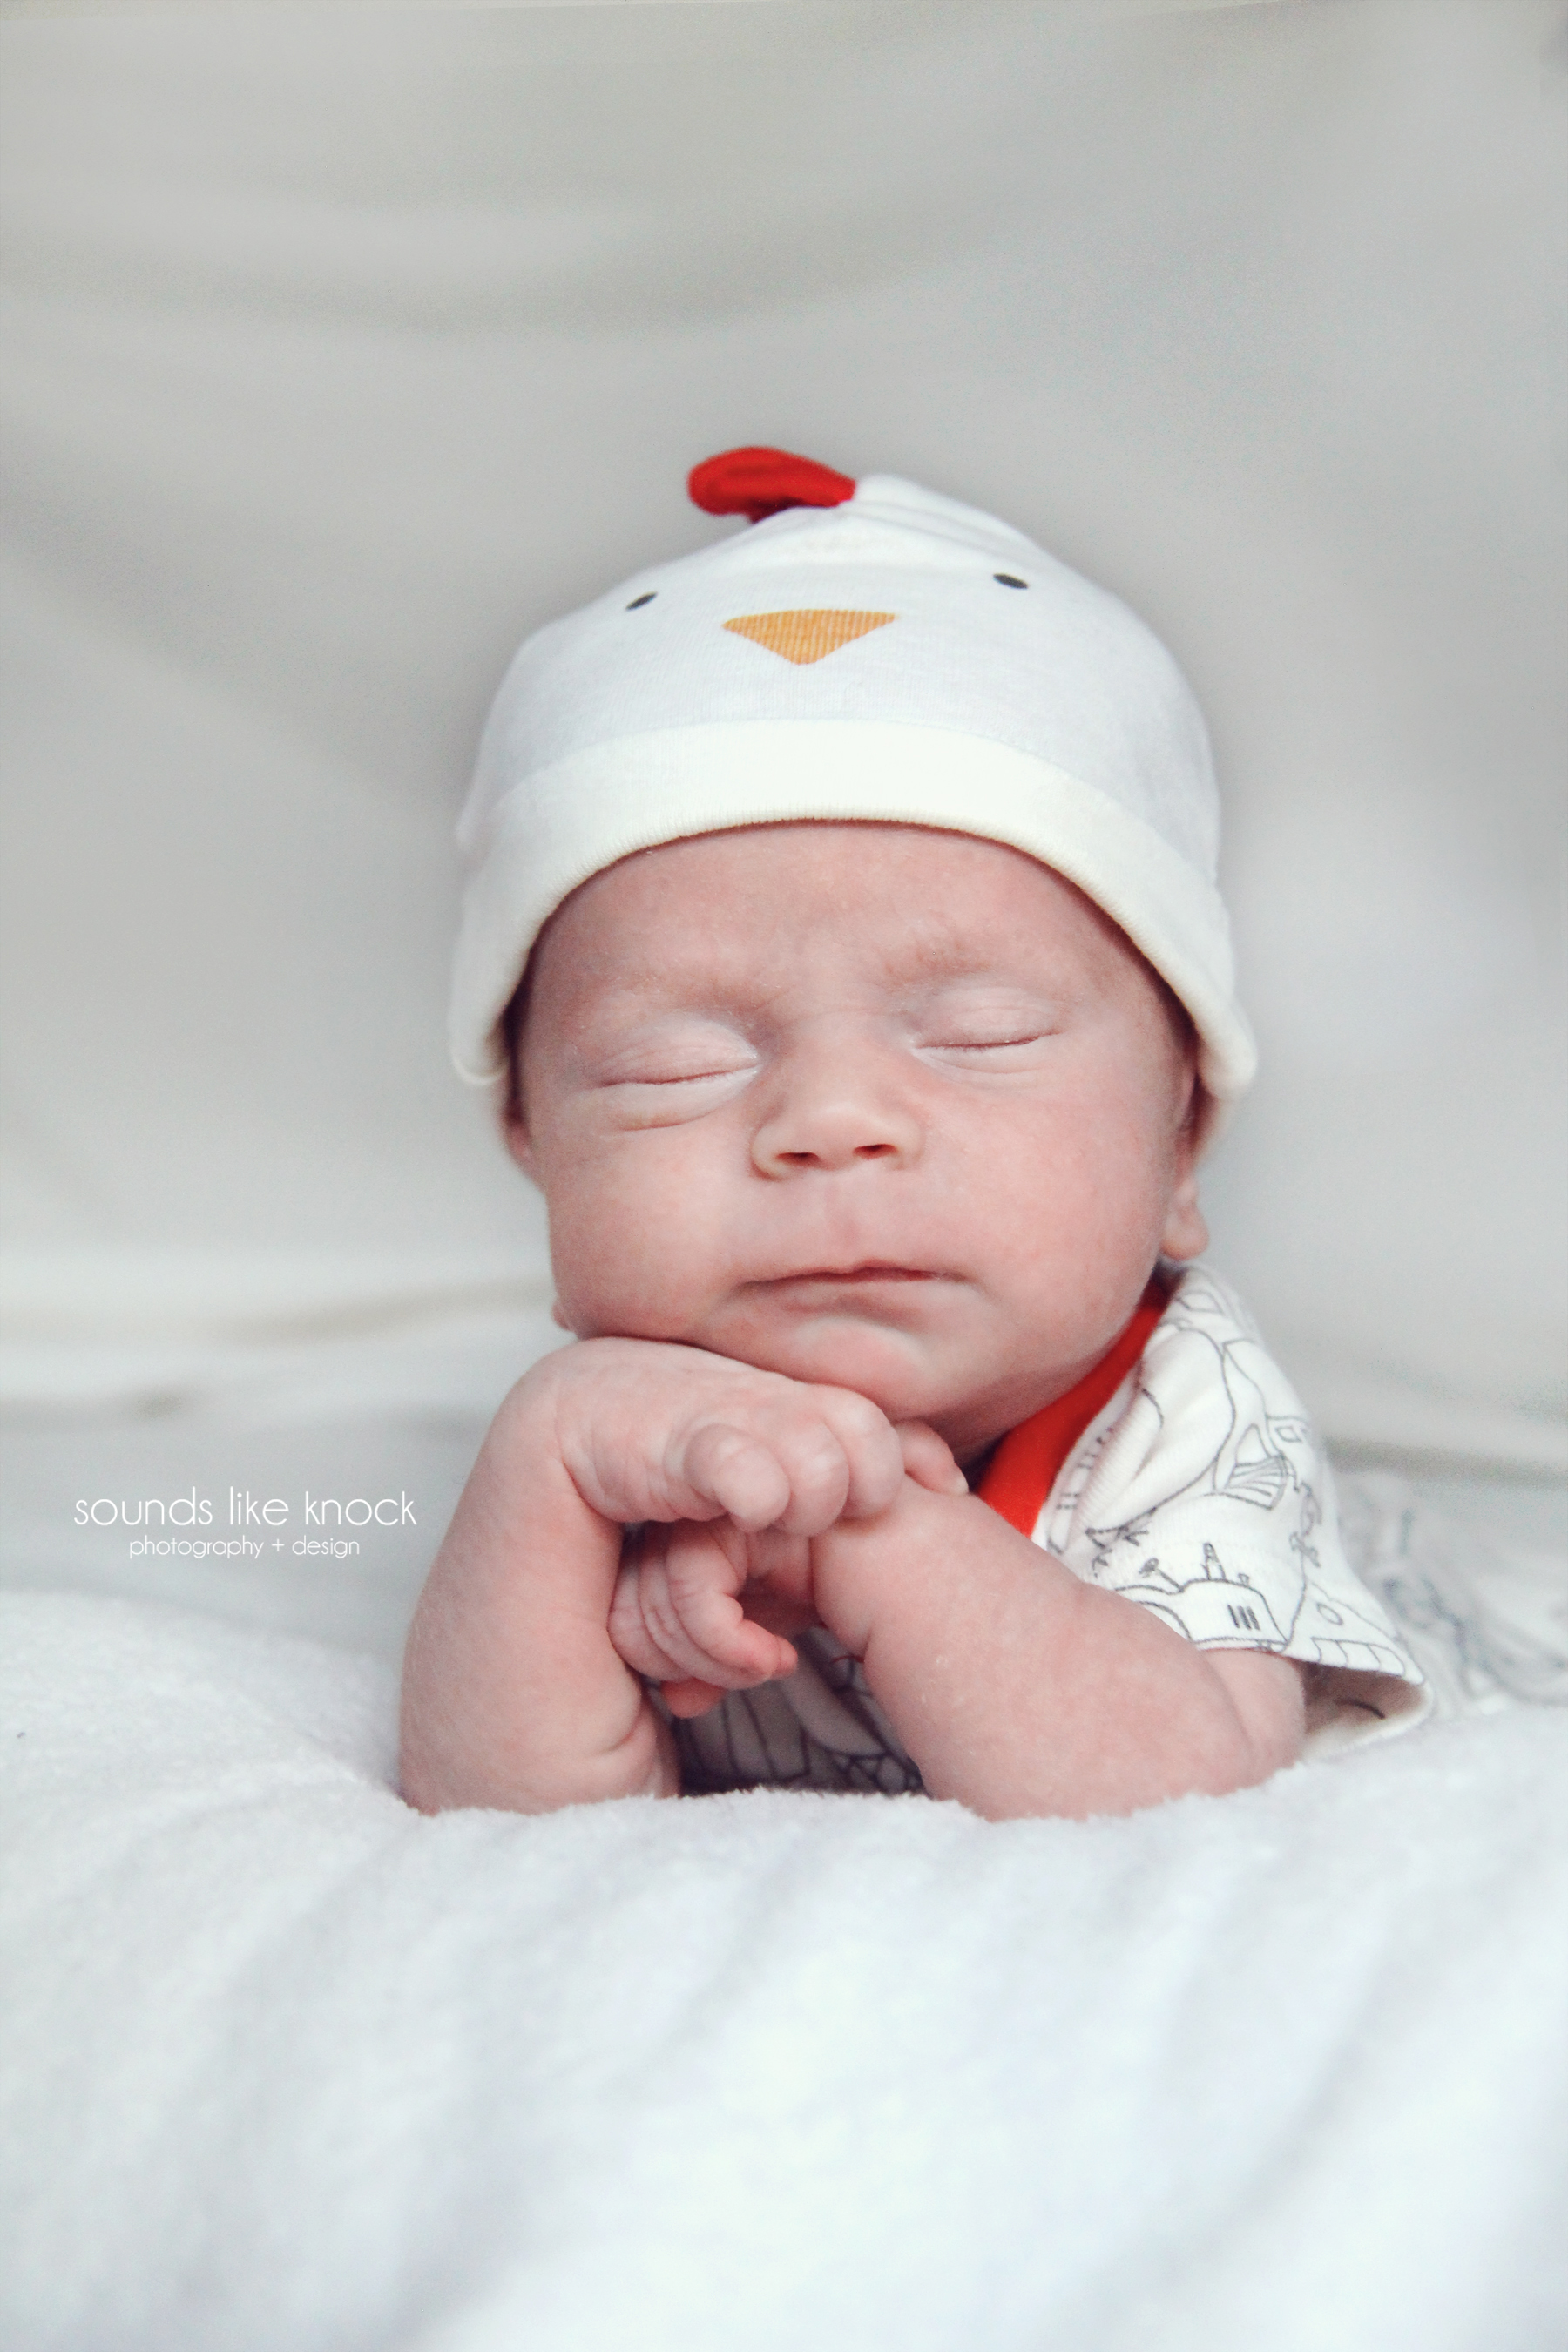
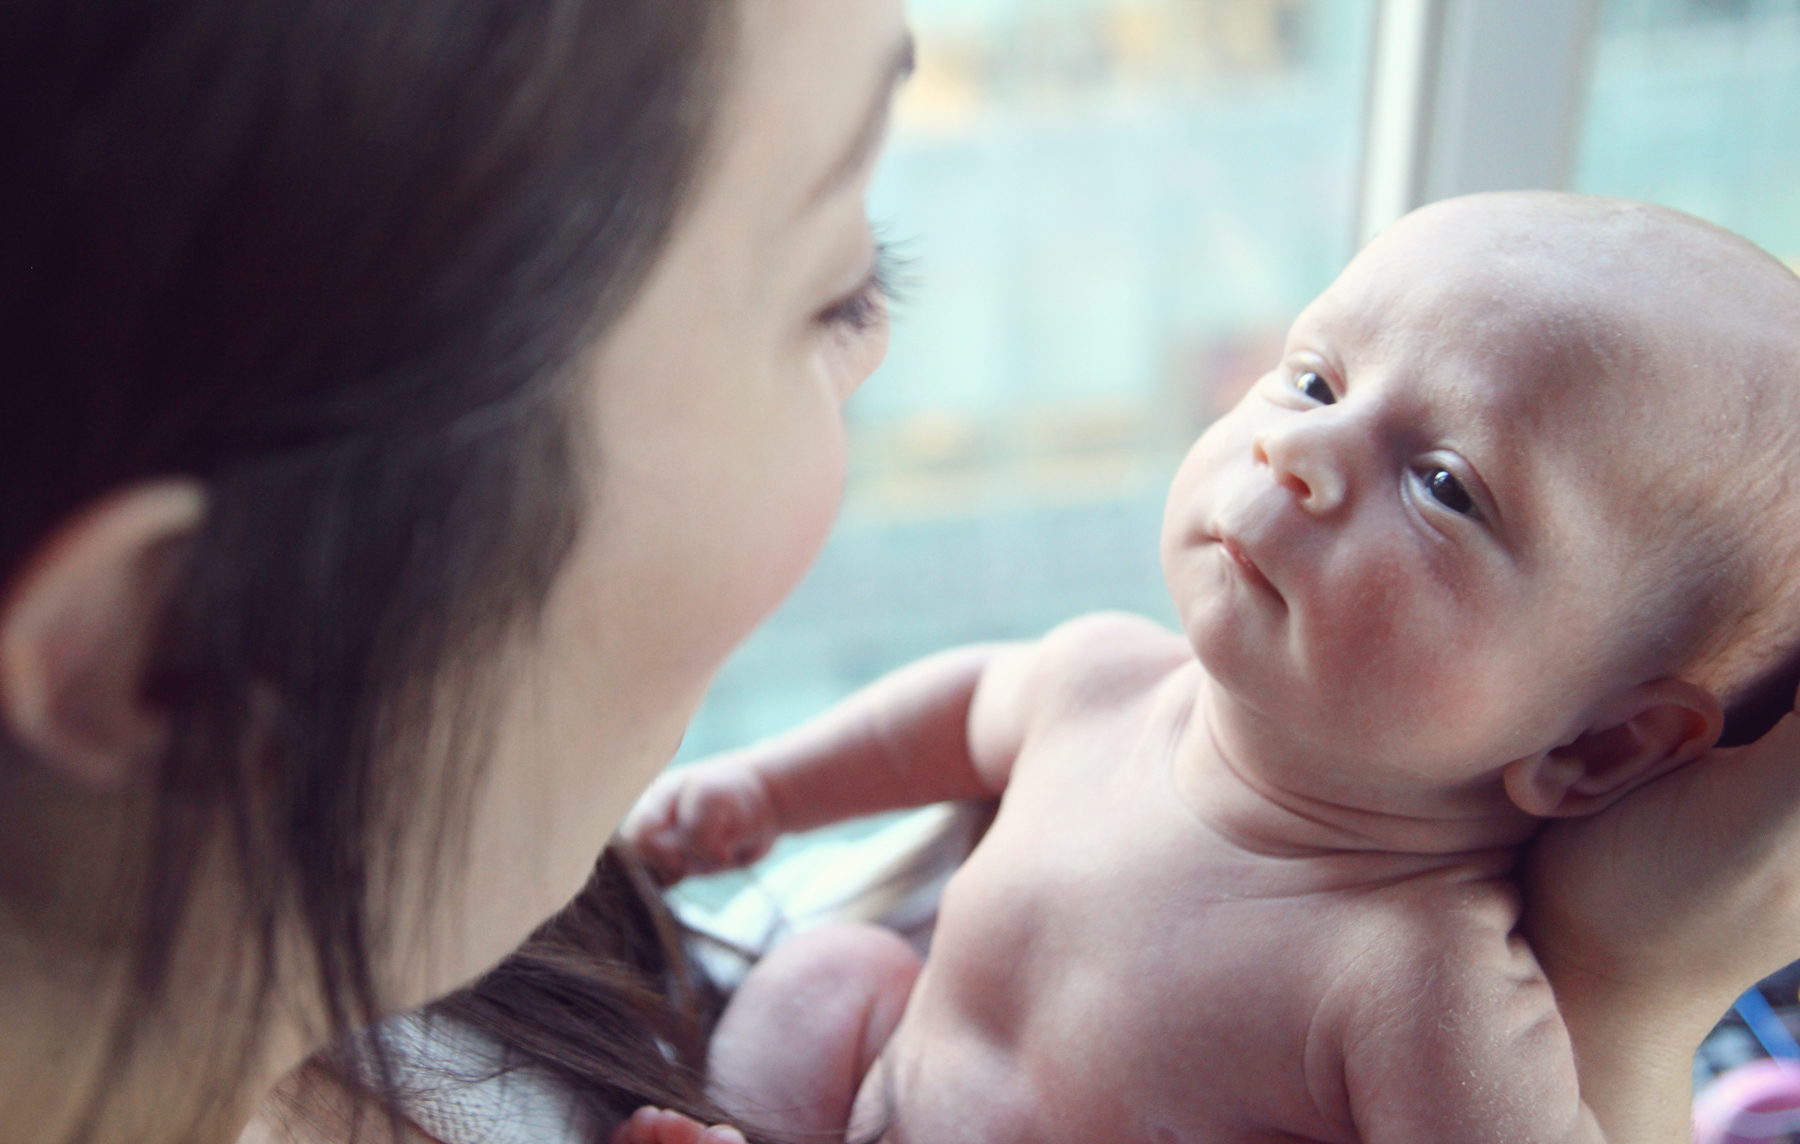
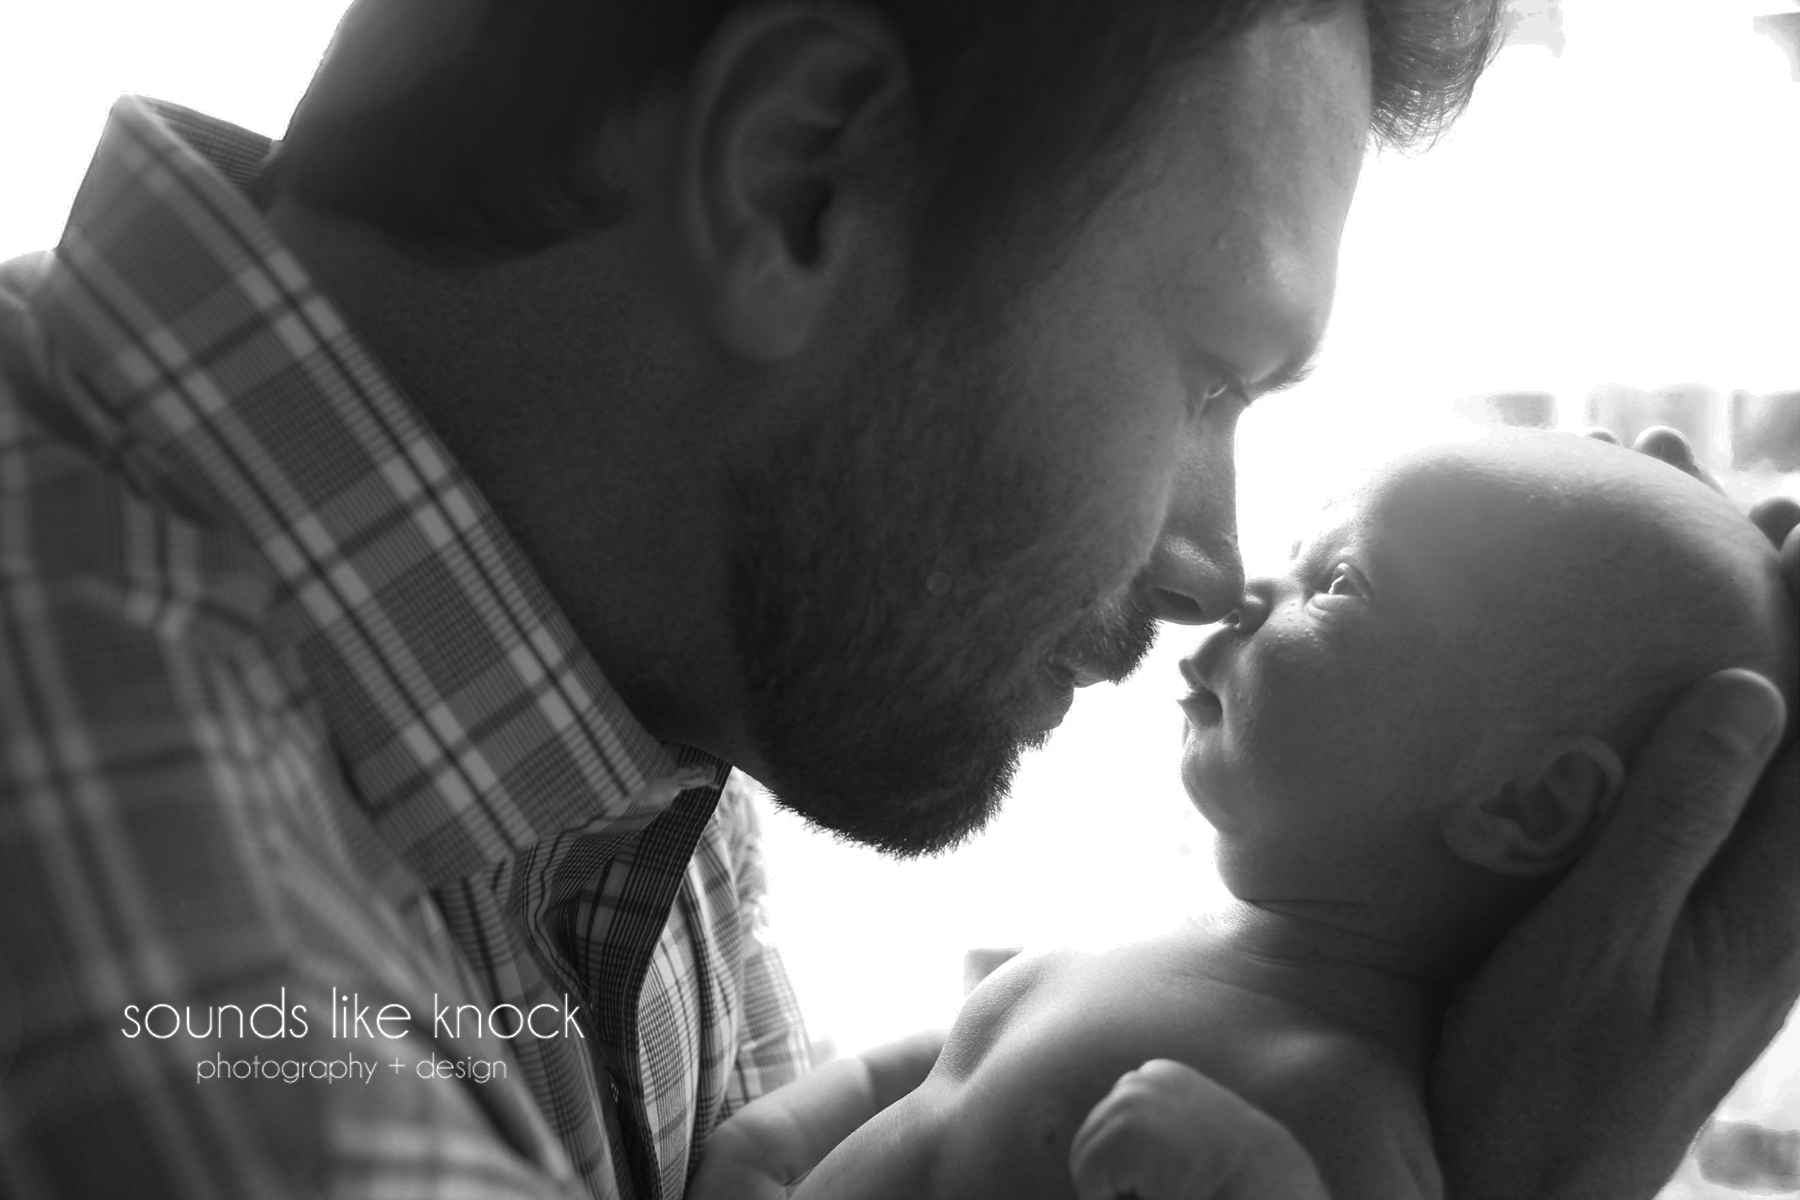
Anyone that knows me, knows that newborn babies are one of my top 10 favourite things in life. I mean… that intoxicatingly delicious new baby smell… can someone just bottle that up for me!?
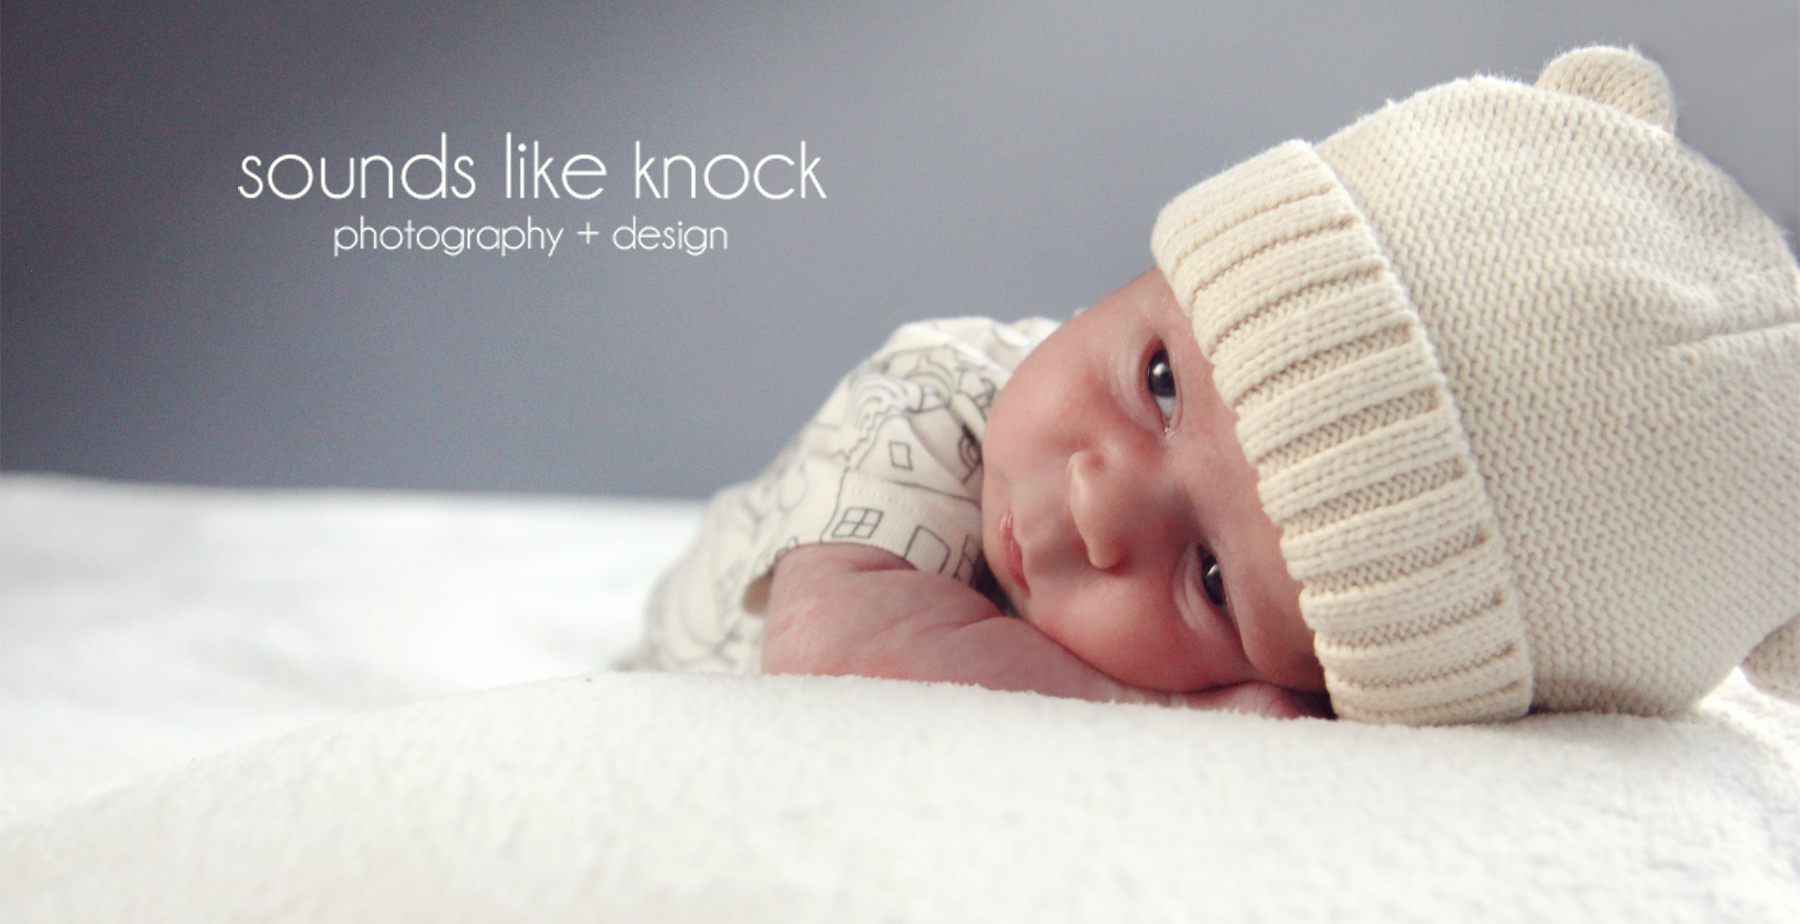
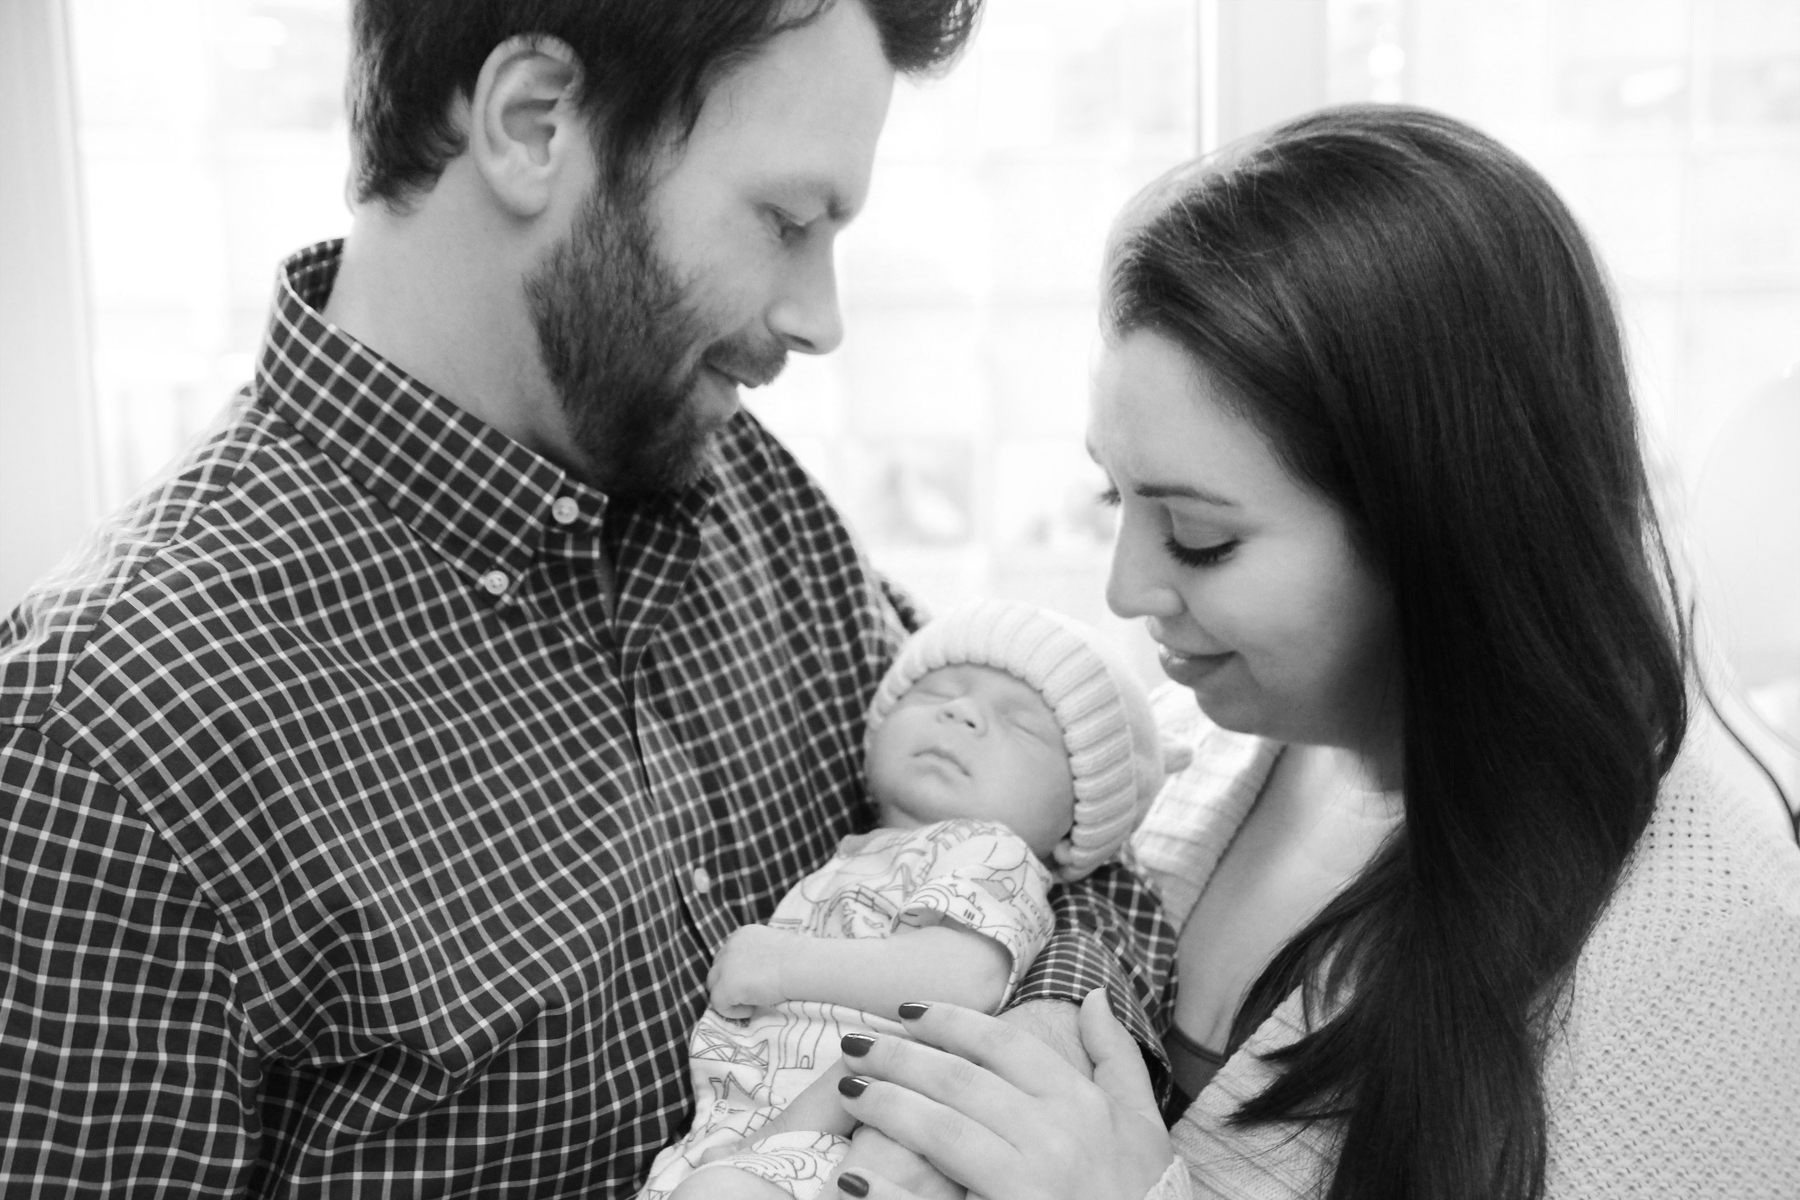
Anyways, so even though I’m not typically a newborn photographer, I couldn’t pass up the chance to hang out with this little human (plus.. his dad reminded me that 3 years ago, I had jokingly promised to take newborn photos for him if he ever decided to have kids).
This little cutie is only 3 weeks old, but he was very active and curious about what was happening around him the whole time. Though this made some of the poses a little bit more difficult, I think we ended up with a few really great shots. Hope you like them!
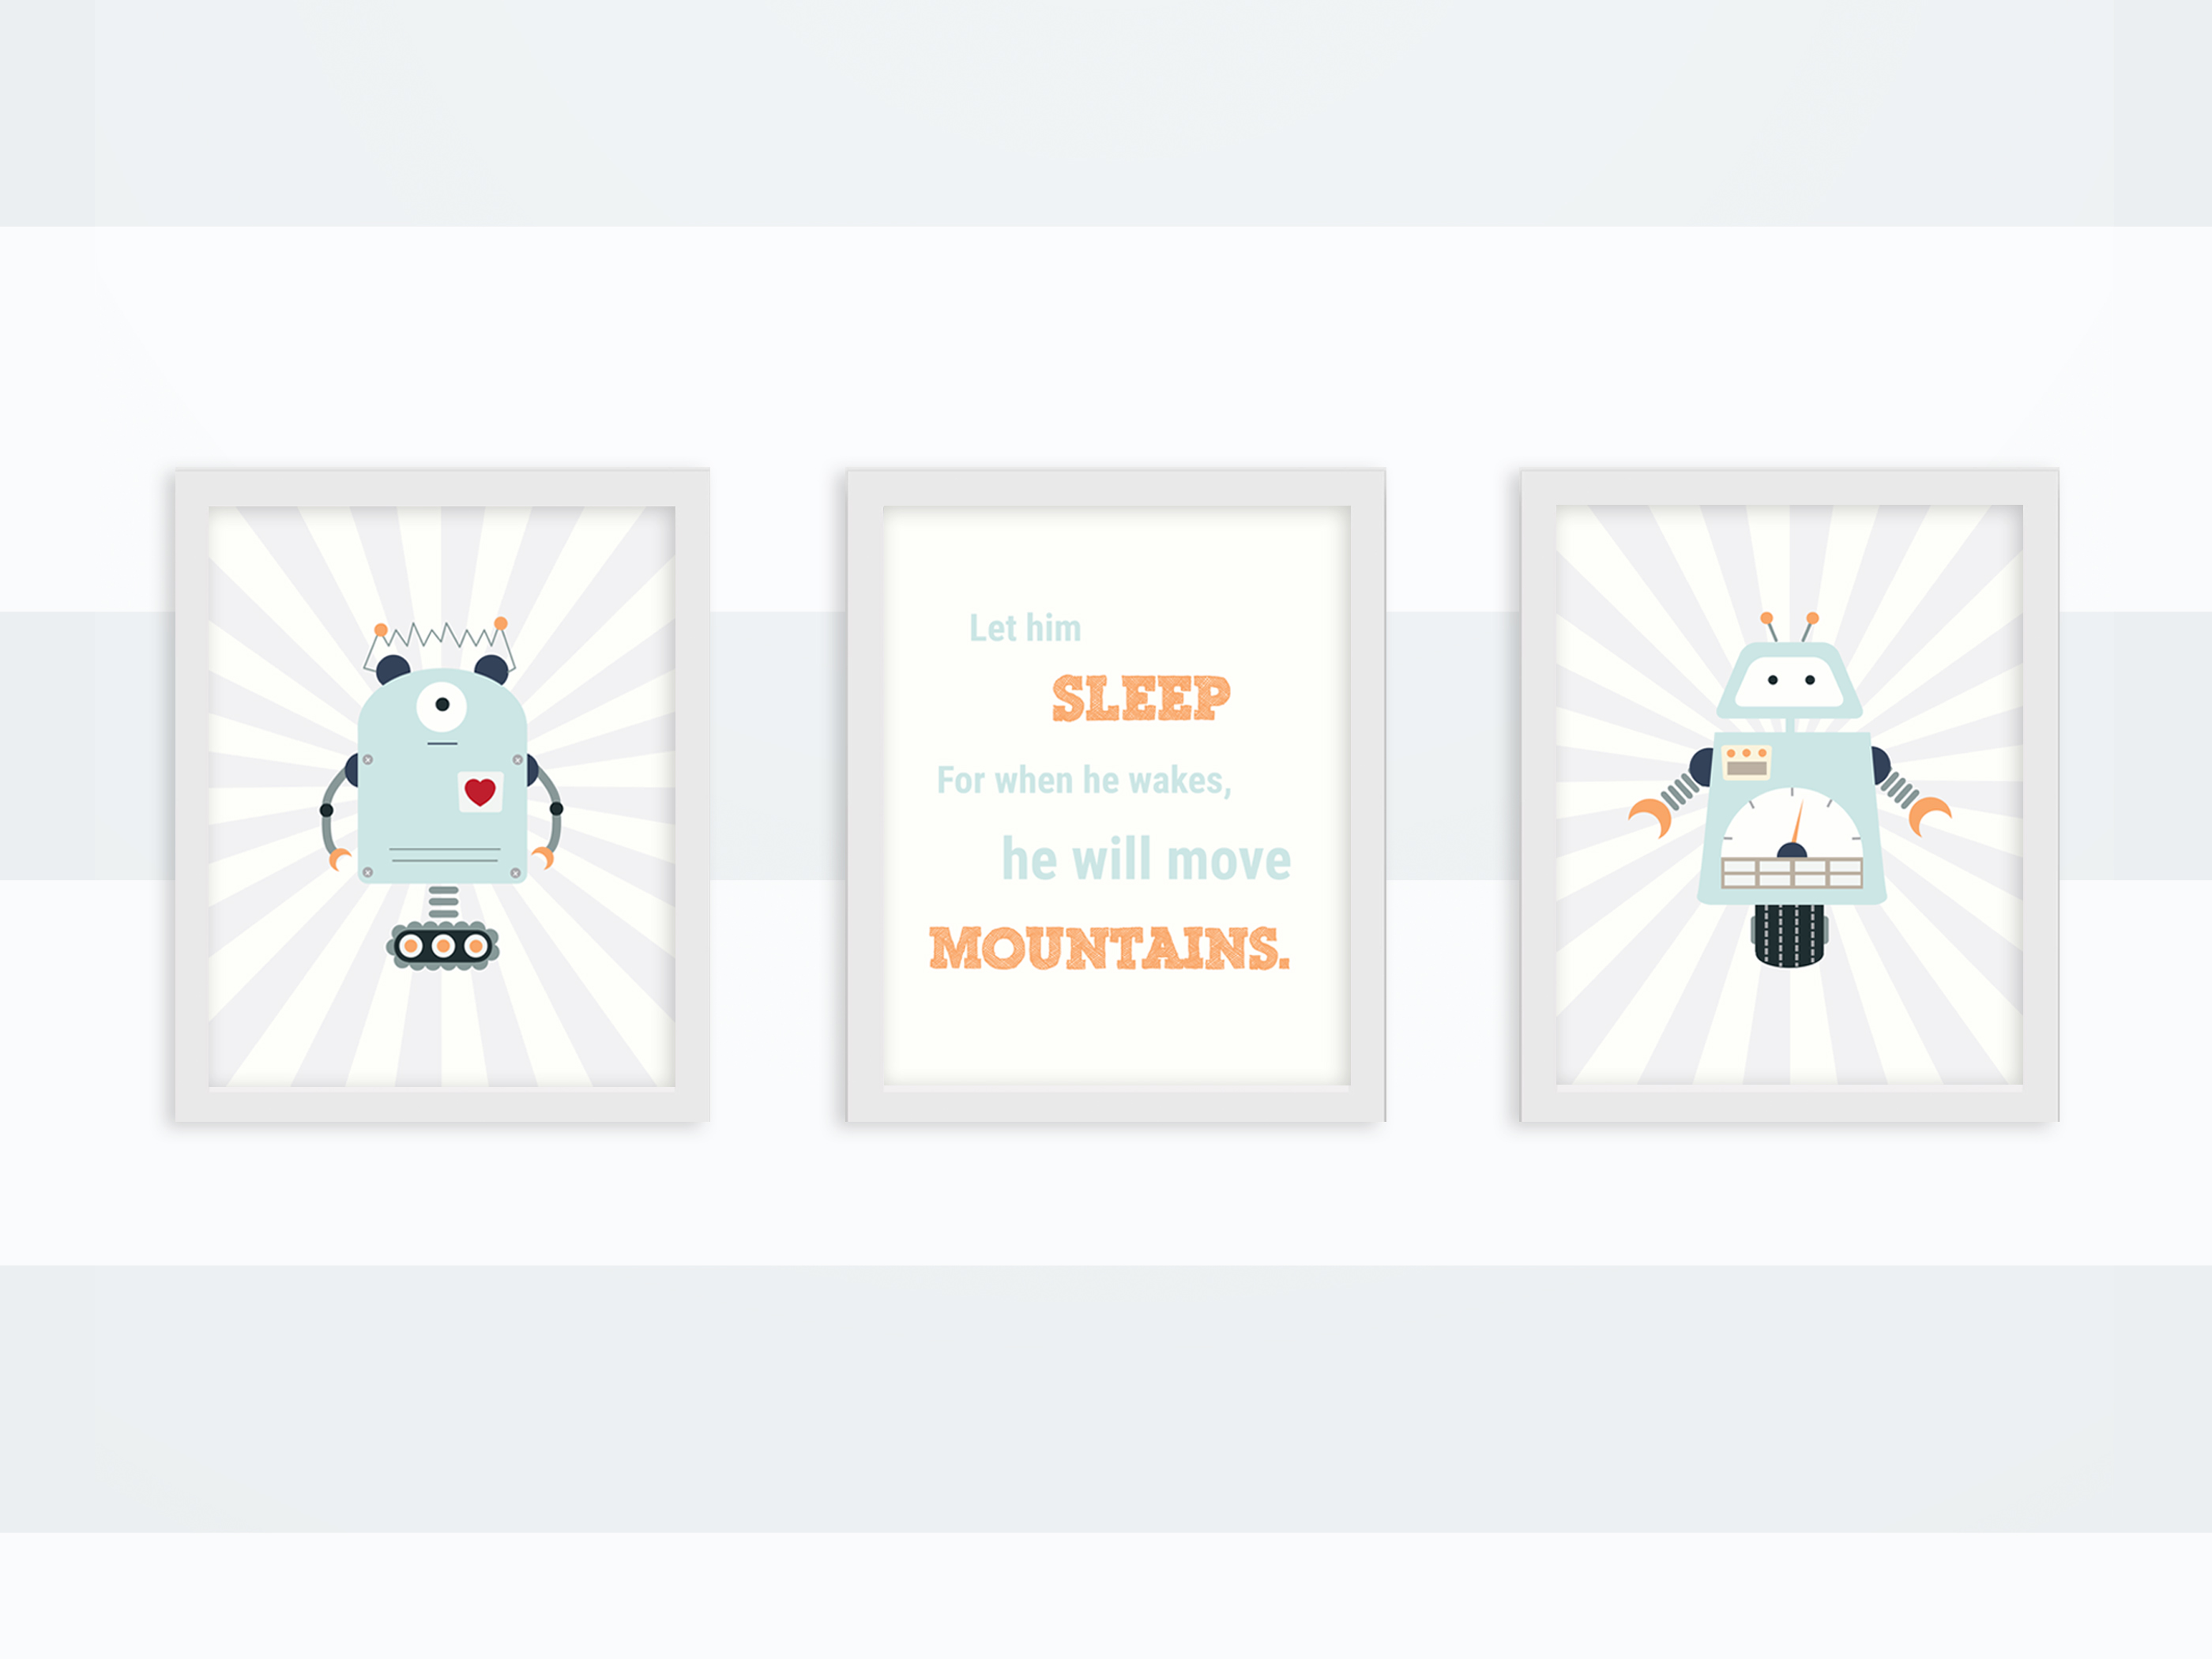
A good friend of mine just had a baby boy and they decided to decorate his room in a robot theme. I had them sketch out robots which I then made in to prints. I thought the robots were so cute so I decided to make slightly different ones for you guys!! If you’re interested in commissioning some custom print work, feel free to contact me at ngoc@soundslikeknock.com
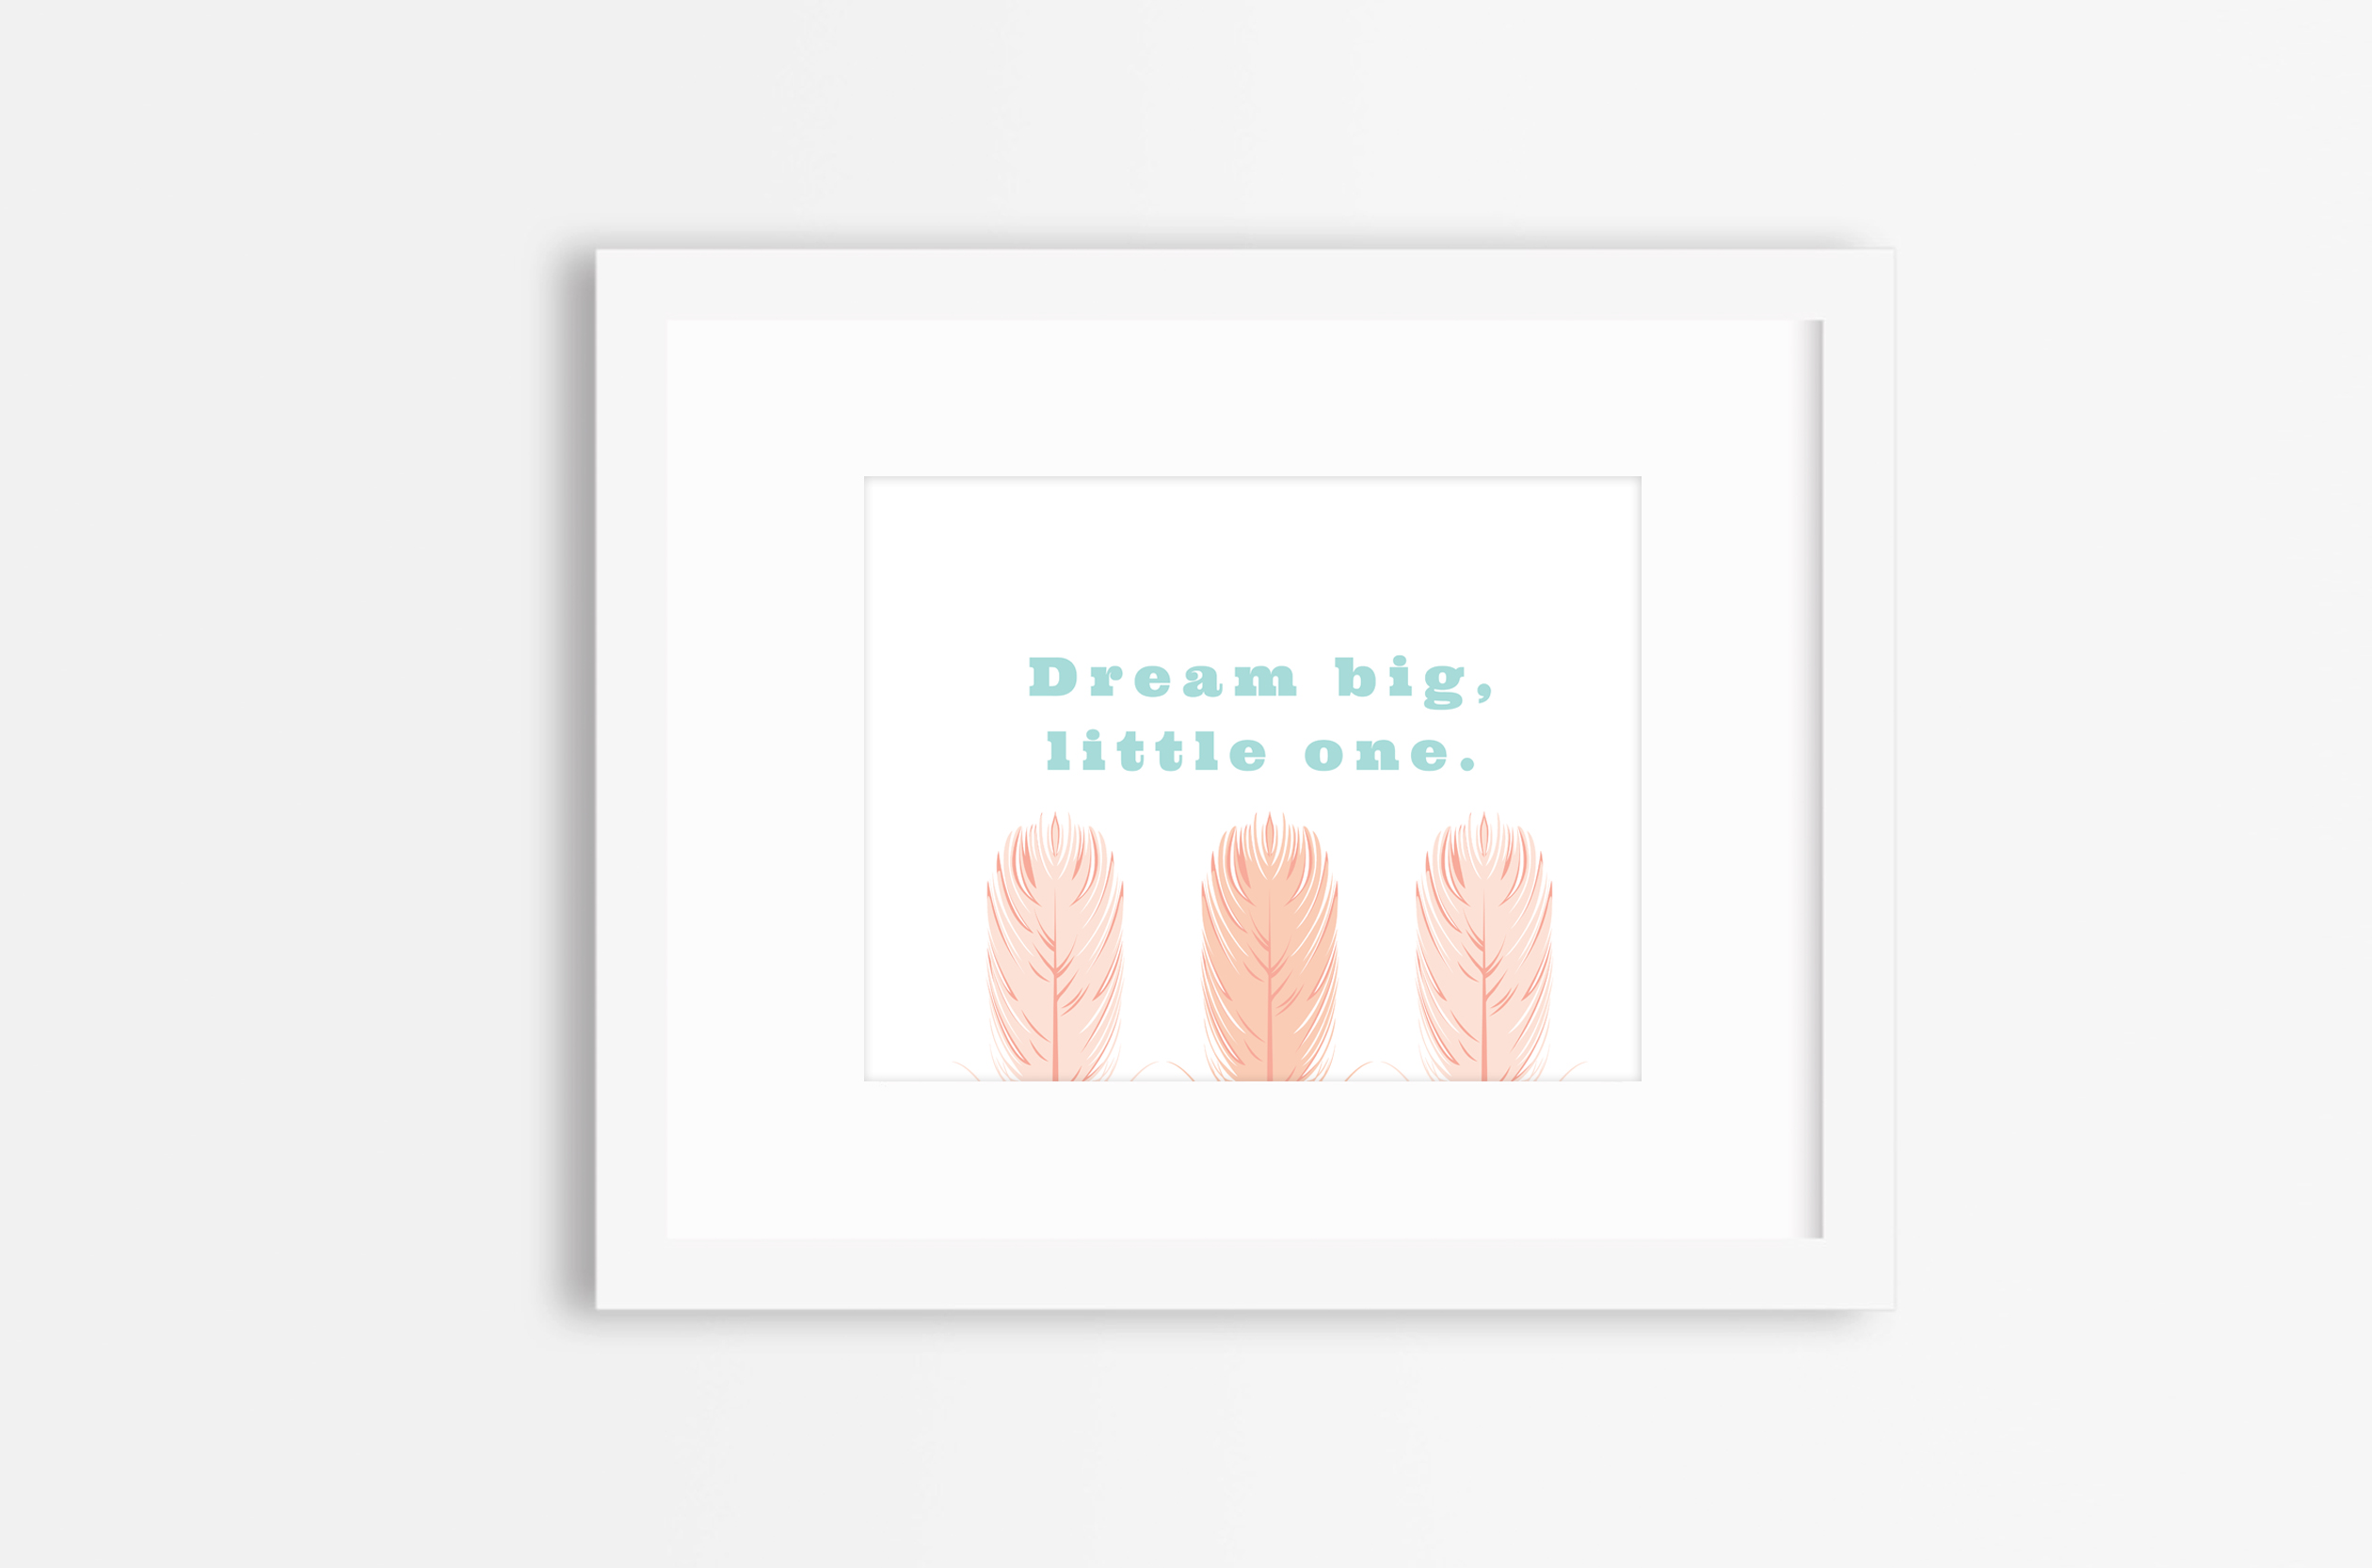
Here’s another print I’ve made for a friend and thought I’d share it with you! You can download an 8.5×11 inch print of this here -> Dream BIG little One
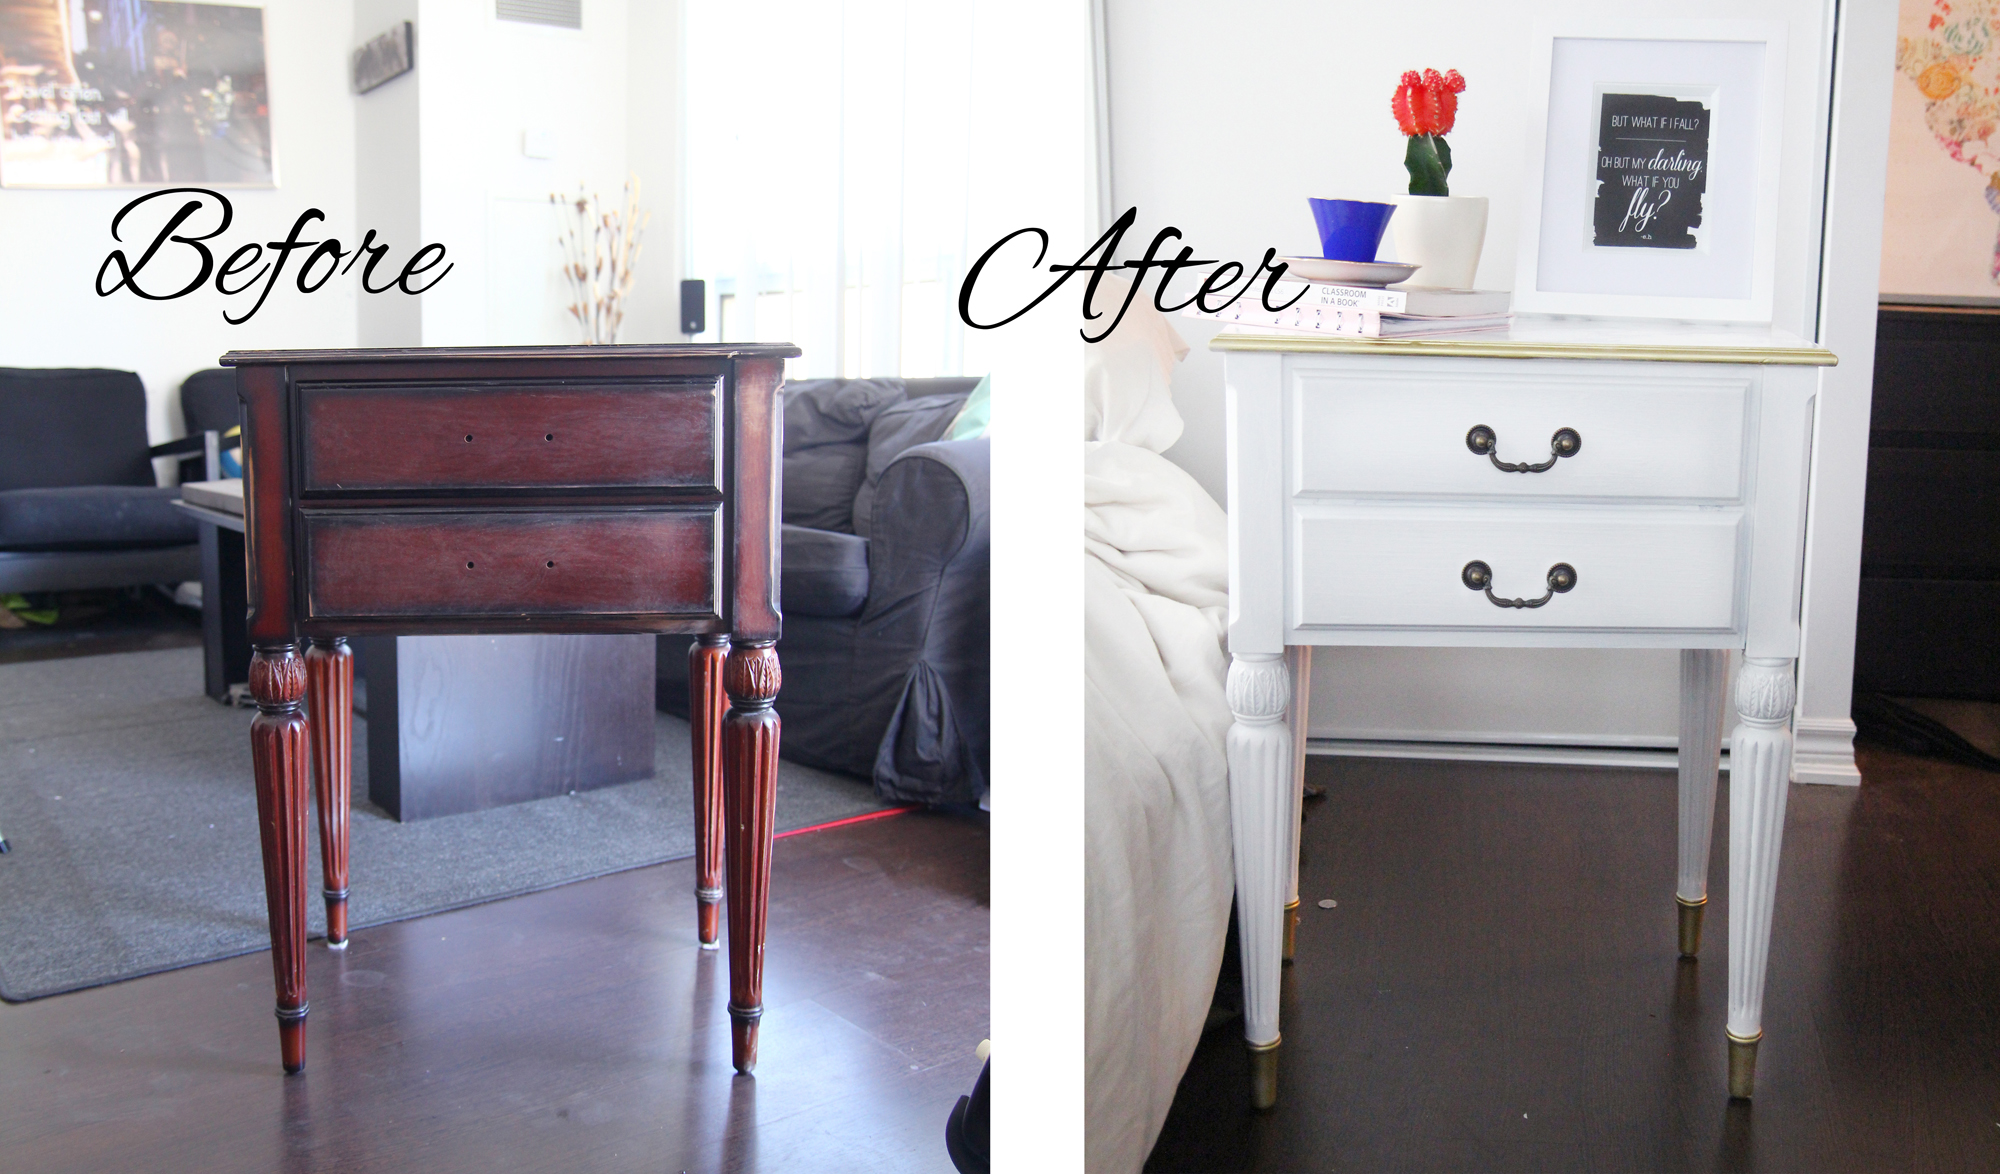
I was in need of a bedside table and found this one that someone was throwing out. A few coats of paint was all that was needed to make someone’s trash into great addition to my bedroom.
You will need:
A piece of furniture you want to refinish
Sand paper (a palm sander will save you so much time!)
Primer
A paint brush
Paint (latex or eggshell preferably)
Optional:
Gold spray paint
Marble contact paper
So first you want to remove the hardware and sand down all the surfaces of your furniture. You can use 120-150 grit sandpaper. This will help the primer and paint adhere to the surface.
Wipe down all the surfaces. Make sure you get in to all the nooks and crannies to get all of the dust that came off during sanding.
Now using even strokes, you want to paint all of the surfaces with the primer. Now you want to let the primer fully dry. I recommend leaving it over night.
When your primer is dry, you want to put on a few layers of your paint. Make sure you let it dry completely between coats.
You may want to paint the hardware or buy new ones. Or you can also paint the existing ones to match the new look.
I wanted some gold accents on my table so I tape up the areas that I didn’t want gold. Make sure you press your tape down so that you will get a nice clean edge.
When spray painting, do multiple even thin layers. If you spray on a layer that is too thick, it can start to drip.
8. Wait for the spray paint to dry completely before removing the paint.
9. Adding contact paper inside the drawers or on top can also add a nice touch. I used grey marble by d-c-fix to add a bit of interest to the top of my table. You want to cut out a piece that is the exact dimensions of the area you want to cover and then start by slowing sticking down one edge. Slowly smooth it out as you stick the rest on.