I may have a slight obsession with pink, gold and marble. So when I saw these cute marble Macbook skins on Pinterest, I had to have it. I used d-c-fix grey marble for my cover but you can use any pattern/colour of contact paper you want. Hope you enjoy!
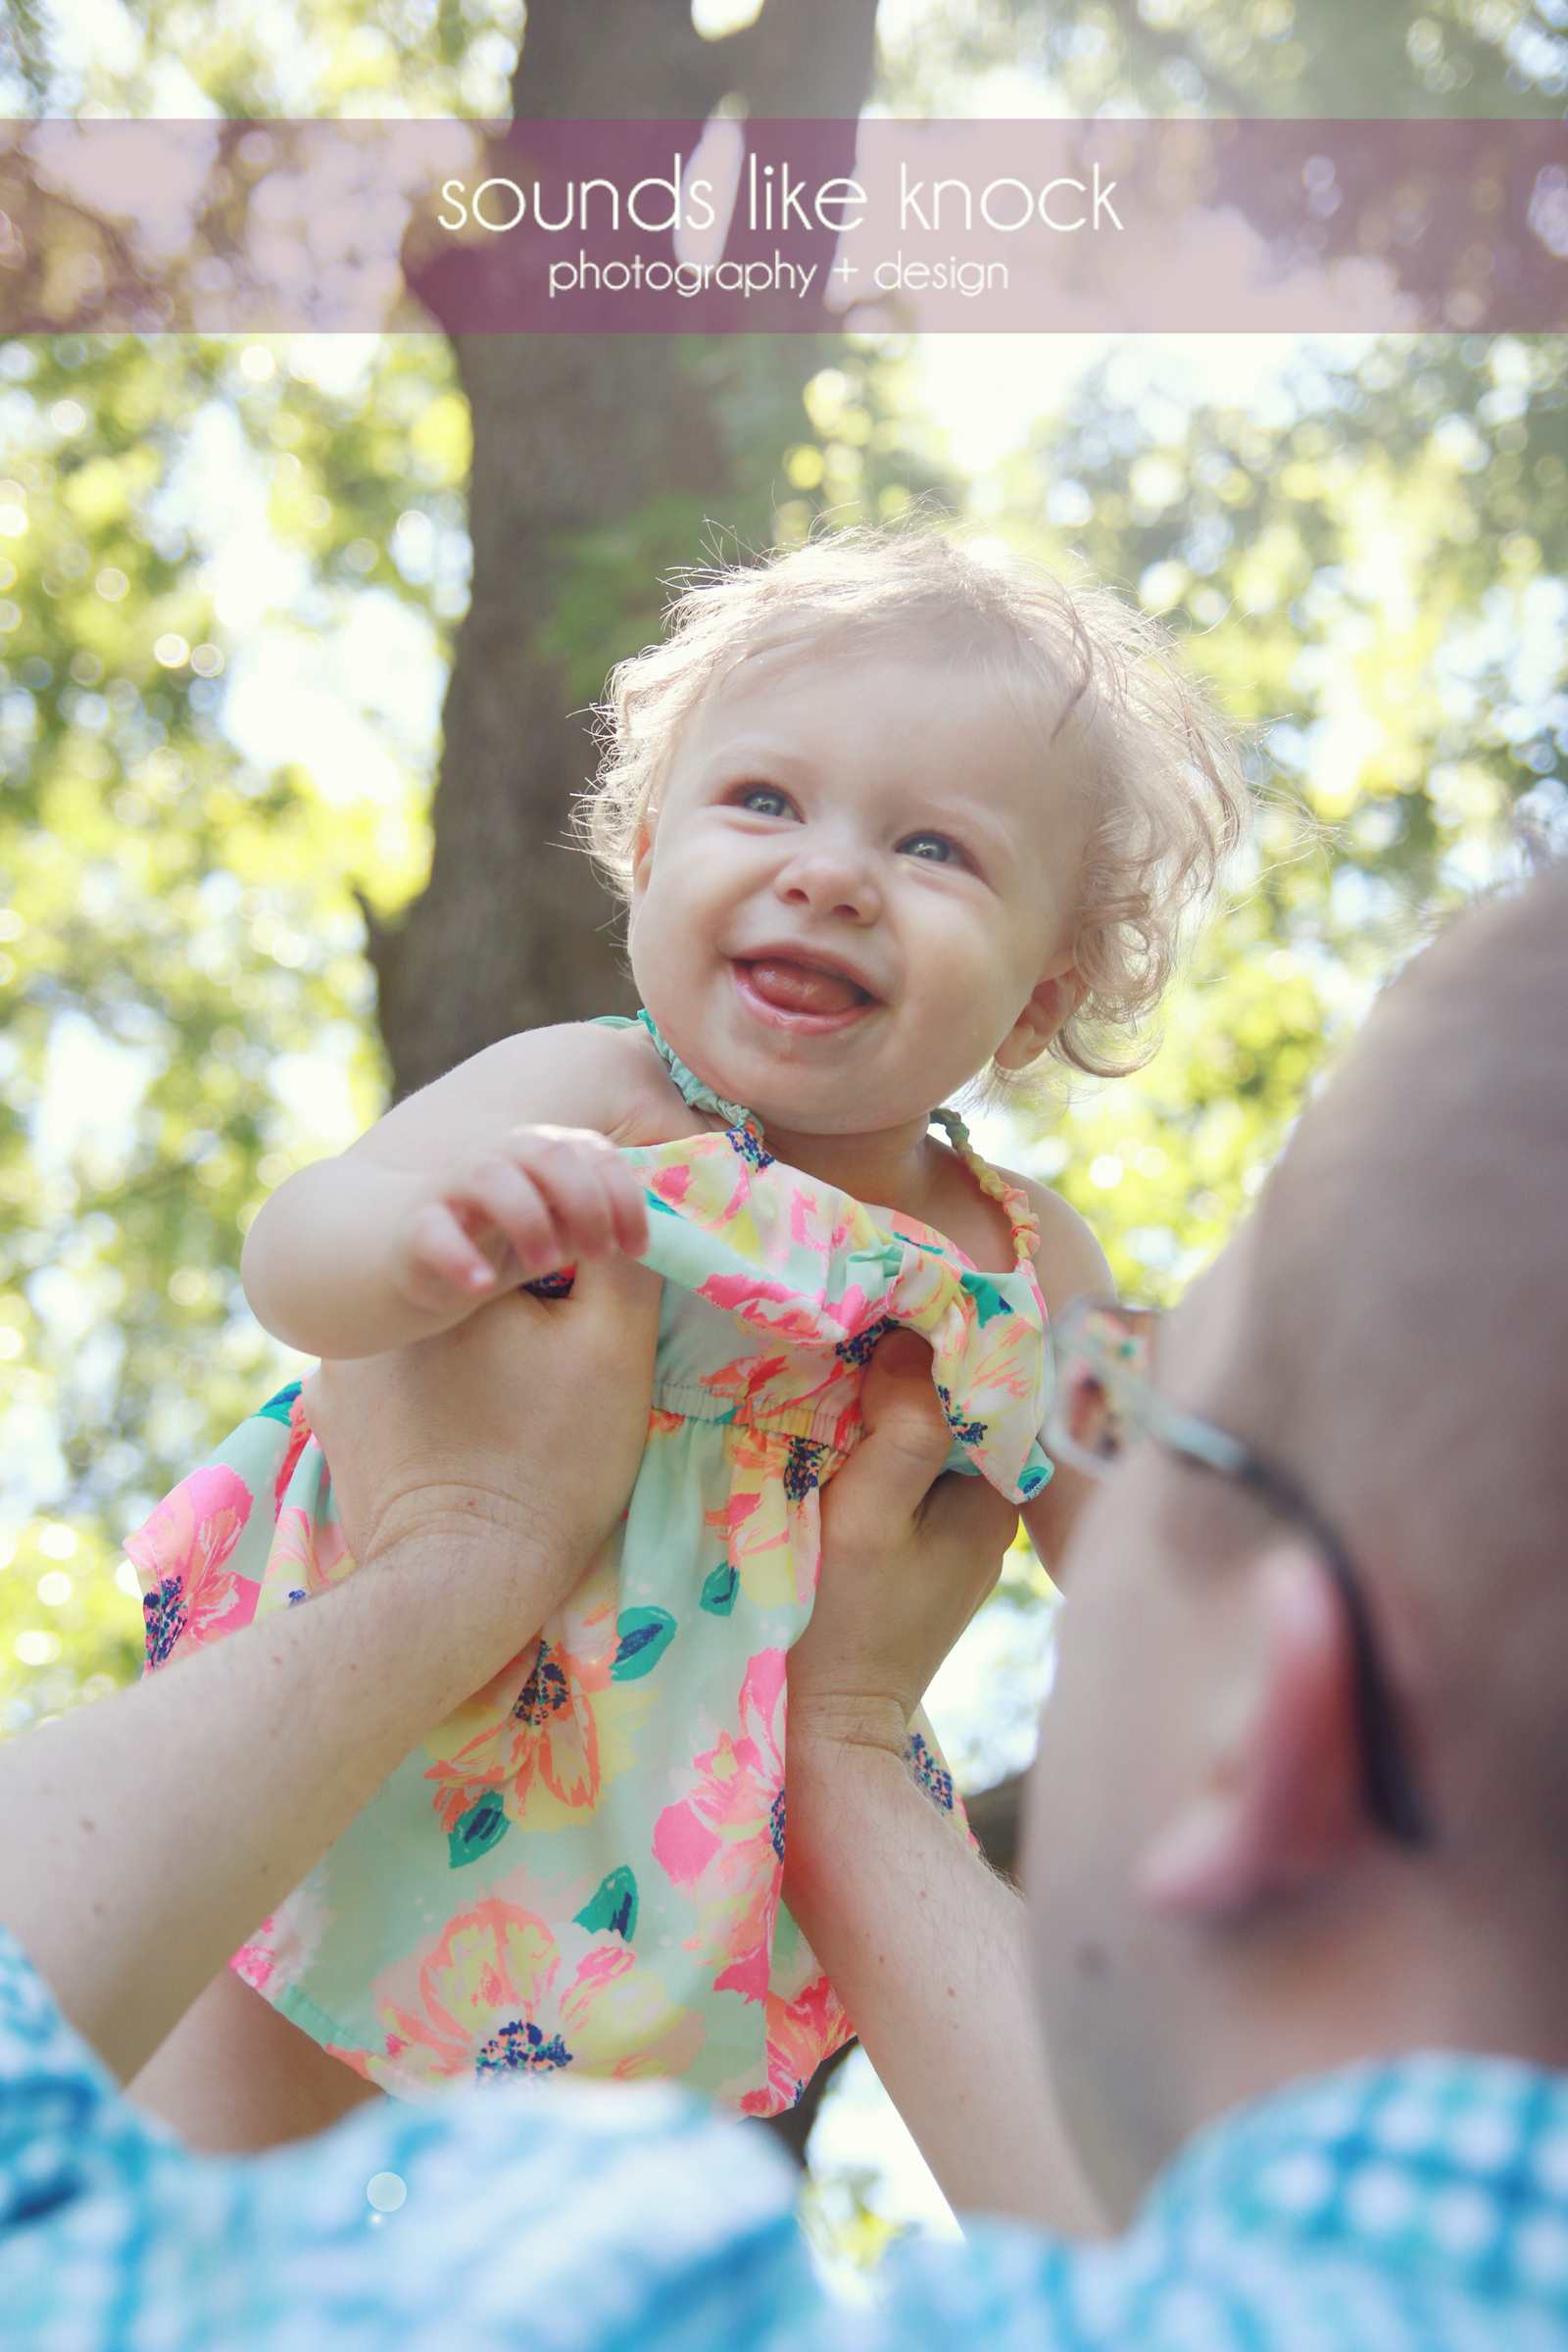
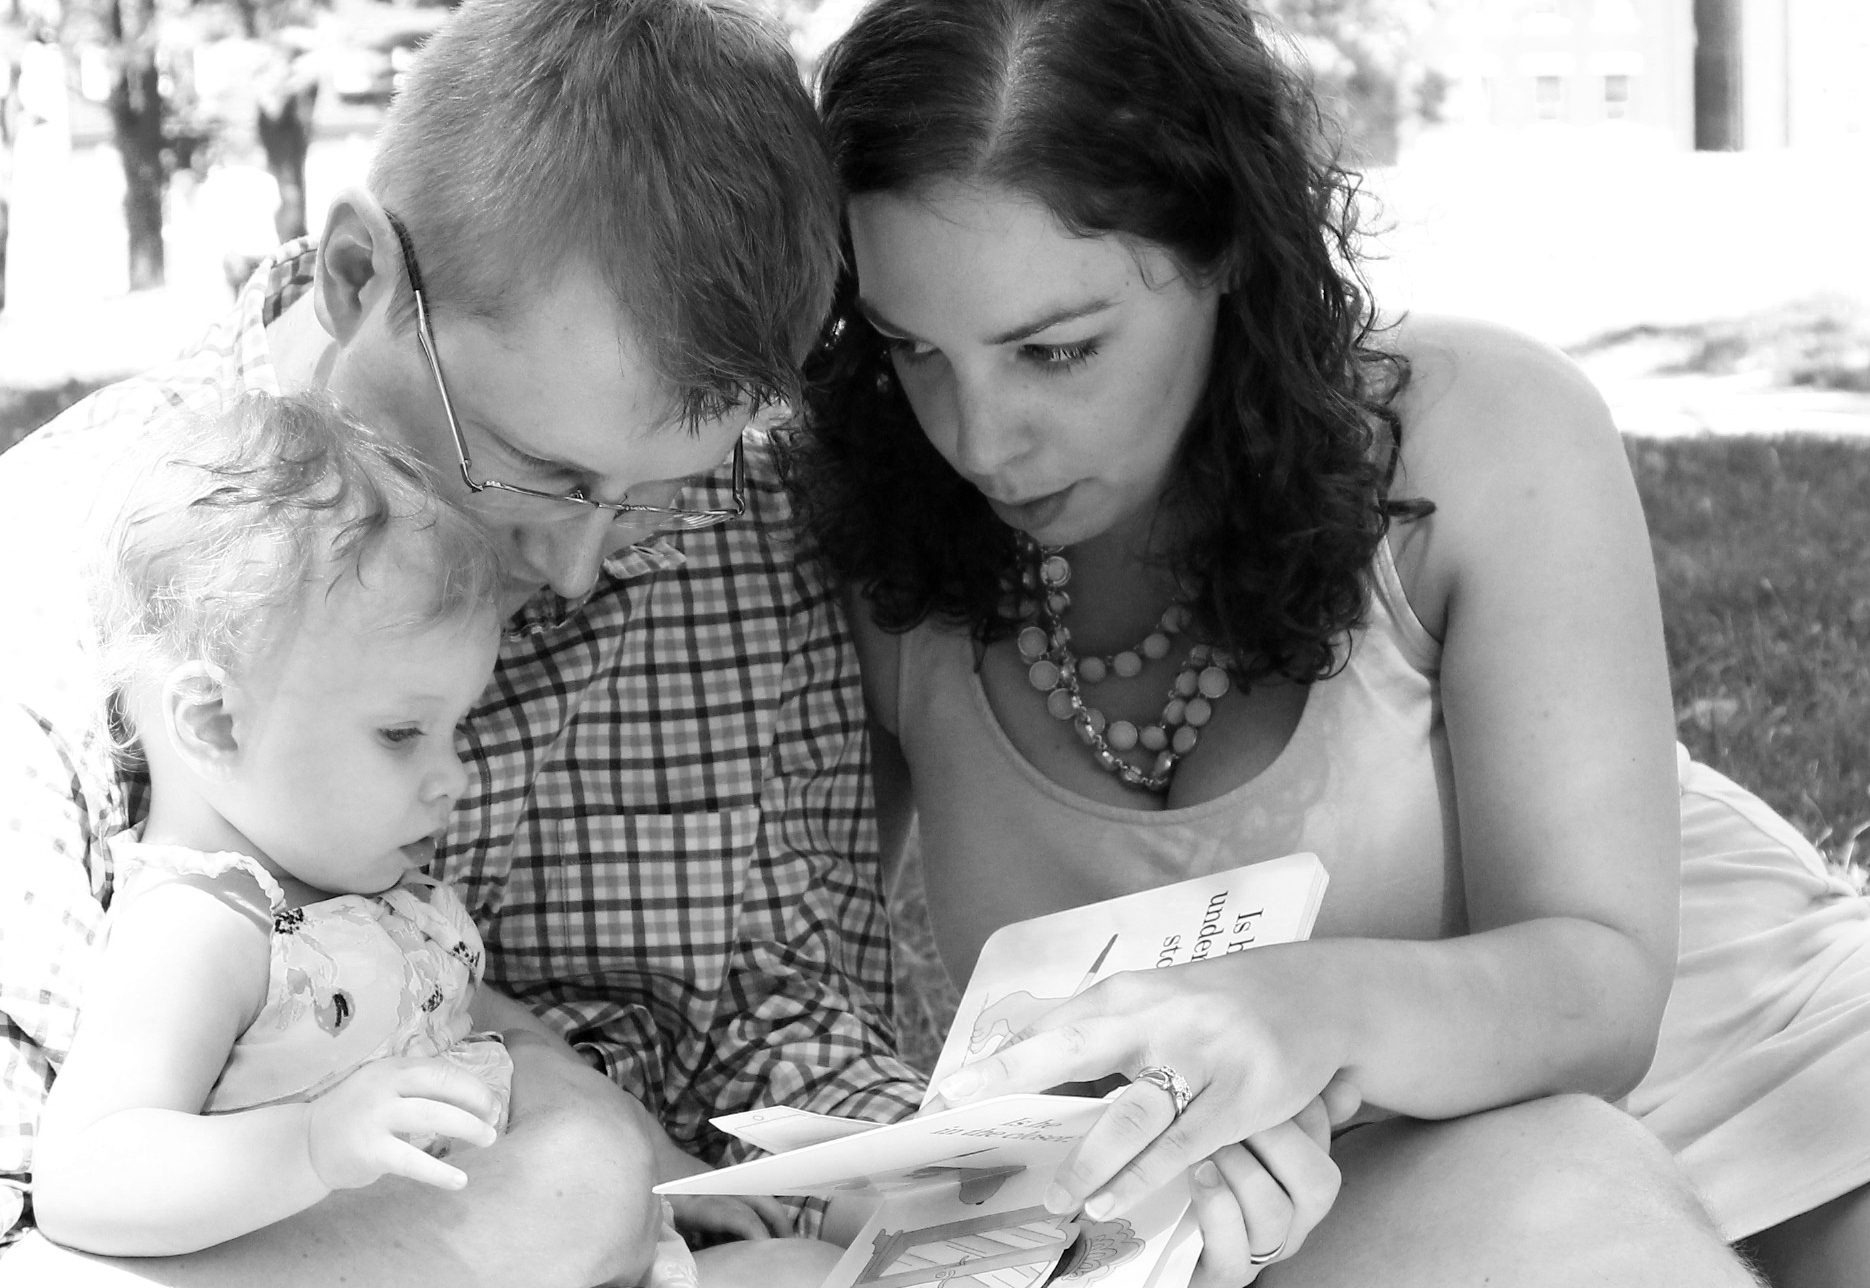
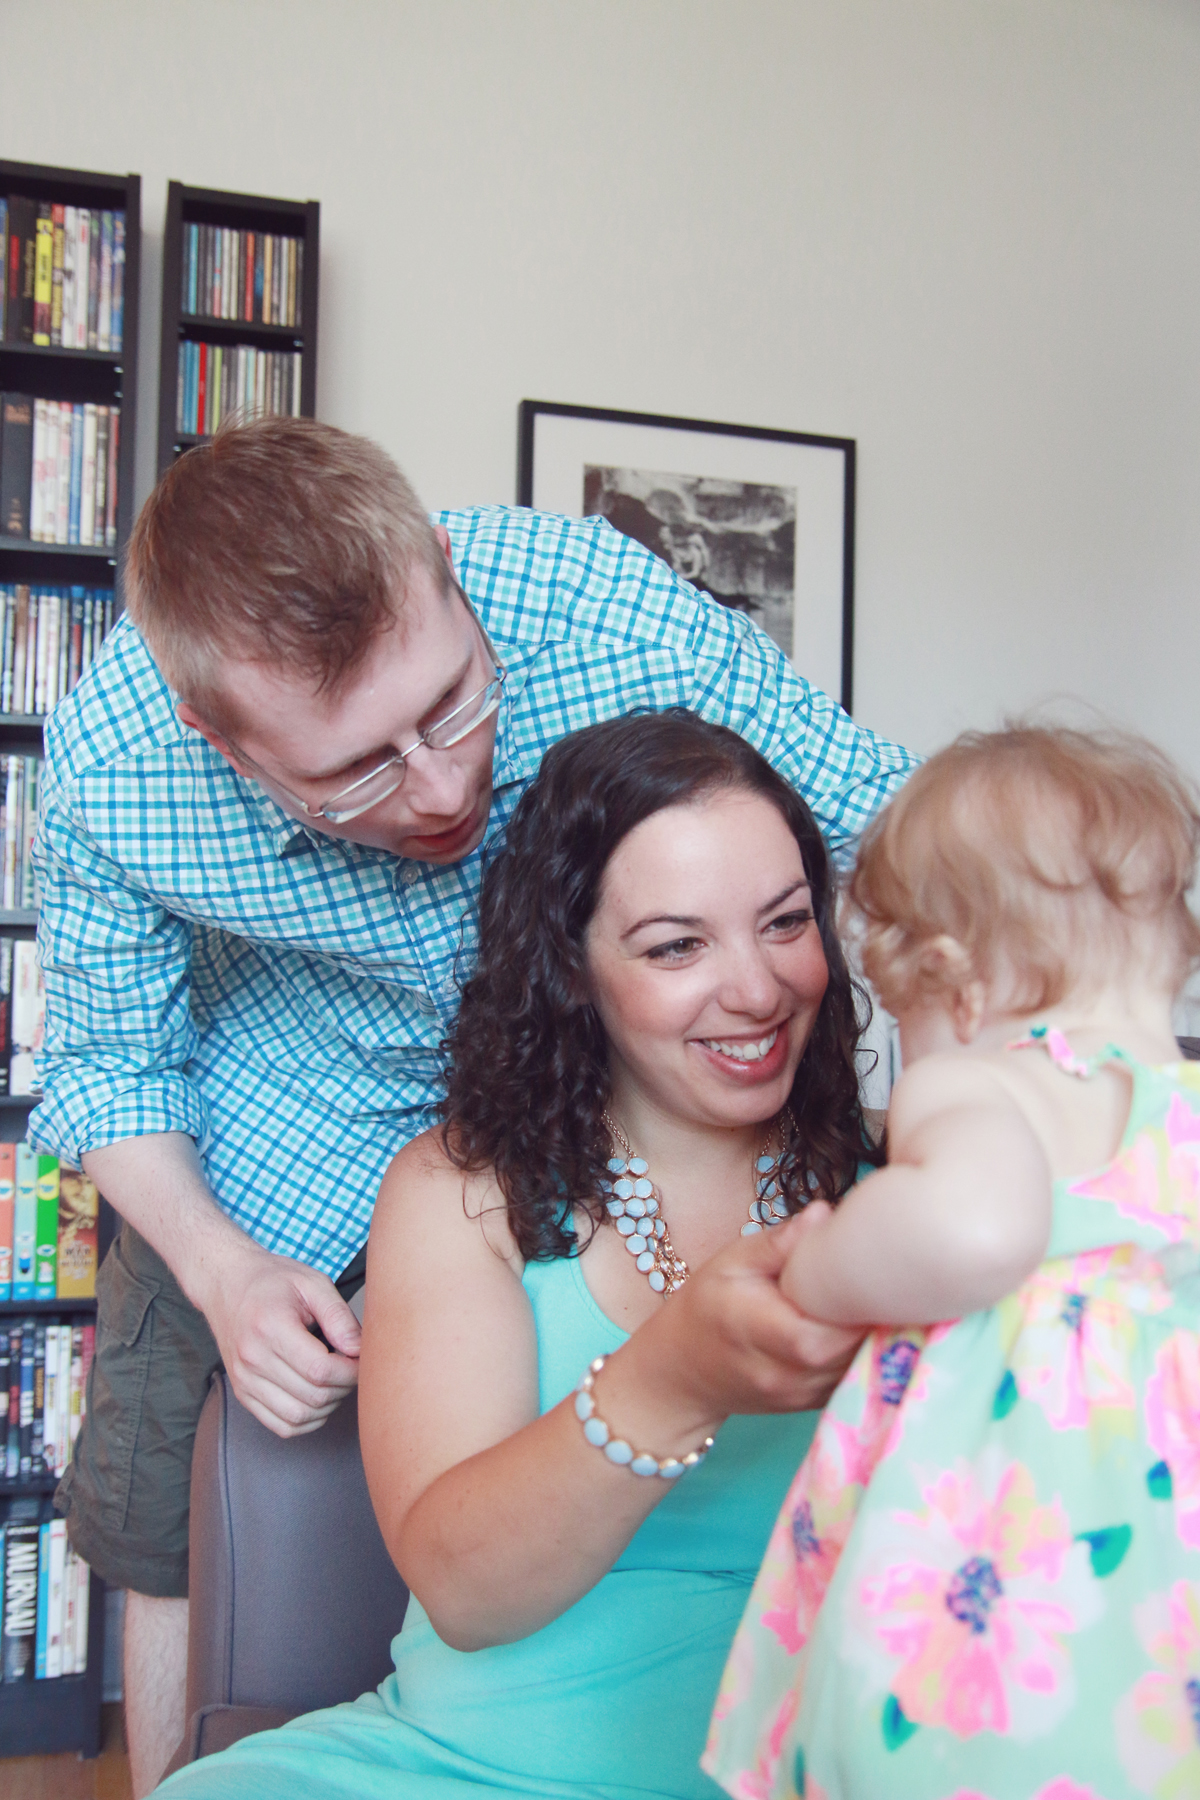
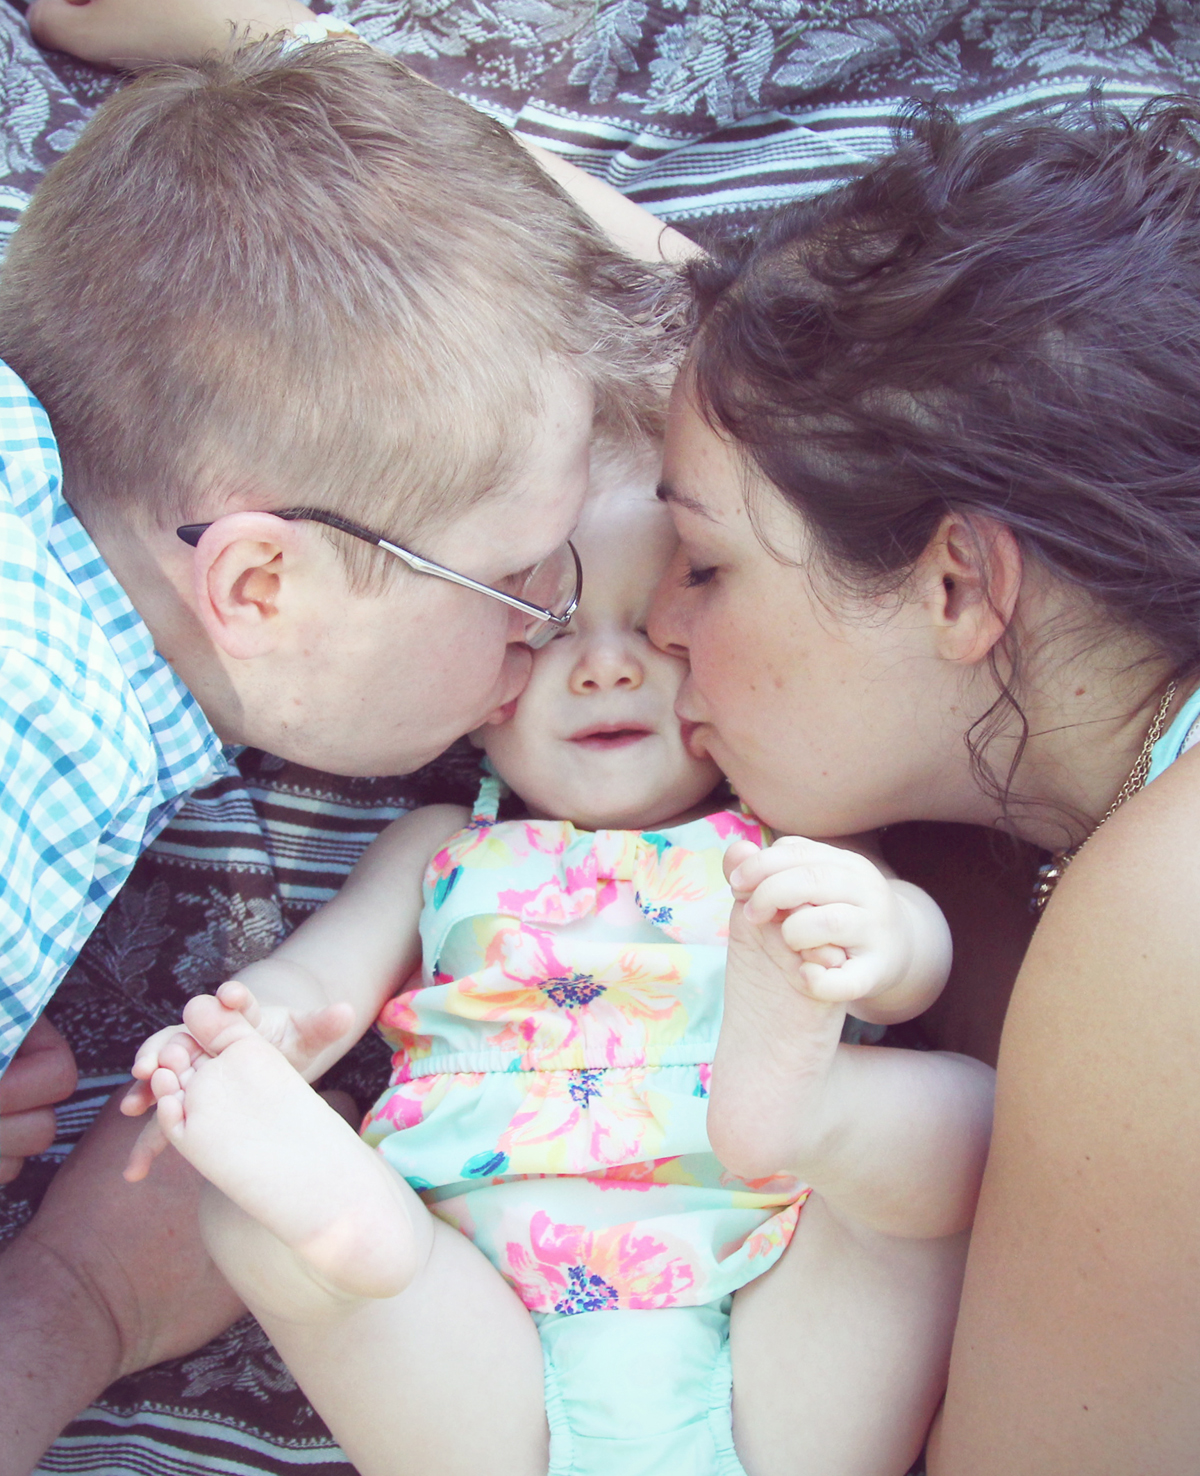
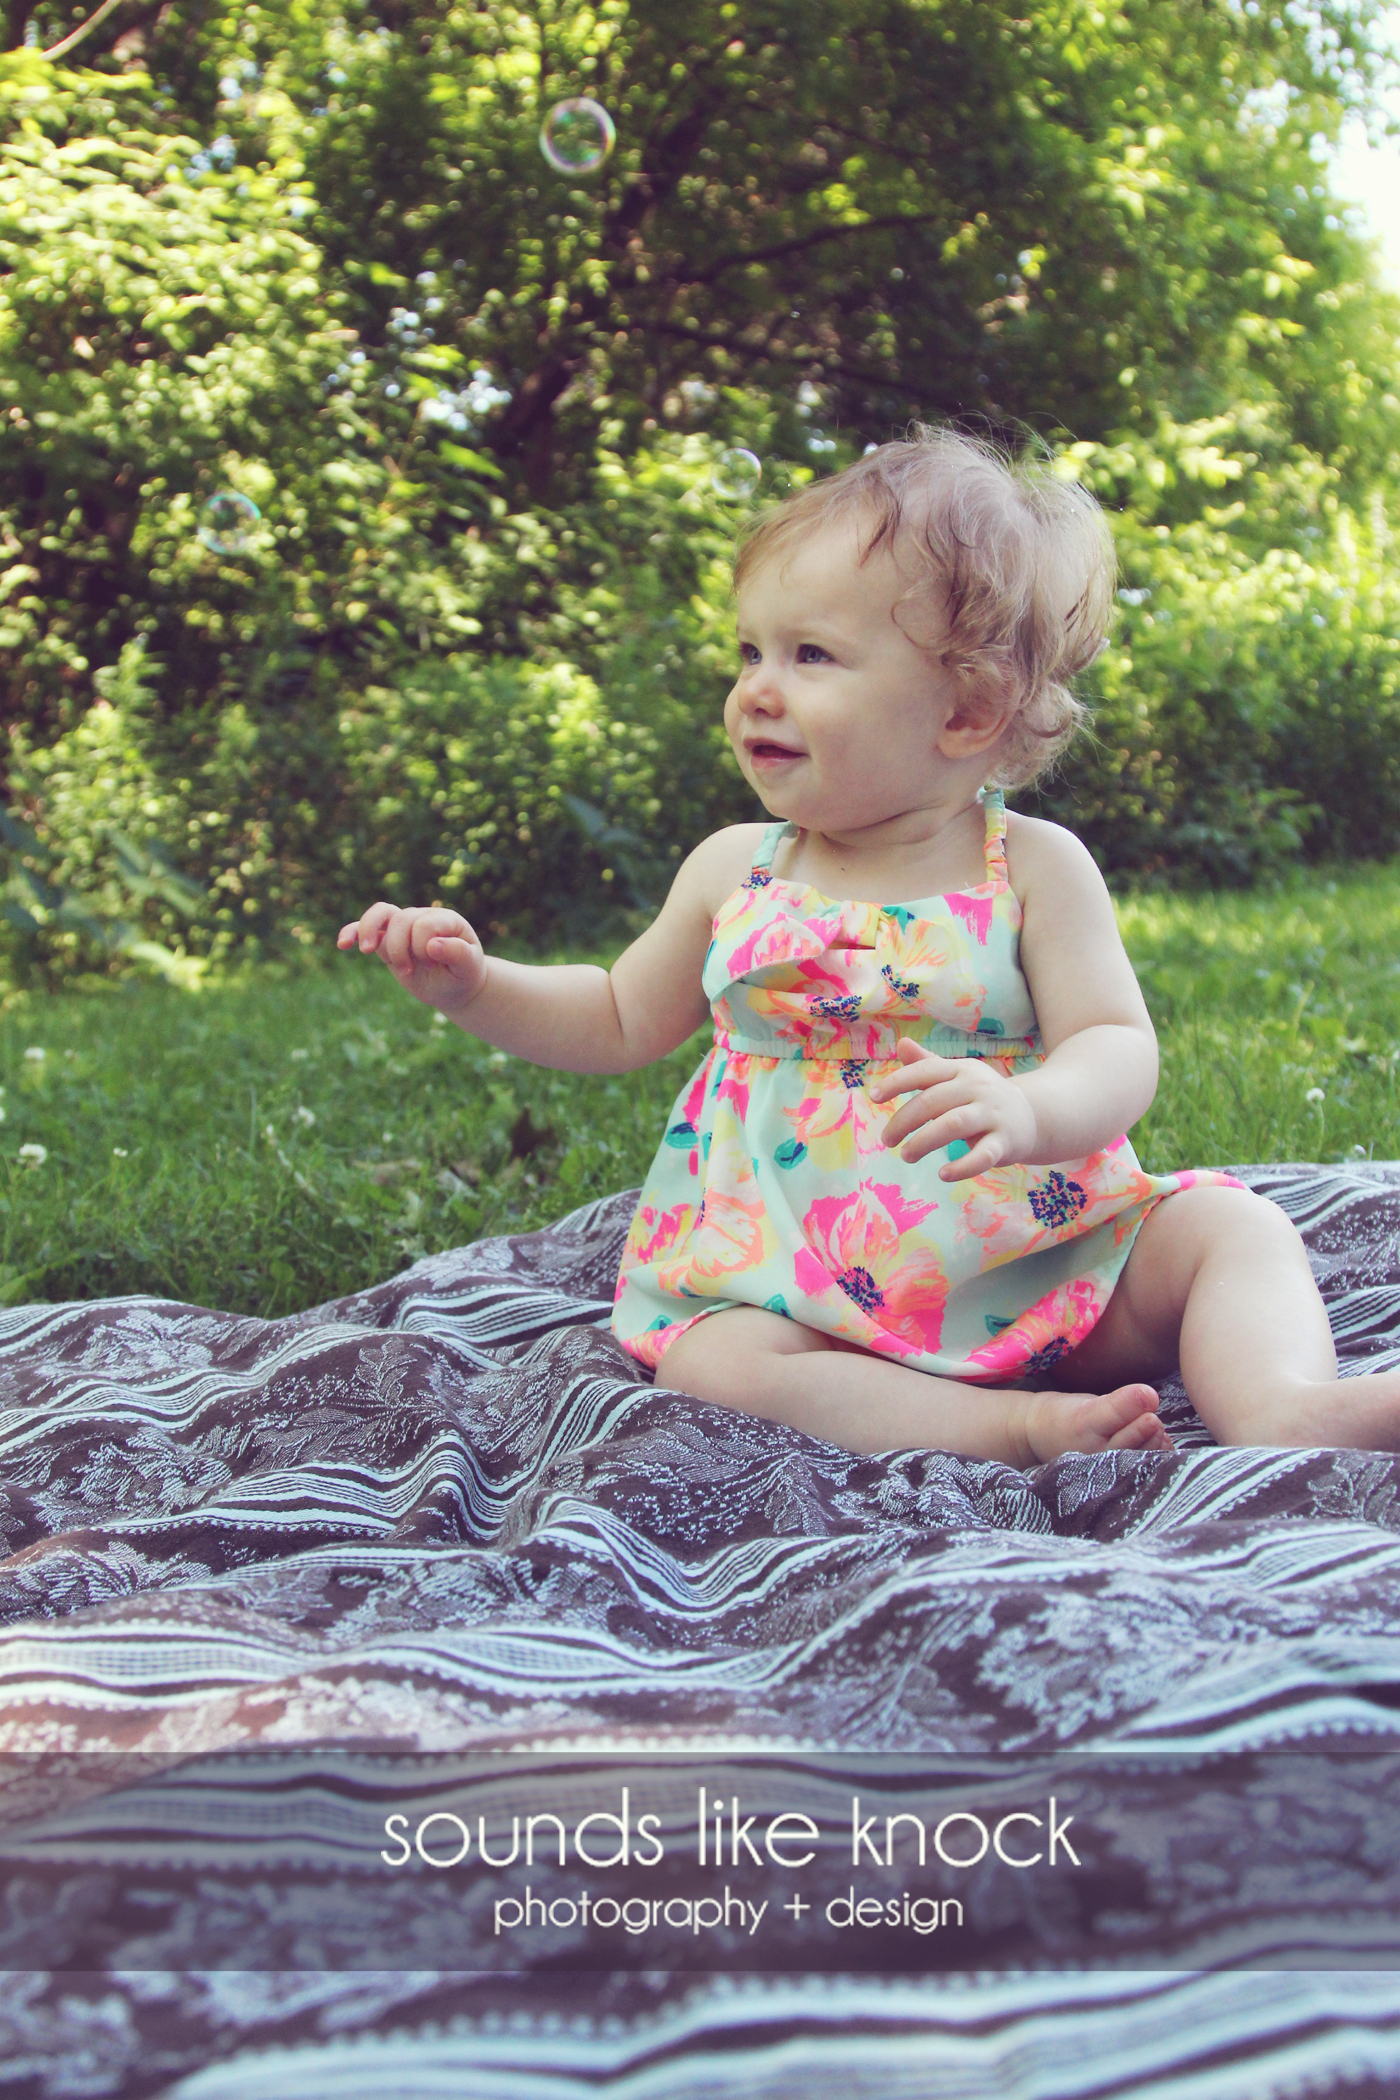
This little 8 month old girl was one of the most delightful babies I’ve ever worked with. With the beautiful spring weather, we decided to pack a picnic and head to High Park for some fun outdoor photos. I hope you like them! xox
An amazing opportunity was offered to the bf so he’ll be packing up and leaving Toronto, and heading to sunny Palo Alto. I joined him for a weekend to figure out the lay of the land and help him find a new place to life. Here are a few clips from our weekend trip to San Francisco.
So Boracay is definitely one of my top 3 favourite places I’ve ever been. The beaches are beautiful, the locals are welcoming and friendly, and the food and drinks are cheap and delicious. Although it’s become very popular with tourists, you still get a lot of the culture. Great place to visit solo, or with friends/family.
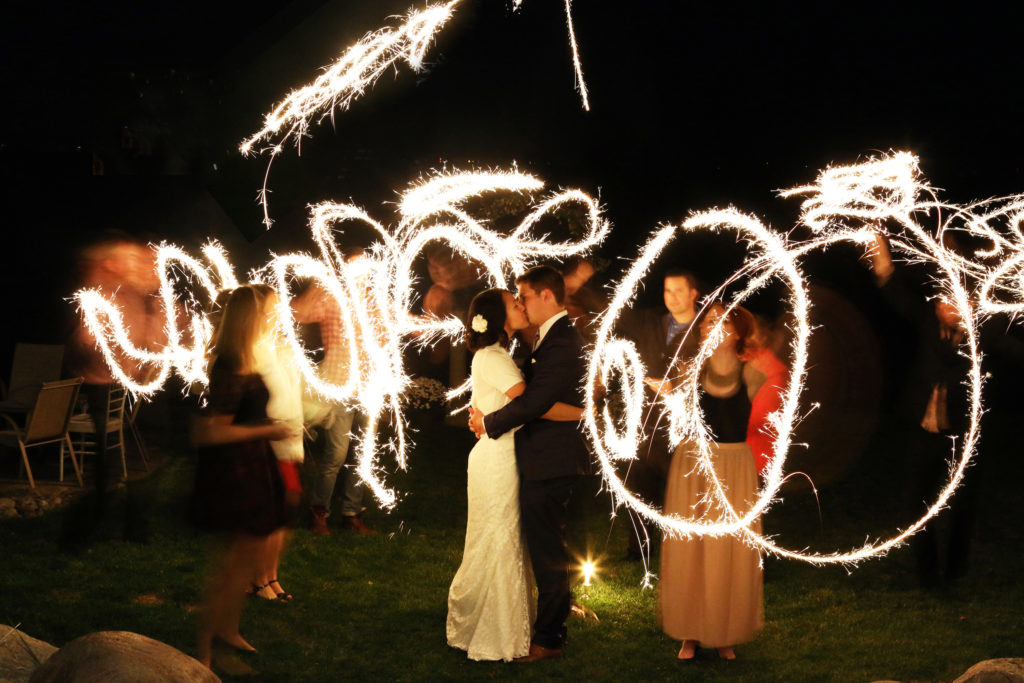
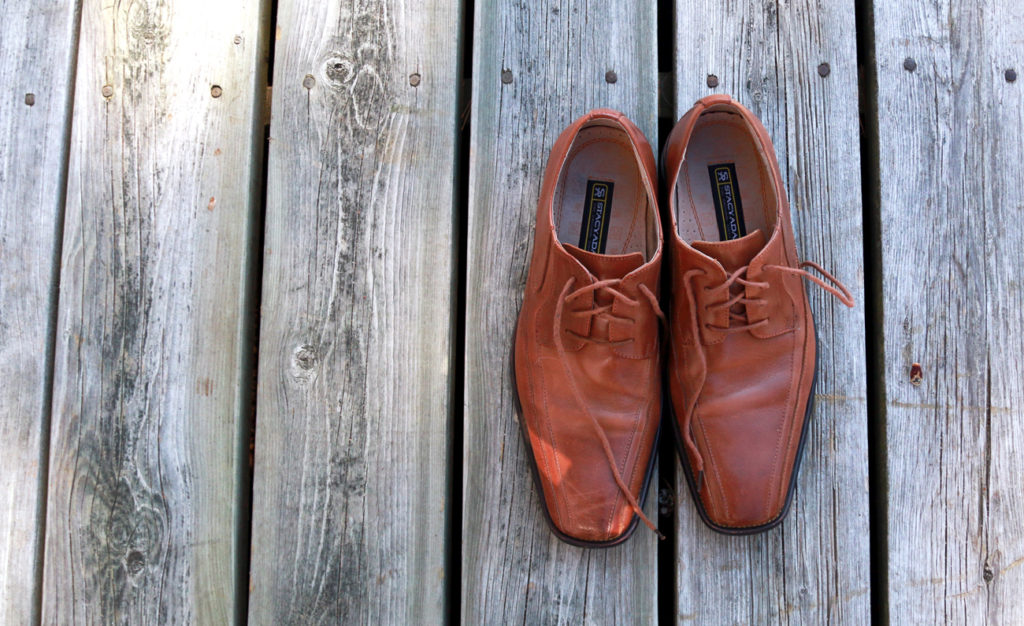
I had the pleasure of photographing possibly the most perfect couple ever at the most perfect cottage wedding. I’ve always thought that I wanted a huge wedding but after experiencing their intimate wedding, I may have a change in heart. I hope you enjoy the photos!
I’m usually more of a savoury snacker when it comes to guilty pleasures, but there’s just something about macarons that I can never resist. After seeing so many pins on pinterest claiming that making them yourself isn’t THAT hard… I decided I’d give it a try.
We found a basic macaron recipe from The food network and altered it a bit.
Ingredients for the cookie
1 3/4 cups icing sugar
1 cup almond flour
3 large egg whites, at room temperature
1/4 cup caster sugar (superfine sugar)
1 teaspoon of ground up Shades of Earl Grey tea leaves
Gel food colouring (optional)
Ingredients for the filling
1 stick of butter (room temperature)
1 cup of icing sugar
2 teaspoons of honey
Instructions
Preheat the oven to 300 degrees F
Line 2 big baking sheets with parchment paper
Combine icing sugar and almond flour in a bowl and mix together. Than sift the mixture so that any large pieces of almonds don’t end up in your batter. You’ll may end up with as much as 2 tablespoons that is too big to use.
Take a teaspoon of Shades of earl grey tea leaves and chop it up so it’s more fine and add it to the almond icing sugar mix.
Beat the egg whites on medium high speed until frothy. Then add the caster sugar to the egg froth and continue to beat until you get stiff shiny peaks. This will take about 5 more minutes using a stand mixer.
Fold in the almond, icing sugar, tea mix into the egg whites. You can also add in any food colouring now if you would like. Keep folding just until the batter is smooth and slides off the spatula in ribbons. Don’t overmix to the point that it’s runny or else you will have flat cookies. If you undermix it, your cookies are more likely to crack.
Spoon the mixture into a piping bag with a round tip. We used a 1/4 inch round tip but a 1/2 inch tip might work better.
Pipe circles on to your parchment paper lined baking sheets.
Then firmly with both hands pick up the baking sheets and rap them against the counter at least 2 times. Then rotate the pan and do the same thing. This will help prevent cracking of the shells.
Leave the cookies out to dry for about 15-30 mins until they are no longer sticky to the touch. This will help them keep their shape during baking.
Pop it in the oven for about 20 mins. You should be able to peel the cookie off the sheet easily and cleanly. If some of it sticks, than it’s not quite ready. Let them cool completely before removing them from the sheet.
Instructions for filling
Beat the butter so it’s a little fluffy and slowly add in the sugar. Beat until it’s fluffy.
Then add in the honey. Then add your icing to a piping bag and pipe on to one macaron shell and cover with a second one.
Voila! Now sit back with your favourite cup of tea and indulge!
Check out the video to see each step of the process! Good luck and let me know how your macarons turned out.
If you’ve been on pinterest at all in the last few months, then you’ve probably seen all those pretty paint coloured glass bottles. With a rare afternoon off, I decided to give this easy, inexpensive project a try.
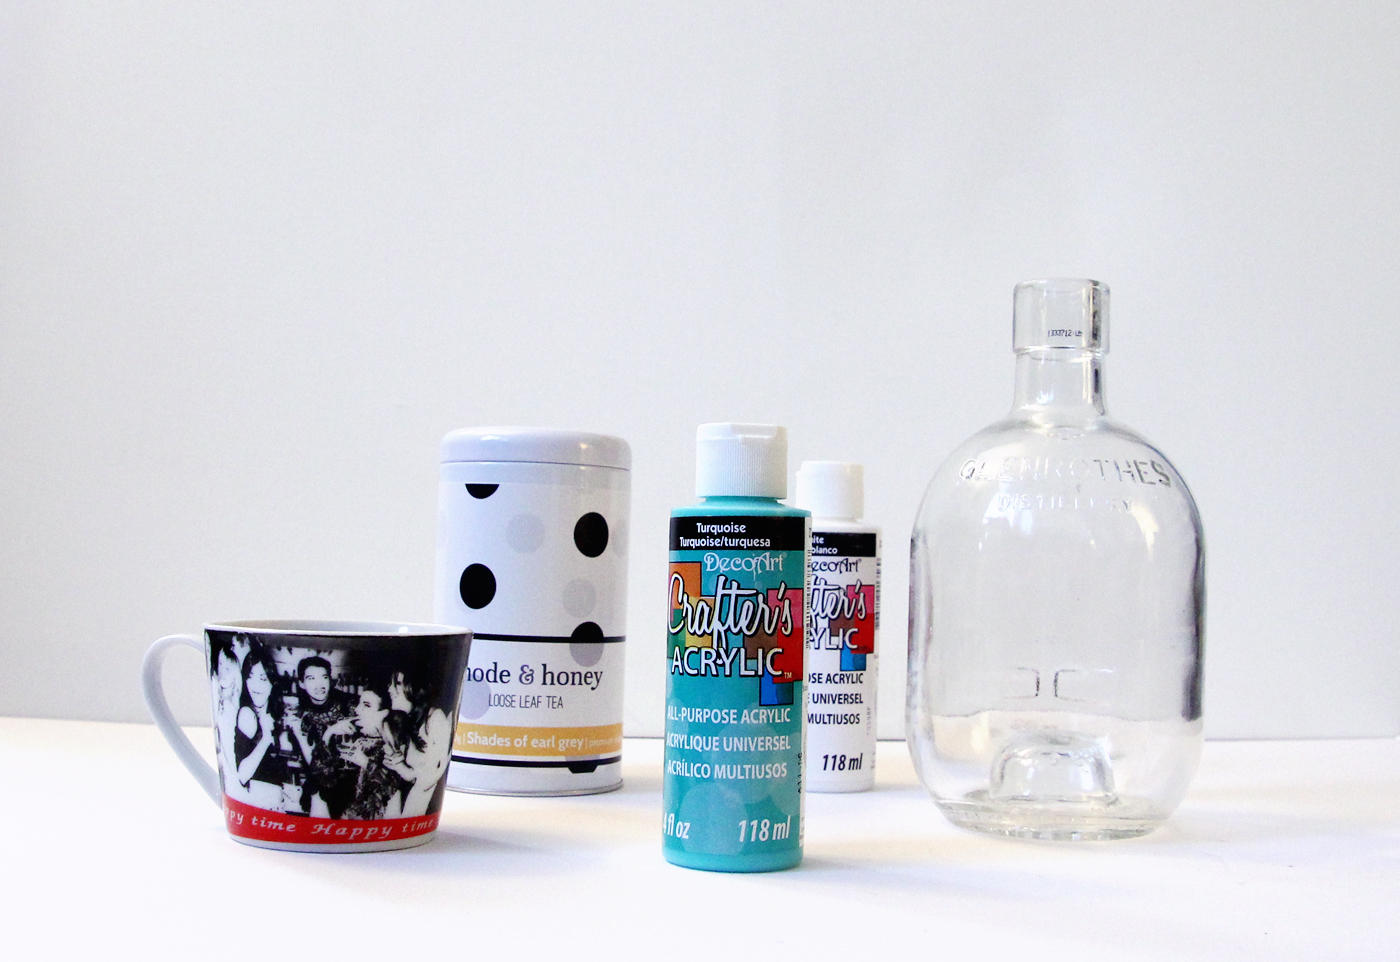
What you need:
clean glass bottles
some paint
either a bowl or a ziplock bag to mix the paints
I used some old alcohol bottles but any clear glass bottles or jars will work. I used acrylic paint since it’s easy to find and cheap but if you want to fill the bottles with water, you’ll want to use a waterproof paint.
Used a ziplock bag or a bowl and spoon to mix the colours. Make sure you mix a lot so you don’t run out of paint. Pour it into your bottle and slowly turn the bottle to coat all the surface on the inside with paint.
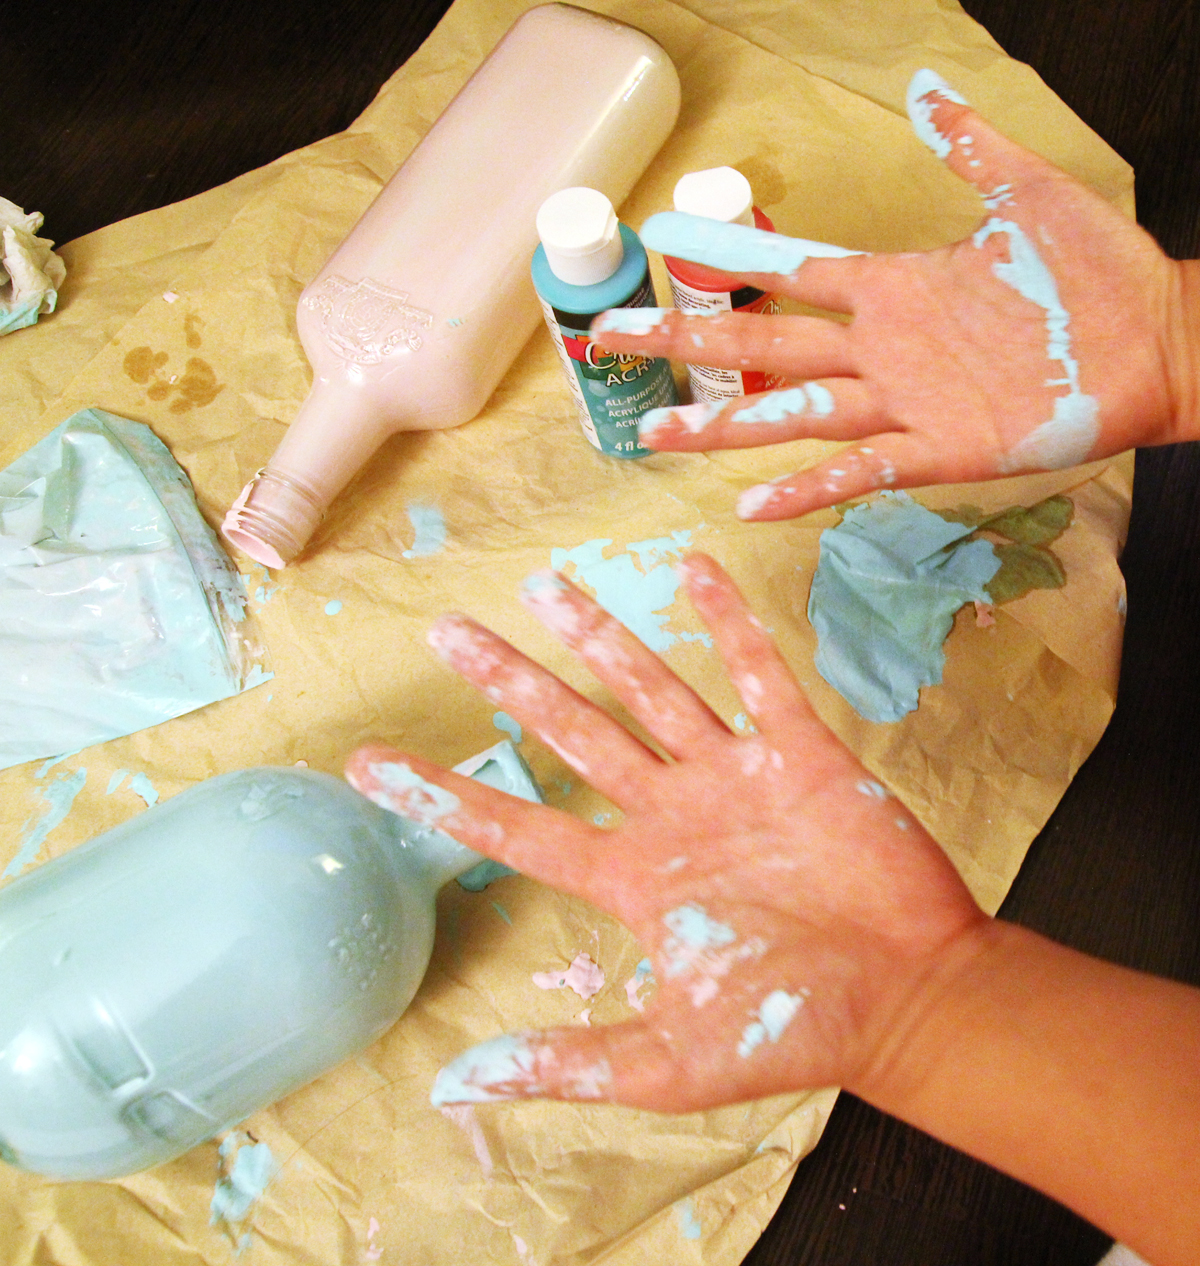
Hold the bottle upside down once it’s all evenly coated to get rid of any excess paint. You might want to let it stand upside down for 5 minutes and then slowly pick it up and let the paint drip out and then leave it again. I was a bit anxious and ended up spilling paint everywhere so make sure you lay down some paper so you don’t get paint everywhere.
That’s it! Such a simple idea and it’s so easy to match it to your home decor!


 I’m usually more of a savoury snacker when it comes to guilty pleasures, but there’s just something about macarons that I can never resist. After seeing so many pins on pinterest claiming that making them yourself isn’t THAT hard… I decided I’d give it a try.
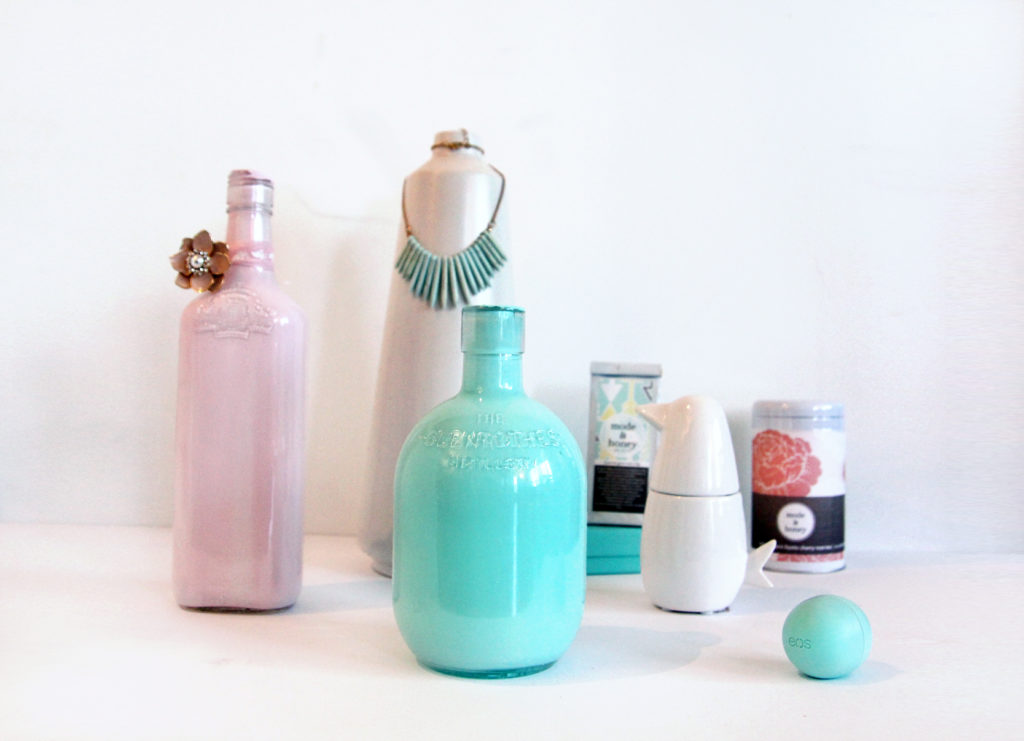
 Used a ziplock bag or a bowl and spoon to mix the colours. Make sure you mix a lot so you don’t run out of paint.
 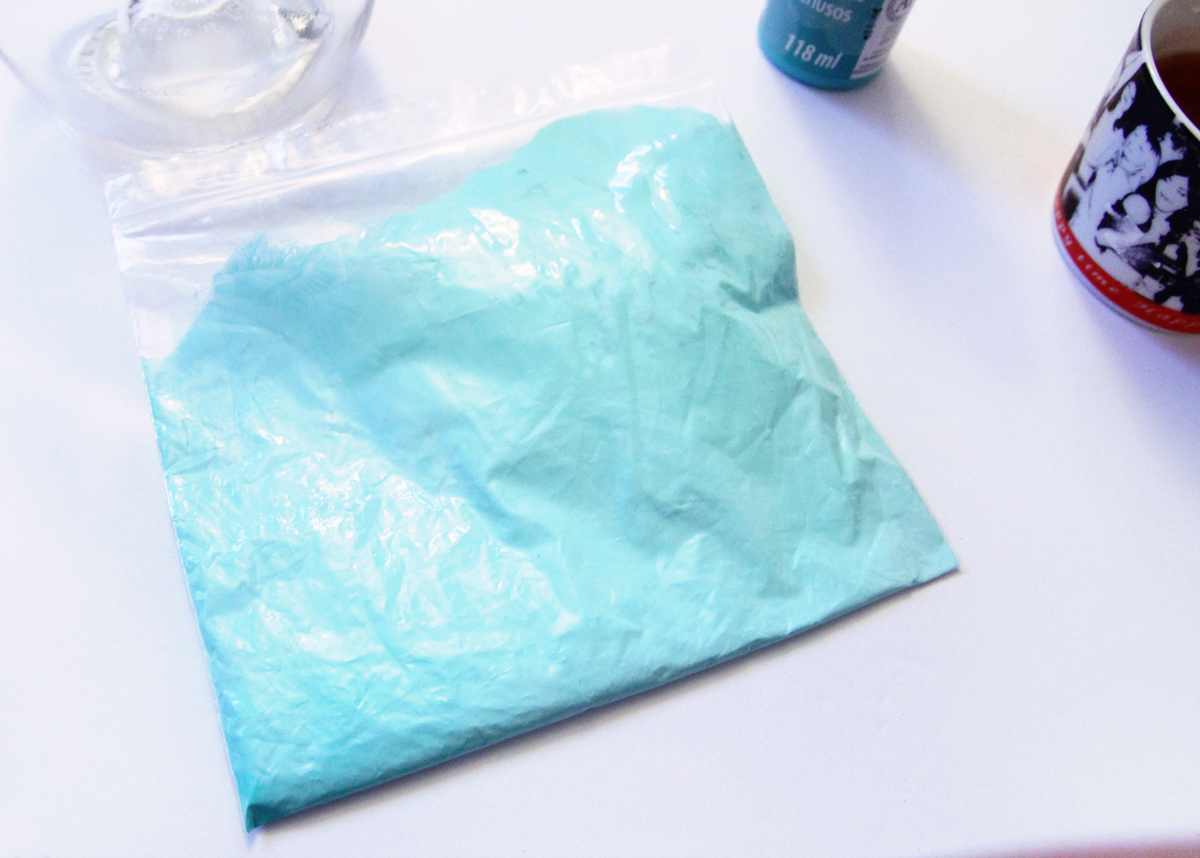 Pour it into your bottle and slowly turn the bottle to coat all the surface on the inside with paint.
