DIY Spray painting a picture frame
 My lovely friend Rachel celebrated her once in a lifetime champagne birthday last weekend. I knew I wanted to frame one of our travelling photos for her in a bright yellow (her fav colour) frame. After much searching, I quickly realized that bright yellow frames are ridiculously hard to find. Instead, my spray paint addicted roomie inspired me to go with the DIY approach.
 Materials:
Picture frame – I picked up a 24×36 Umbra one from Blacks.
Spray paint – I just grabbed a can from Canadian tire. I used Rust-Oleum 2x cover and it worked out pretty well.
A hi-res photo – I decided to pick a photo I had taken of the Eiffle Tower in Paris that had Rach discretely in the corner. I then asked all of our favourite travel friends to send me messages for me to incorporate into the picture.
Garbage bags – to protect your flooring as the spray paint goes everywhere
Tape – to take your garbage bags down
How to spray paint a metal frame:
1. Tape down garbage bags. It’s best to do this outside where air can circulate as the fumes from the paint are toxic.
2. Take the backing and glass out of the frame. Just lay down the parts that you want painted.
3. You can use primer as a base, or sand down your frame slightly so that the paint will stick better
4. Read the instructions on the back of your can to know how far away you should be spraying

5. Let it dry and repeat if you want the colour to be more true, or if you noticed that you missed some spots.
TIPS
- Avoid painting on a windy day. I had some issues with dirt and residue blowing around and sticking to my frame.
- Avoid spraying to closely as the paint will go on very thick and will be more likely to drip down the frame.
- Make sure you give yourself enough time for the frame to dry. I ended up having to wrap up a frame that was still a little ‘tacky’.
The photo
I typically print my photos at Blacks, but it will usually take them 5-7 business days to print a large poster size. If you’re in a rush, most print shops that have printers on site are able to do it for you in a couple of hours. Note: Often they will charge you a service fee if you bring the file in on a USB/CD to print rather than uploading it yourself online.
Since I was using a photo from when we were in Paris together, I thought it woudl be fun to ask our friends that we met there to include little messages for her to personalize it a little bit.

The finished product!

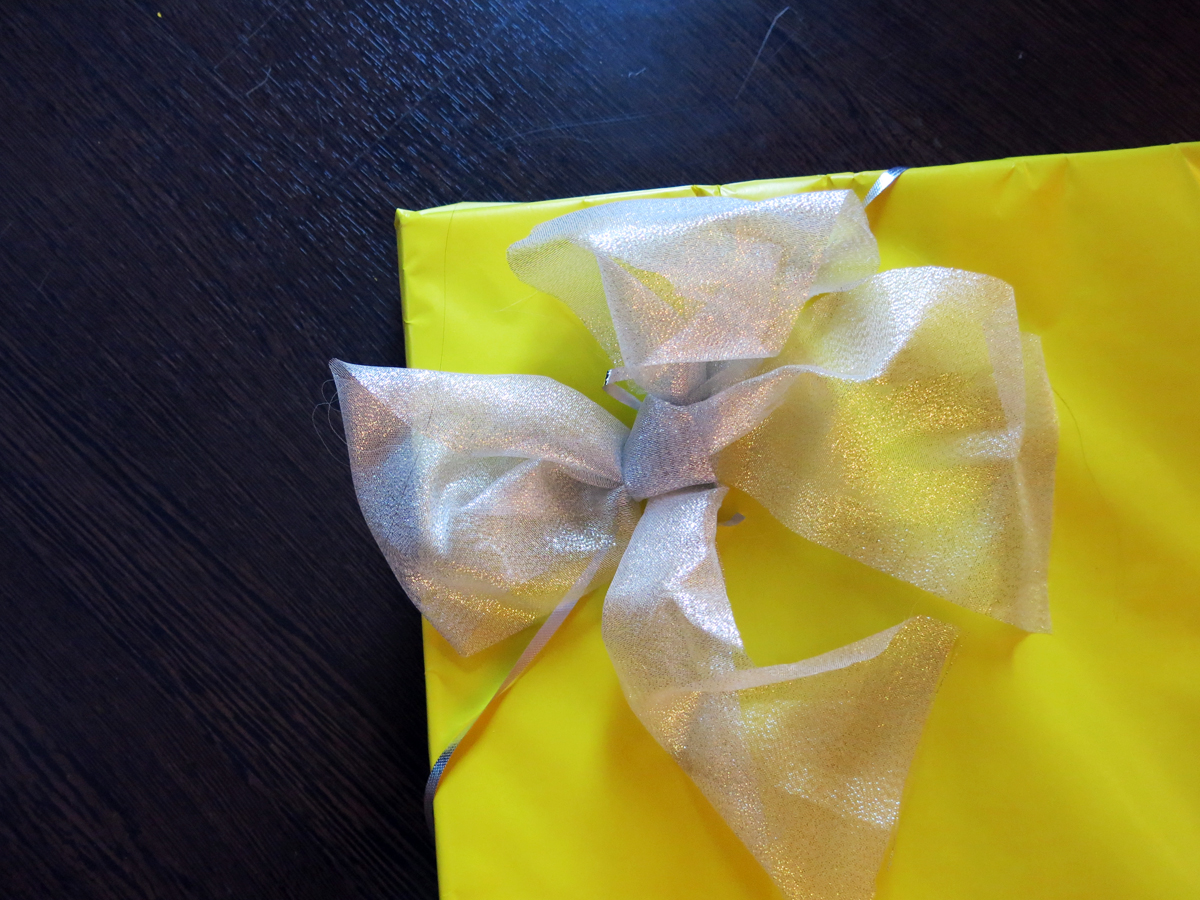
Of course I had to wrap it in bright yellow wrapping paper.
My bestie LOVED the gift! Thanks to our awesome friends Jeff, Katie, Alex and Liam for helping me put a smile on her face!


I also pulled out my trusty kitchenaid mixer to whip together some yellow cupcakes. Fun tip: Use a package of pudding mix to make the cake extra moist.

I love these brightly coloured cupcake wrappers.. however does anyone else notice that after baking.. they all turn into muddy ugly colours?

Best part about baking? Definitely licking the batter!

I think I’m addicted to spray painting now and will definitely be making a few more big prints for my room. Thanks again to our Paris super group for helping me with this gift!!