2 pop up laundry hampers, or one of those kid’s long tunnel tubes (make sure it’s wide enough for your shoulders)
A glue gun
Big googly eyes, or white and black fabric to make big eyes
A sewing machine (or you can hot glue it together if you don’t know how to sew)
Needle and thread
Fabric (wide enough to cover the outside of the hamper and long enough to cover your full height plus extra for the sleeves and top of the costume. My fabric was 60 inch x 3.5 yrds for a person who is 6’1 in height.
Step 1. Cut out the bottom of one of the hampers
Step 2. Sew the two hampers together
Step 3. Cut your fabric so that it’s long enough to fully cover the hamper and your feet when you are wearing it.
Step 4. Sew the two ends of the fabric together to create a long tube
Step 5. Flip the fabric inside out so that the seam is on the inside, and then stick the hampers inside
Step 6. Bunch off the top and sew it closed.
Step 7. Cut out the mouth. This hole is where you will be able to see out while wearing your costume. If you are using a dark hamper like me, just cut the mouth out of the fabric layer and leave the hamper layer in tact. If you’re using a light coloured hamper, you may want to cut the mouth hole through both the fabric and hamper layer and then glue some black mesh to close off the mouth so that it’s harder to see your face when you are wearing the costume.
Step 8. Cut two rectagles that are wide enough to loosely cover your arms. The length should be at least 1.5 times longer than your arms to get some good flailing movement.
My lovely friend Rachel celebrated her once in a lifetime champagne birthday last weekend. I knew I wanted to frame one of our travelling photos for her in a bright yellow (her fav colour) frame. After much searching, I quickly realized that bright yellow frames are ridiculously hard to find. Instead, my spray paint addicted roomie inspired me to go with the DIY approach.
Materials:
Picture frame – I picked up a 24×36 Umbra one from Blacks.
Spray paint – I just grabbed a can from Canadian tire. I used Rust-Oleum 2x cover and it worked out pretty well.
A hi-res photo – I decided to pick a photo I had taken of the Eiffle Tower in Paris that had Rach discretely in the corner. I then asked all of our favourite travel friends to send me messages for me to incorporate into the picture.
Garbage bags – to protect your flooring as the spray paint goes everywhere
Tape – to take your garbage bags down
How to spray paint a metal frame:
1. Tape down garbage bags. It’s best to do this outside where air can circulate as the fumes from the paint are toxic.
2. Take the backing and glass out of the frame. Just lay down the parts that you want painted.
3. You can use primer as a base, or sand down your frame slightly so that the paint will stick better
4. Read the instructions on the back of your can to know how far away you should be spraying
5. Let it dry and repeat if you want the colour to be more true, or if you noticed that you missed some spots.
TIPS
Avoid painting on a windy day. I had some issues with dirt and residue blowing around and sticking to my frame.
Avoid spraying to closely as the paint will go on very thick and will be more likely to drip down the frame.
Make sure you give yourself enough time for the frame to dry. I ended up having to wrap up a frame that was still a little ‘tacky’.
The photo
I typically print my photos at Blacks, but it will usually take them 5-7 business days to print a large poster size. If you’re in a rush, most print shops that have printers on site are able to do it for you in a couple of hours. Note: Often they will charge you a service fee if you bring the file in on a USB/CD to print rather than uploading it yourself online.
Since I was using a photo from when we were in Paris together, I thought it woudl be fun to ask our friends that we met there to include little messages for her to personalize it a little bit.
The finished product!
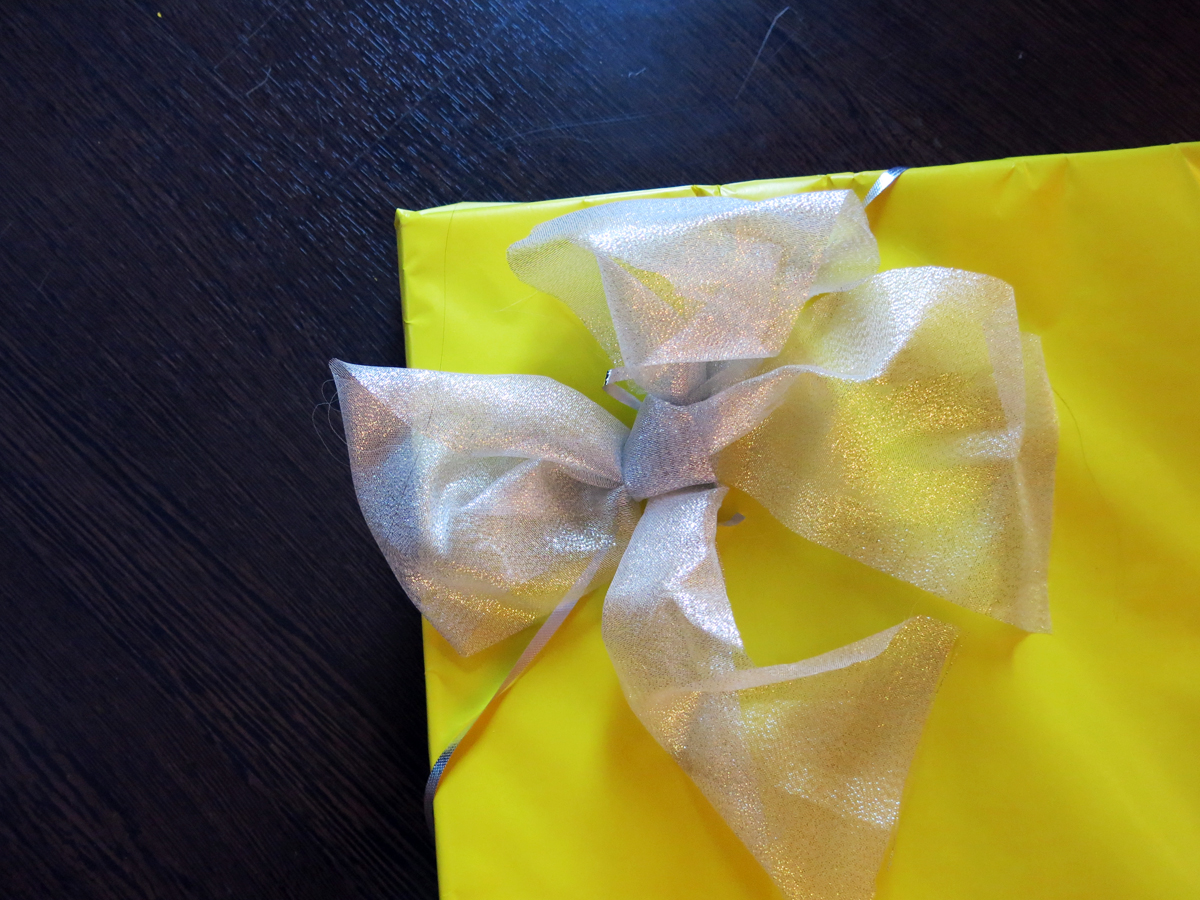
Of course I had to wrap it in bright yellow wrapping paper.
My bestie LOVED the gift! Thanks to our awesome friends Jeff, Katie, Alex and Liam for helping me put a smile on her face!
I also pulled out my trusty kitchenaid mixer to whip together some yellow cupcakes. Fun tip: Use a package of pudding mix to make the cake extra moist.
I love these brightly coloured cupcake wrappers.. however does anyone else notice that after baking.. they all turn into muddy ugly colours?
Best part about baking? Definitely licking the batter!
I think I’m addicted to spray painting now and will definitely be making a few more big prints for my room. Thanks again to our Paris super group for helping me with this gift!!
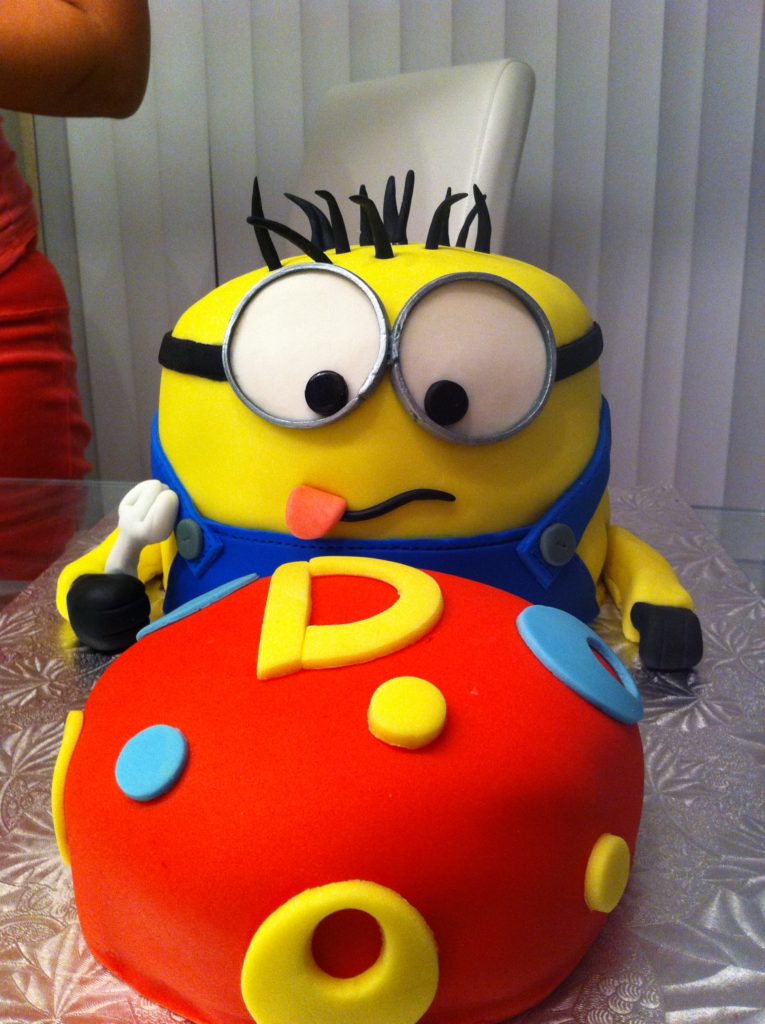
With Despicable me 2 coming out this July, I know many kids (and adults) will be hoping for a cute despicable me minion cake for their birthdays. My aunts and I had made a minion cake last year (for my uncle.. he very loudly made it clear that he wouldn’t settle for anything less). Unfortunately, I didn’t really think to document the process that well so here are a few iphone pics that I thought to take during the 10 hour process.
Here are a few photos and DIY tips if you want to make your own Despicable Me minion cake!
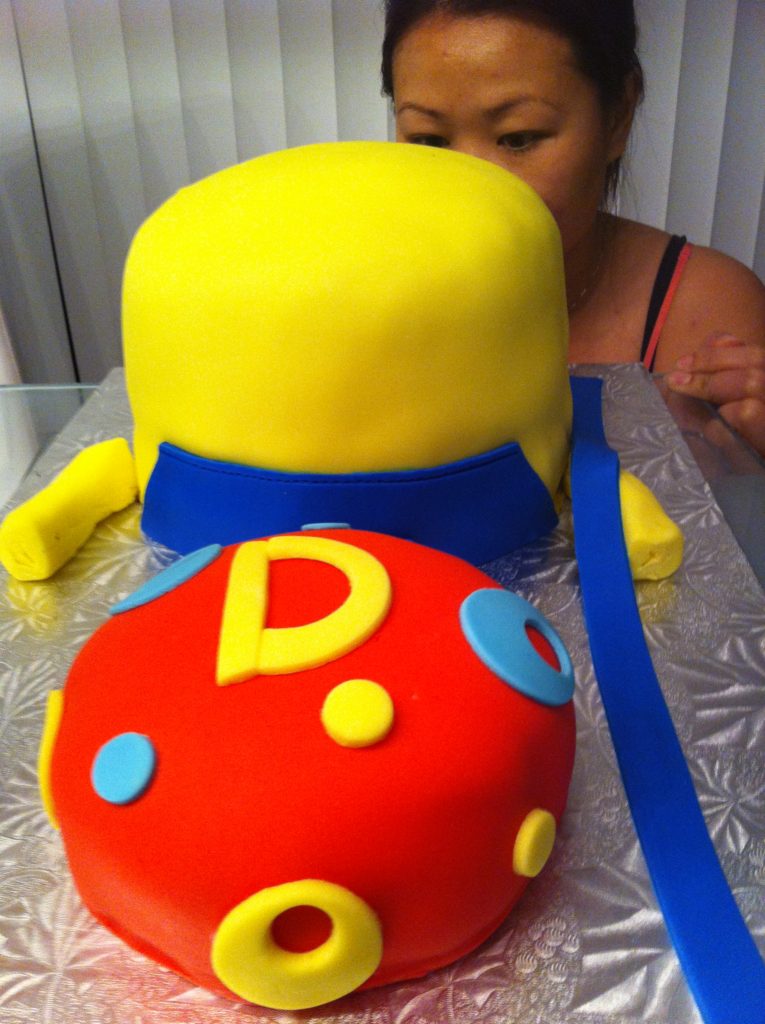
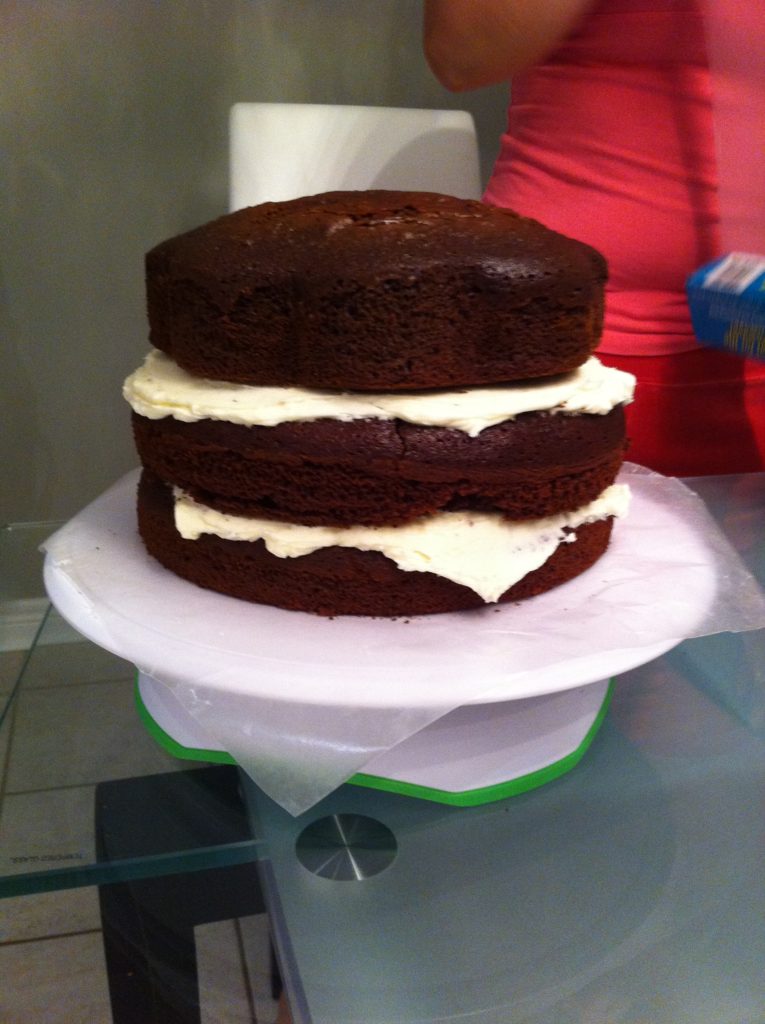
You will need to bake more than one round cake that you will use to layer to give the minion some height.
Then you’ll have to carve the cake to give it a rounder smoother more minion-esqe shape to it. We used a lid to help guide us and ensure that it stayed round. It will be easier to cut if you let the cake cool. If you cut while it’s warm, it’s more likely to crumble.
Once you’ve shaped your cakes, you can start the fun part – DECORATING!
When colouring fondant, use a paste or a powder. The liquid food colouring will completely throw off the consistency of your fondant and it will be very difficult to get the bright vibrant colours needed for the minion.
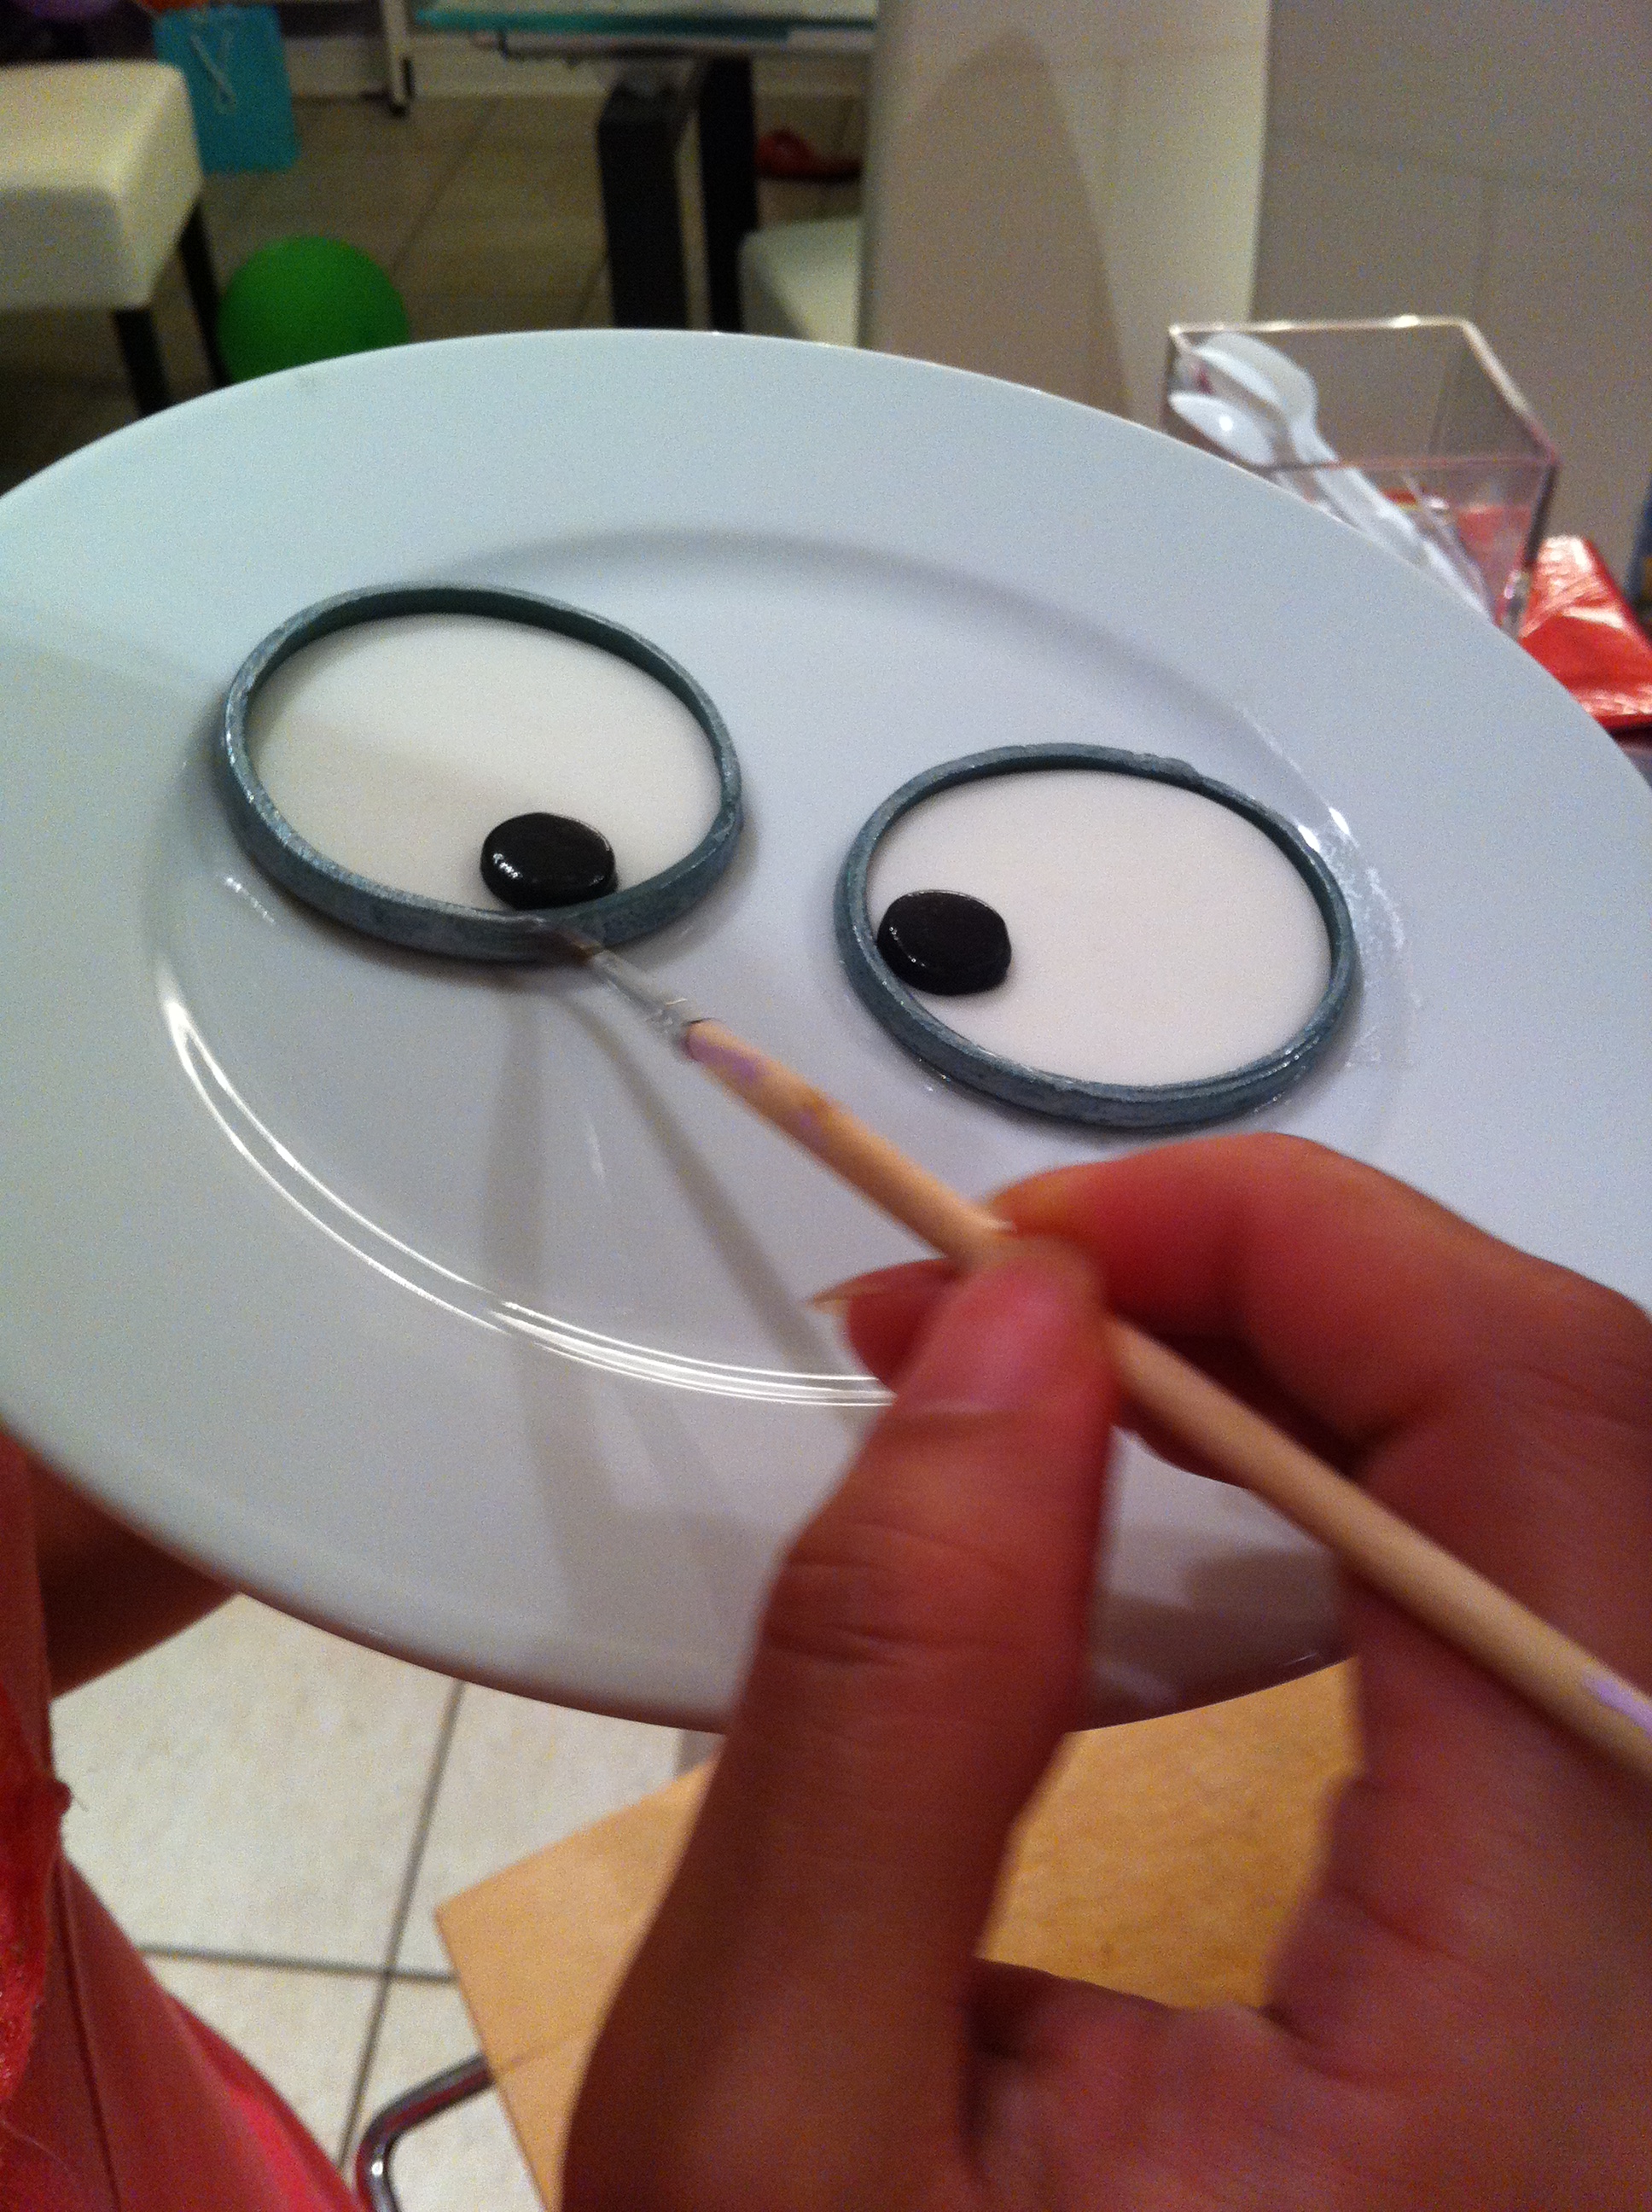
While my aunt covered the cakes with fondant, I started working on the little details like his little hairs and eyes. Make sure you dust your surface with icing sugar to make it easier to remove the fondant after you roll it. Other wise it will stick and all your efforts to roll it out will be in vain. We couldn’t find cookie cutters that were the perfect size so we used drinking glasses instead.
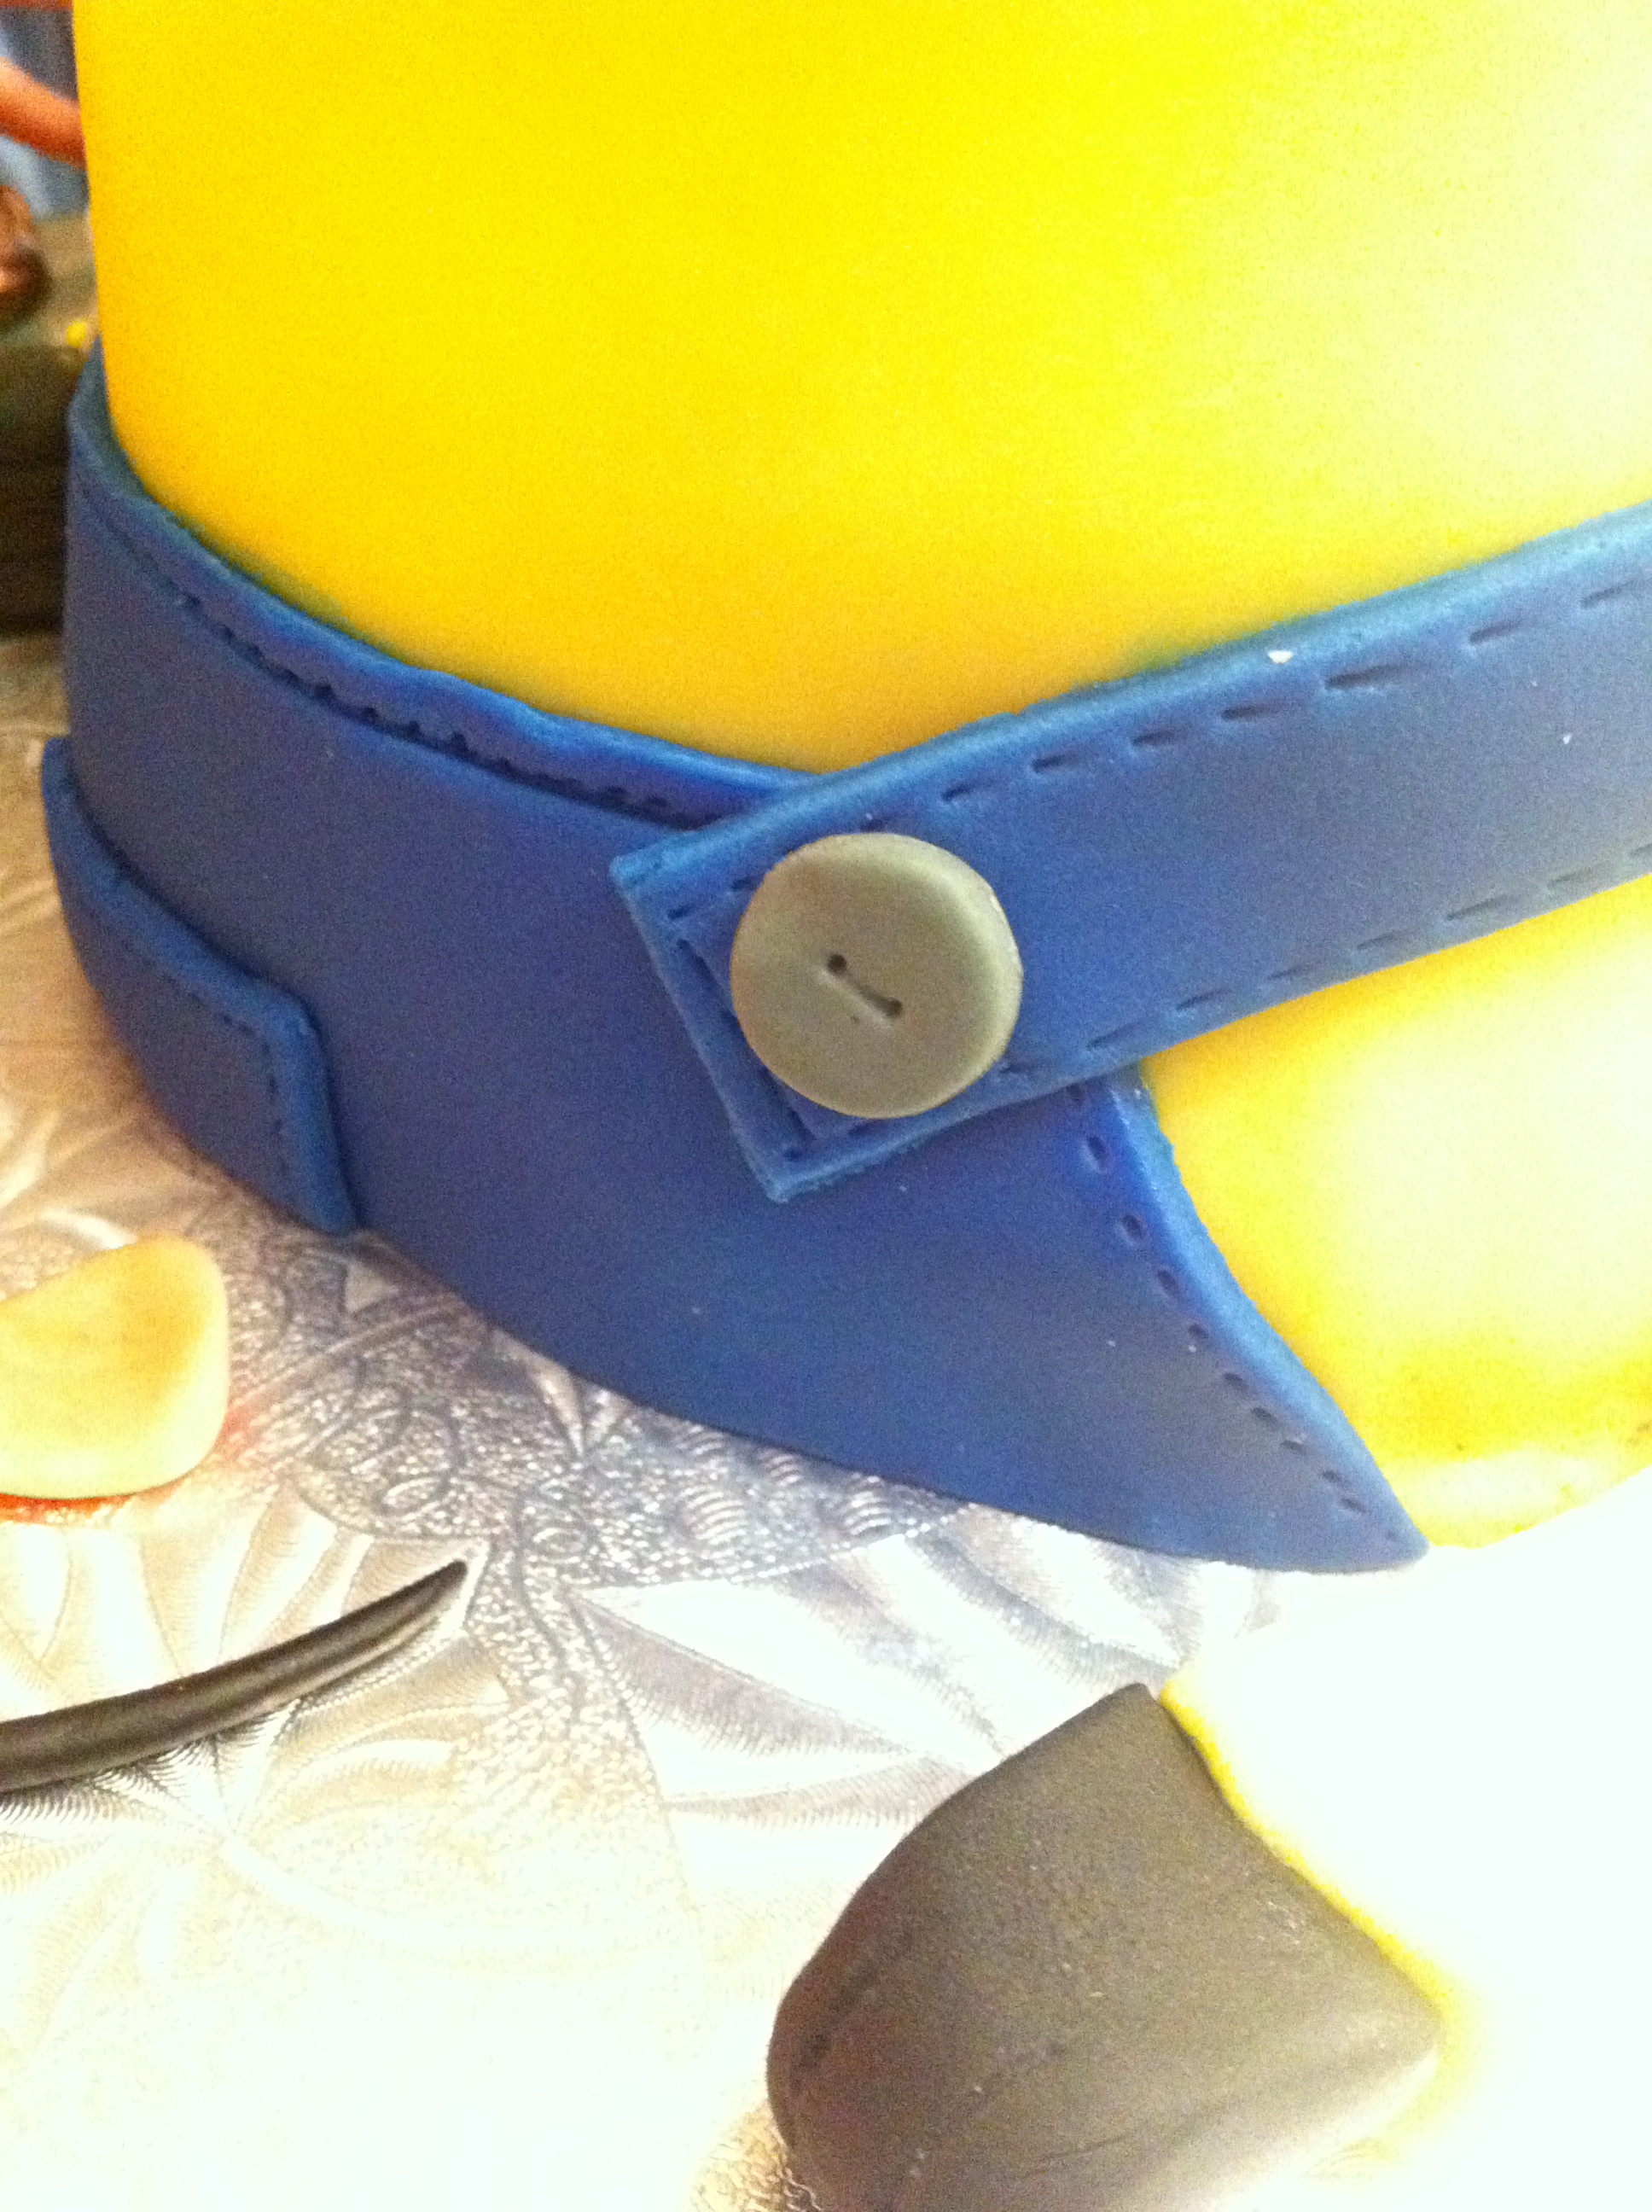
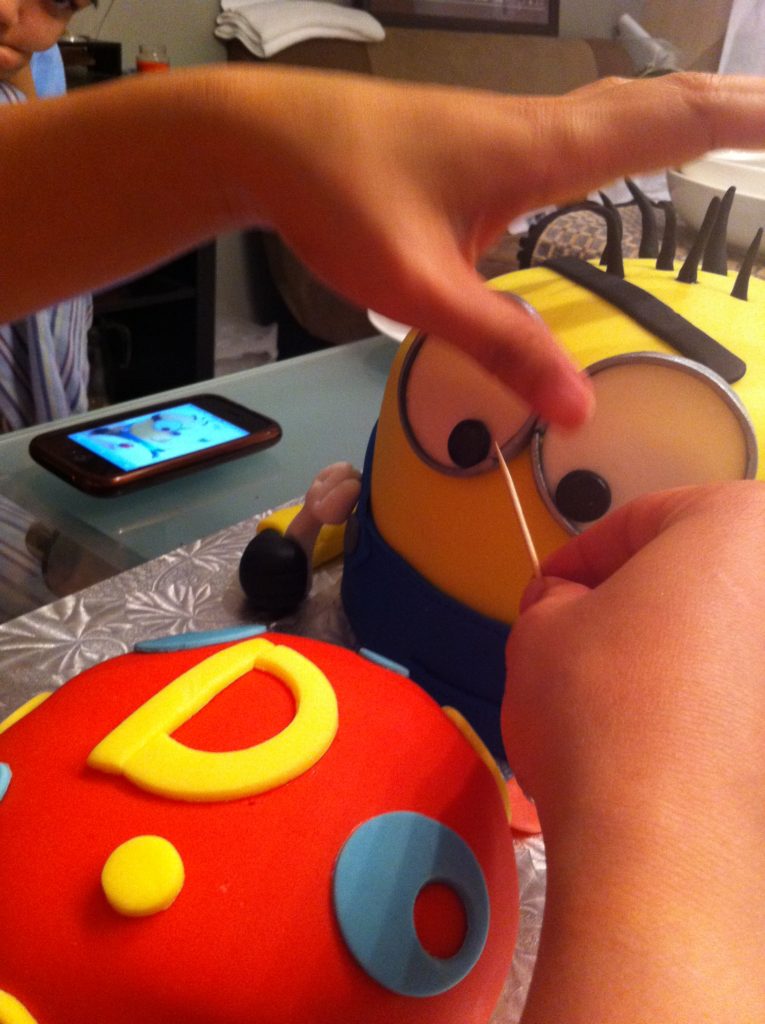
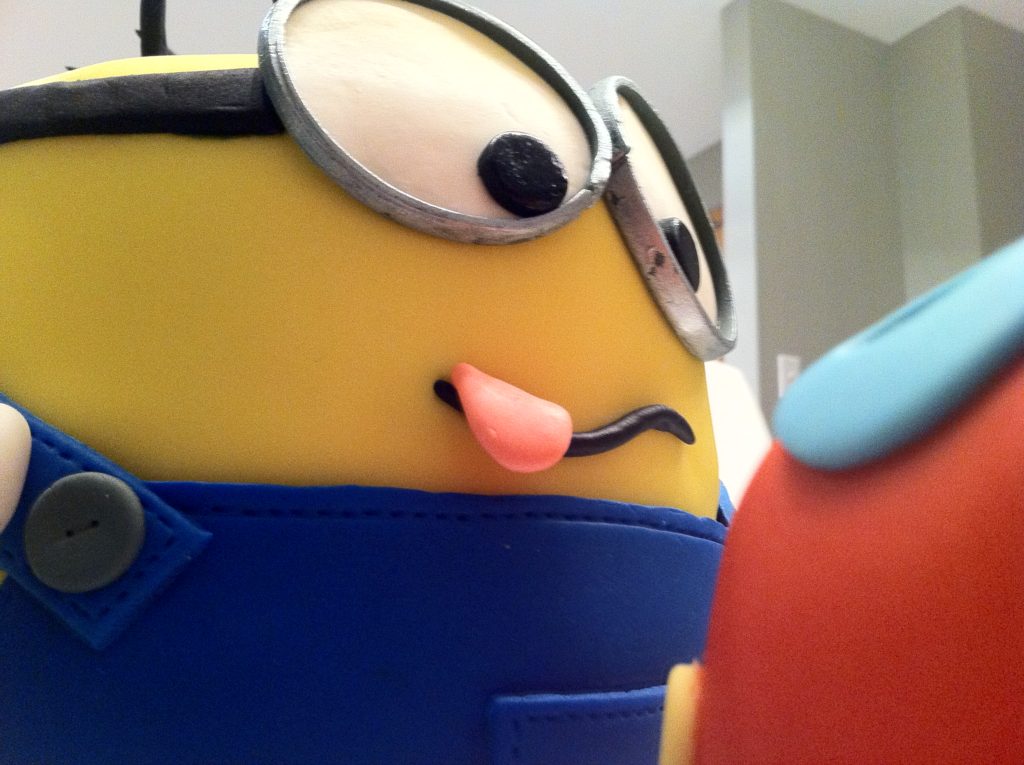
We used a tooth pick to add the little details like the stitching in the overalls and buttons.
Use a little bit of water to ‘glue’ all the pieces together.
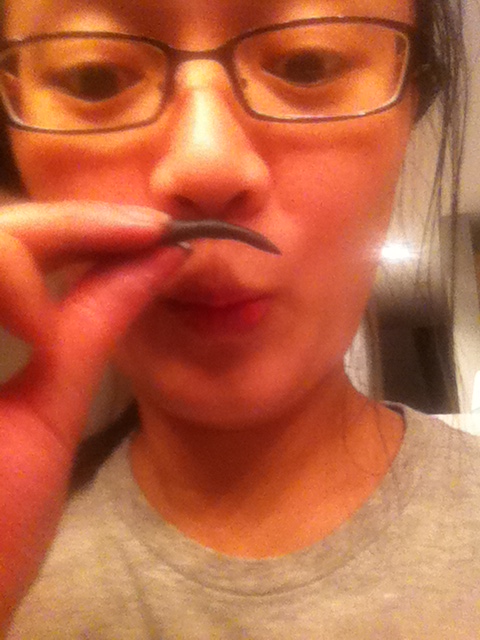
That little tongue is just too cute! 1:15am and we’re finally finished!
With the holidays just around the corner (EEEKKK less than a week until Christmas!!), I’ve spent many hours on pinterest looking up potential gift ideas. In my perfect martha stewart world, I would be giving everyone beautiful gift baskets filled with delicious cookies and hand-made crafts. Unfortunately, of my list of crafts, I only got around to making one of my pins. The Sharpie mug.
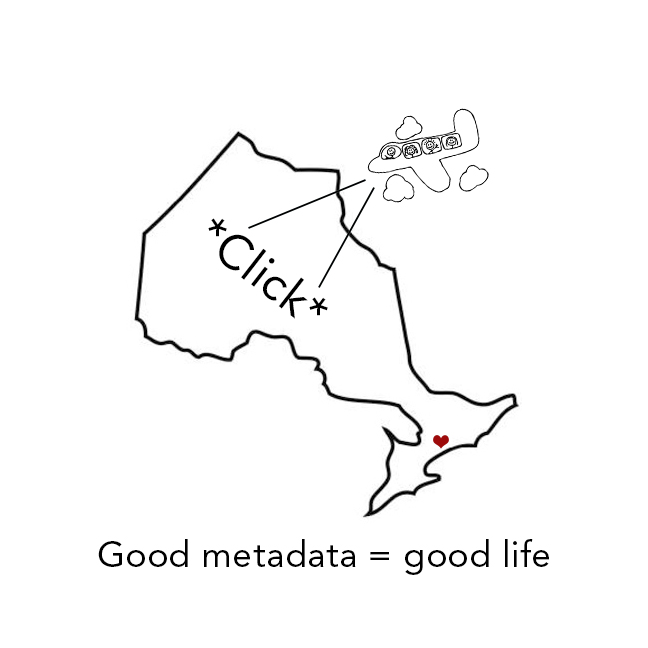
My co-worker and I were tossing around ideas about what to get our supervisor when we settled on a coffee themed basket. And of course, a custom mug would add the perfect touch! I had envisioned Ontario with a plane flying over top taking some hi-res orthophotography of the province. And since he loves ‘metadata’ so much, we knew we had to incorporate that into the mug somehow. This is what we came up with.
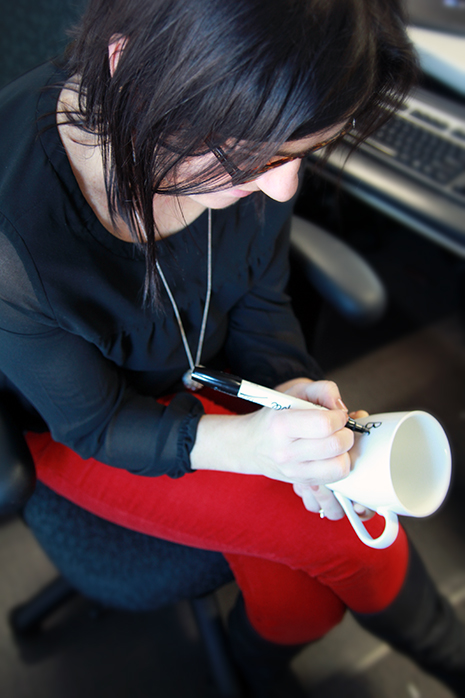
After getting really excited about our craft project, we decided to look up craft fails to see how others faired with similar projects. DISASTER. I quickly learned that regular sharpies NO NOT WORK! The consensus seems to be that oil-based paints were the way to go so off I went to Michaels to pick up supplies. I picked up these oil-based Sharpie paint markers for $4/each and this white ceramic mug from Walmart for $3.
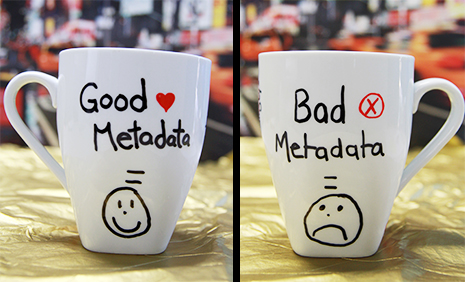
After doing a few practice drawings, we came to the sad realization that our artistic abilities resembled that of a first graders. How is it that things always look WAY BETTER in your head than they do on paper? We decided to try a less ambitious design. Even then… I’m horrified by our inabilities to draw a nice circle.
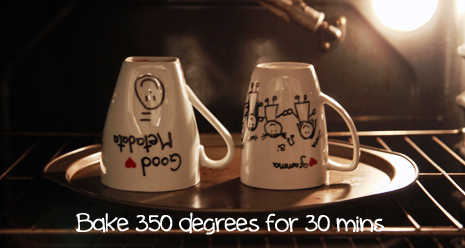
Here’s what they looked like before putting them in the oven to bake.
We also included one of his famous quotes on the side.
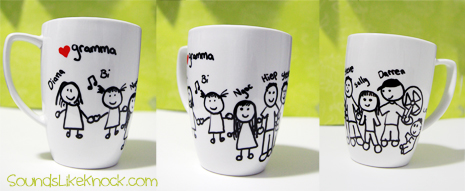
While I was at it, I also made a mug for my grams. For this mug, I attempted to draw each of the cousins. I’d say it was moderately successful.
The next step was to throw it in the oven to set the paint. Put the mug in and then turn the oven to 350 degrees and once it reaches this temperature, leave it in for another 30 mins. Once your 30 mins is up, leave it in the oven to cool down.
So I can’t say for sure how long the design will last but I gave it a quick rinse under water and the paint seemed to stay on ok.
To complete the gift, we picked up a little basket, a bag of coffee from Natas Cafe, and a box of amazing truffles from the Naked Chocolate. Check out my other post for photos from my visit to the Naked Chocolate.
I’ve never really been a sports fan and I’m almost completely useless in any sports related trivia. However, I’ll take any excuse to get decked out in team colours and cheer.
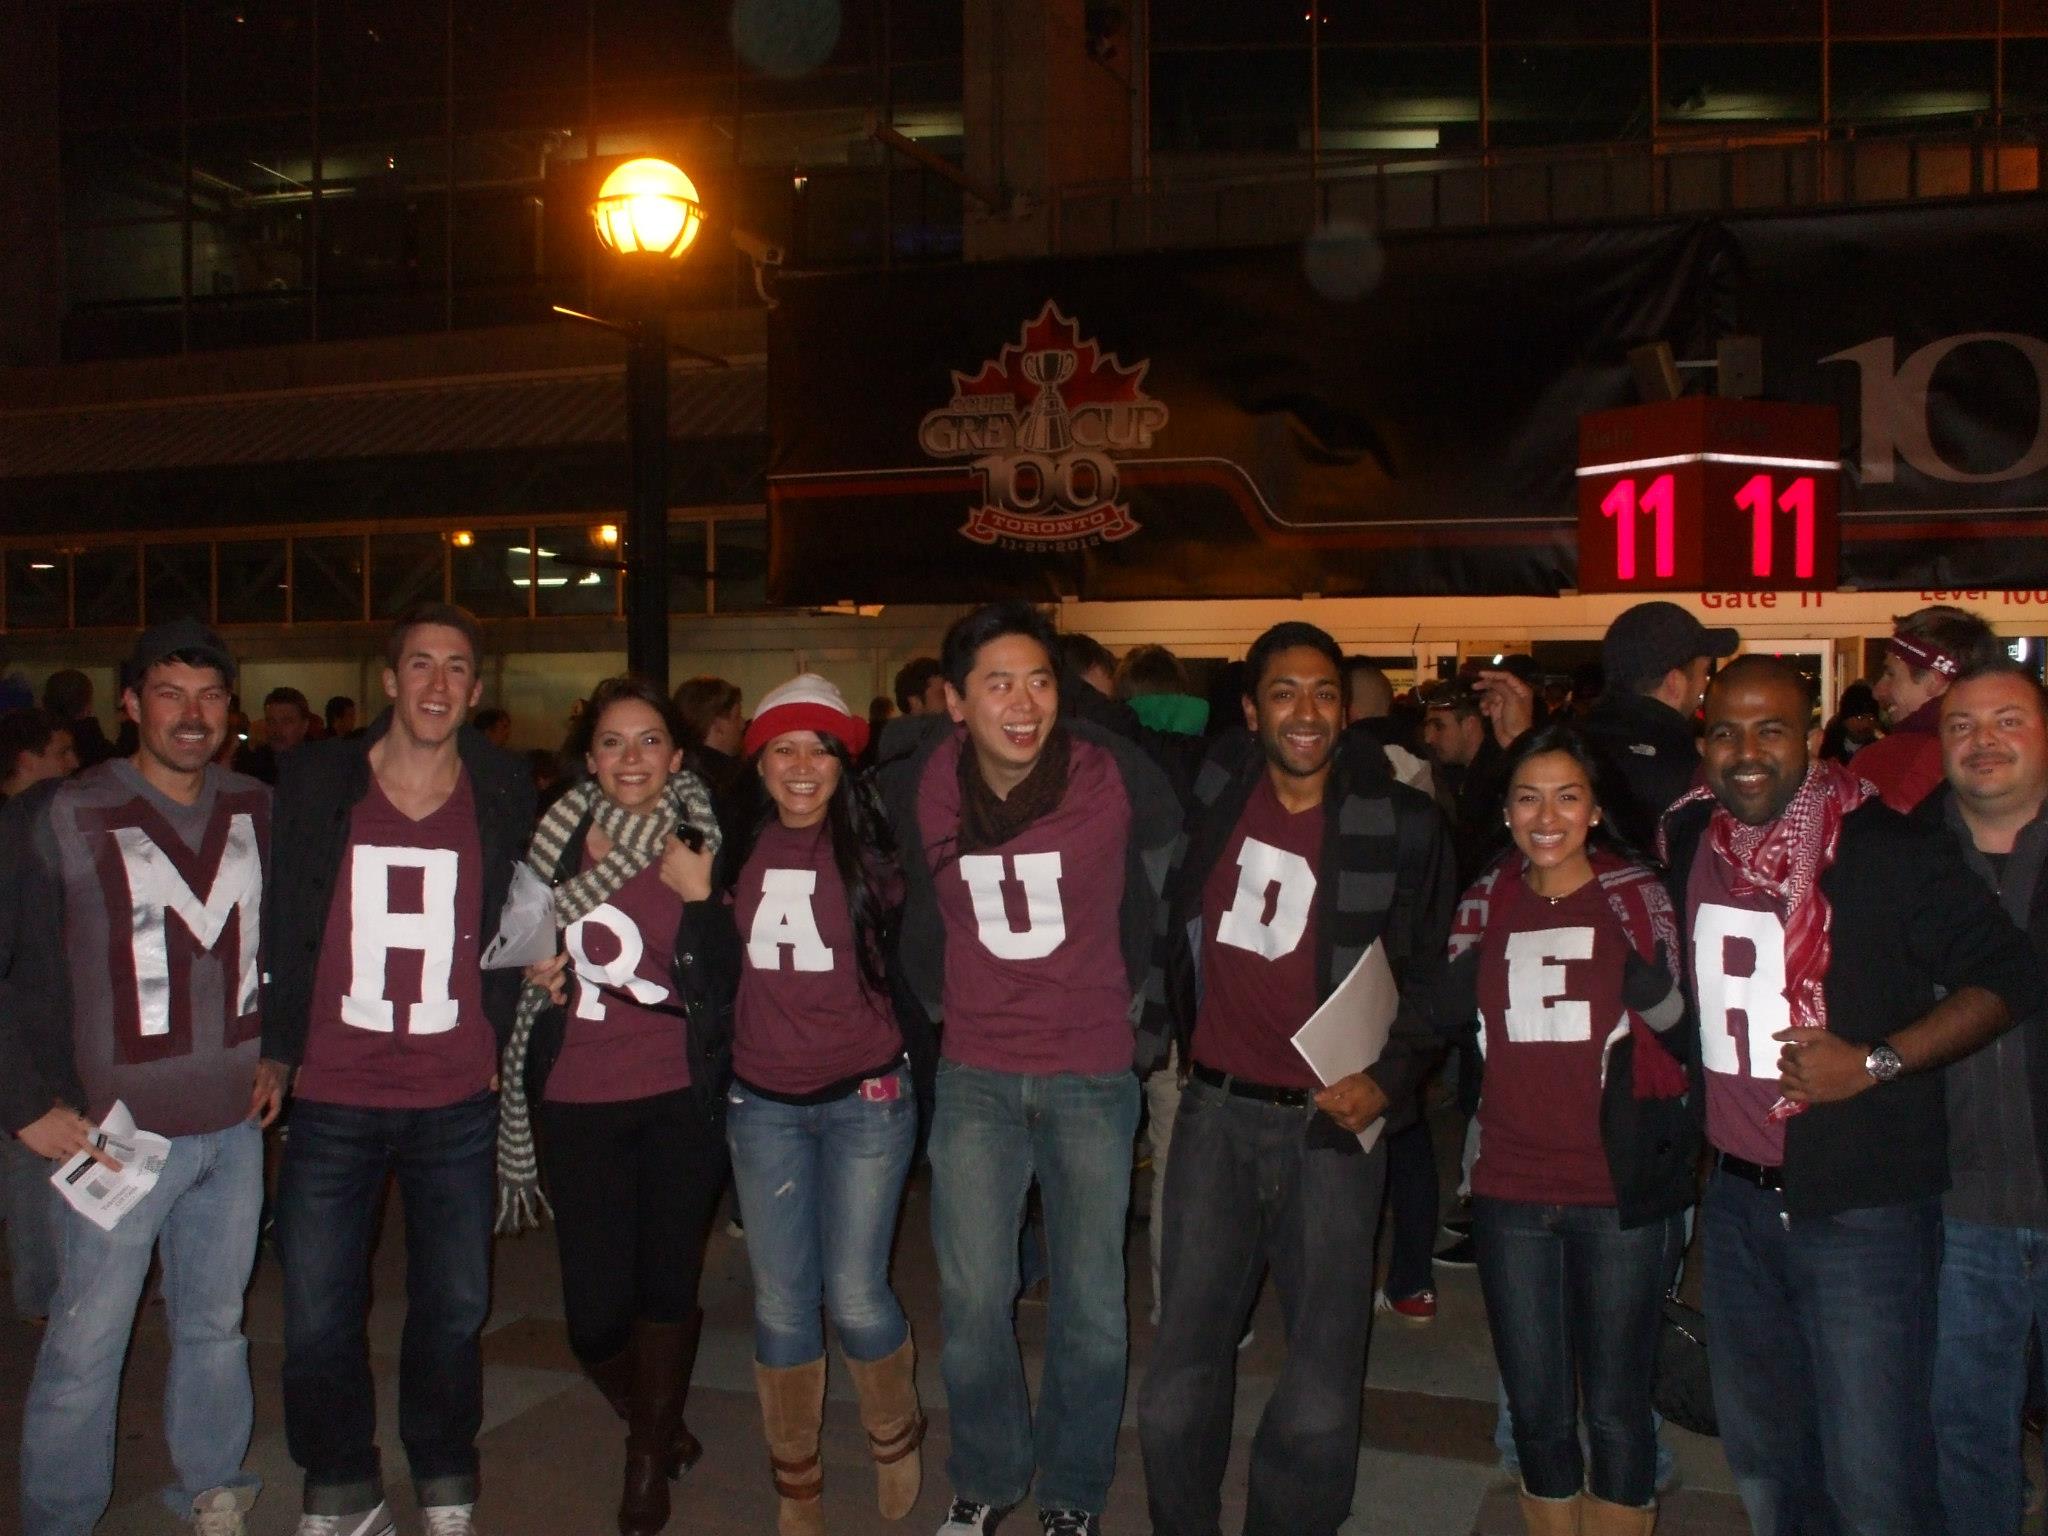
During summers in Toronto, one of my favourite activities is getting together with a few friends, and buying cheap 500 level tickets to cheer on the Blue Jays. I’m all for foam fingers, face paint, and silly chants. Last friday when we found out that the McMaster Marauders were going to be playing for the Vanier cup at the Rogers Center in Toronto, we jumped at the chance to cheer on our university team (even though I’m really a Waterloo warrior at heart). Getting decked out in maroon was a must, and with 10 of us going, it presented a wonderful opportunity to spell out ‘Marauders’ on our shirts.
I had initially planned on just using fabric paint but then thought, why not use this opportunity to learn something new. Creating a fabric applique makes it easier to have crisp edges, and will survive a little better in the wash. Here are simple step by step instructions on how I added a letter appliqué to my maroon shirt.
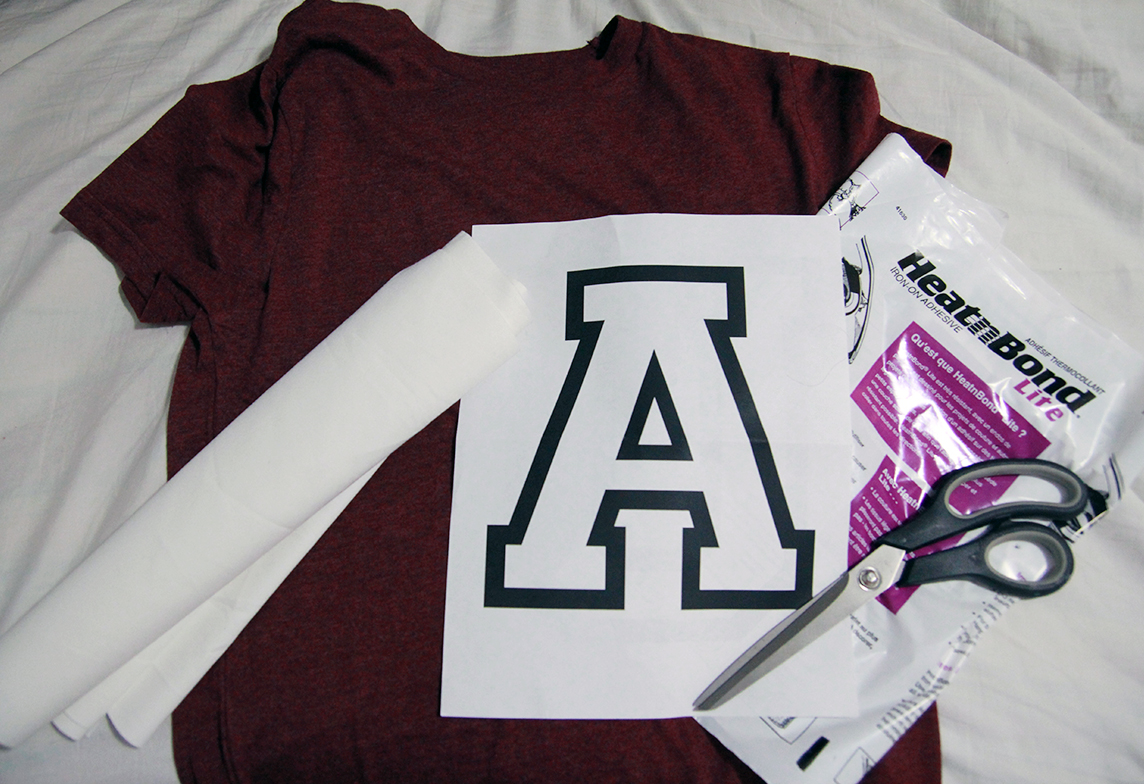
You will need a t-shirt, good scissors, either a fabric stiffiner or an iron on adhesive, fabric for your applique, and a print out of the image or letter you want on your shirt.
1. Print out the image or letter you want and cut it out. Place on it your shirt to make sure it’s the perfect size and that you are happy with how it looks. I used the ‘varsity’ style font to give it more of a ‘university’ look.
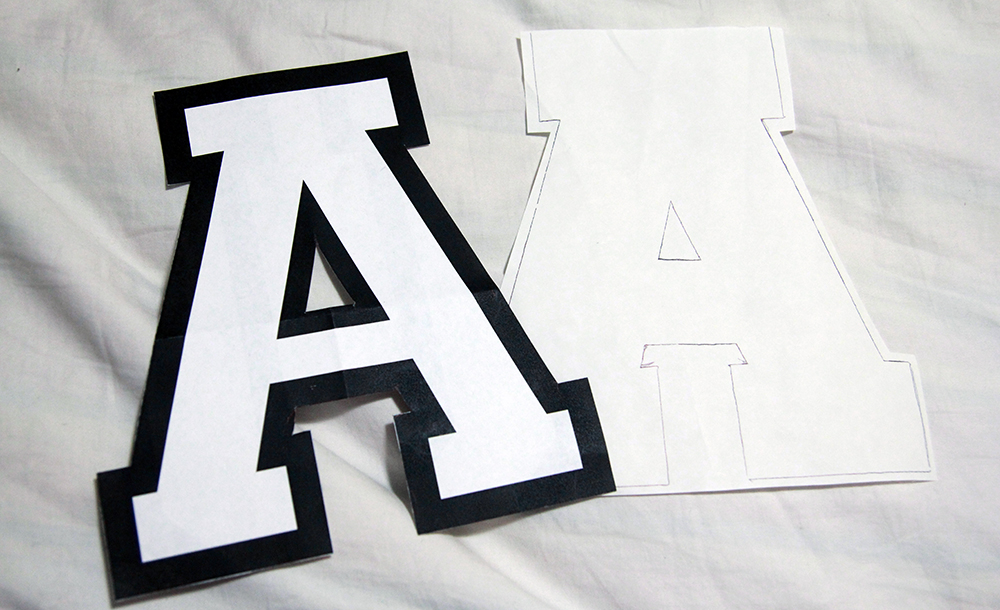
2. Place your cut out on your stiffiner or iron-on adhesive and trace around it. Then cut this out of the stiffiner leaving a 1 cm border around the original tracing. This margin is optional but helps when you cut out the shape on the fabric. If your image has a hole in the middle of it, you don’t have to cut that part out. It’s easier to just cut it once the adhesive is ironed on to the fabric.
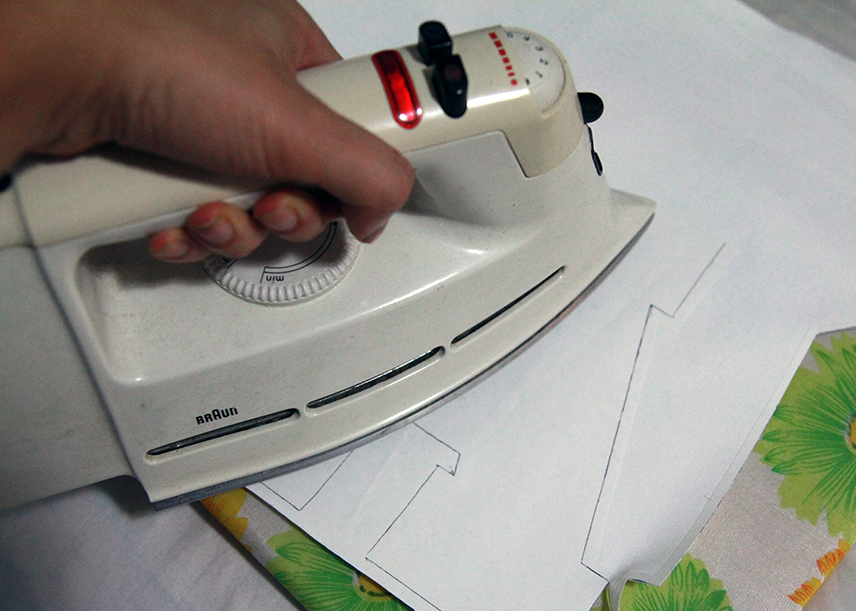
3. Take out your ironing board, and place your fabric that you want to use for the applique with the good side facing down on the the board. Then take your iron-on adhesive and place it on top of your fabric. Make sure the size with the wax is facing down, and the paper side is facing up. With the iron on a low setting (IE. Silk), glide it along the adhesive. Follow the instructions that come with yours. Mine suggested 1-2 seconds.
4. When your adhesive is firmly attached to the fabric, let it cool and cut out the shape using the original tracings. Since you left a 1 cm margin, the stiffness will make it easier to make smooth cuts. Make sure your cut out any circles and shapes in the center of your shapes. I used a ruler and an exacto knife to help keep the edges crisp.
5. You can put the shirt on and mark exactly where you want the letter to sit. A helpful hint to ensure that the letter is right in the middle is to fold your shirt in half, and iron a crease straight down the middle to give you some guidelines.
6. Peel of the paper from the other side of the applique, place it where you want on the shirt, and with the iron still on the low setting, iron on the letter making sure the edges are firmly attached.
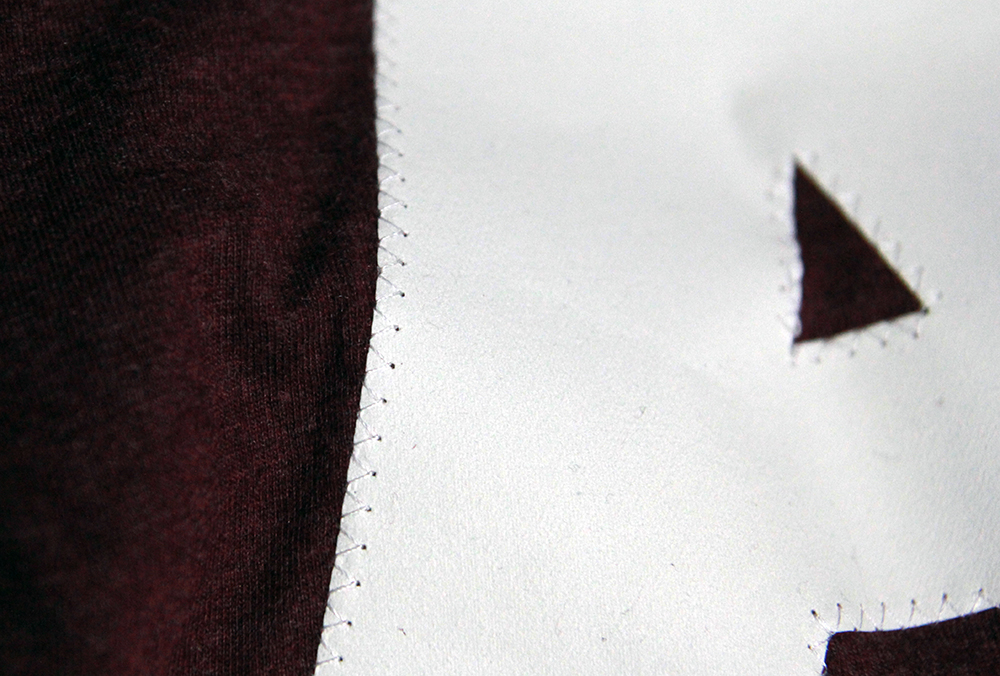
7. At this point, the shirt is ready to wear if you want. I personally prefer stitching around the edges just to help it last a little longer.
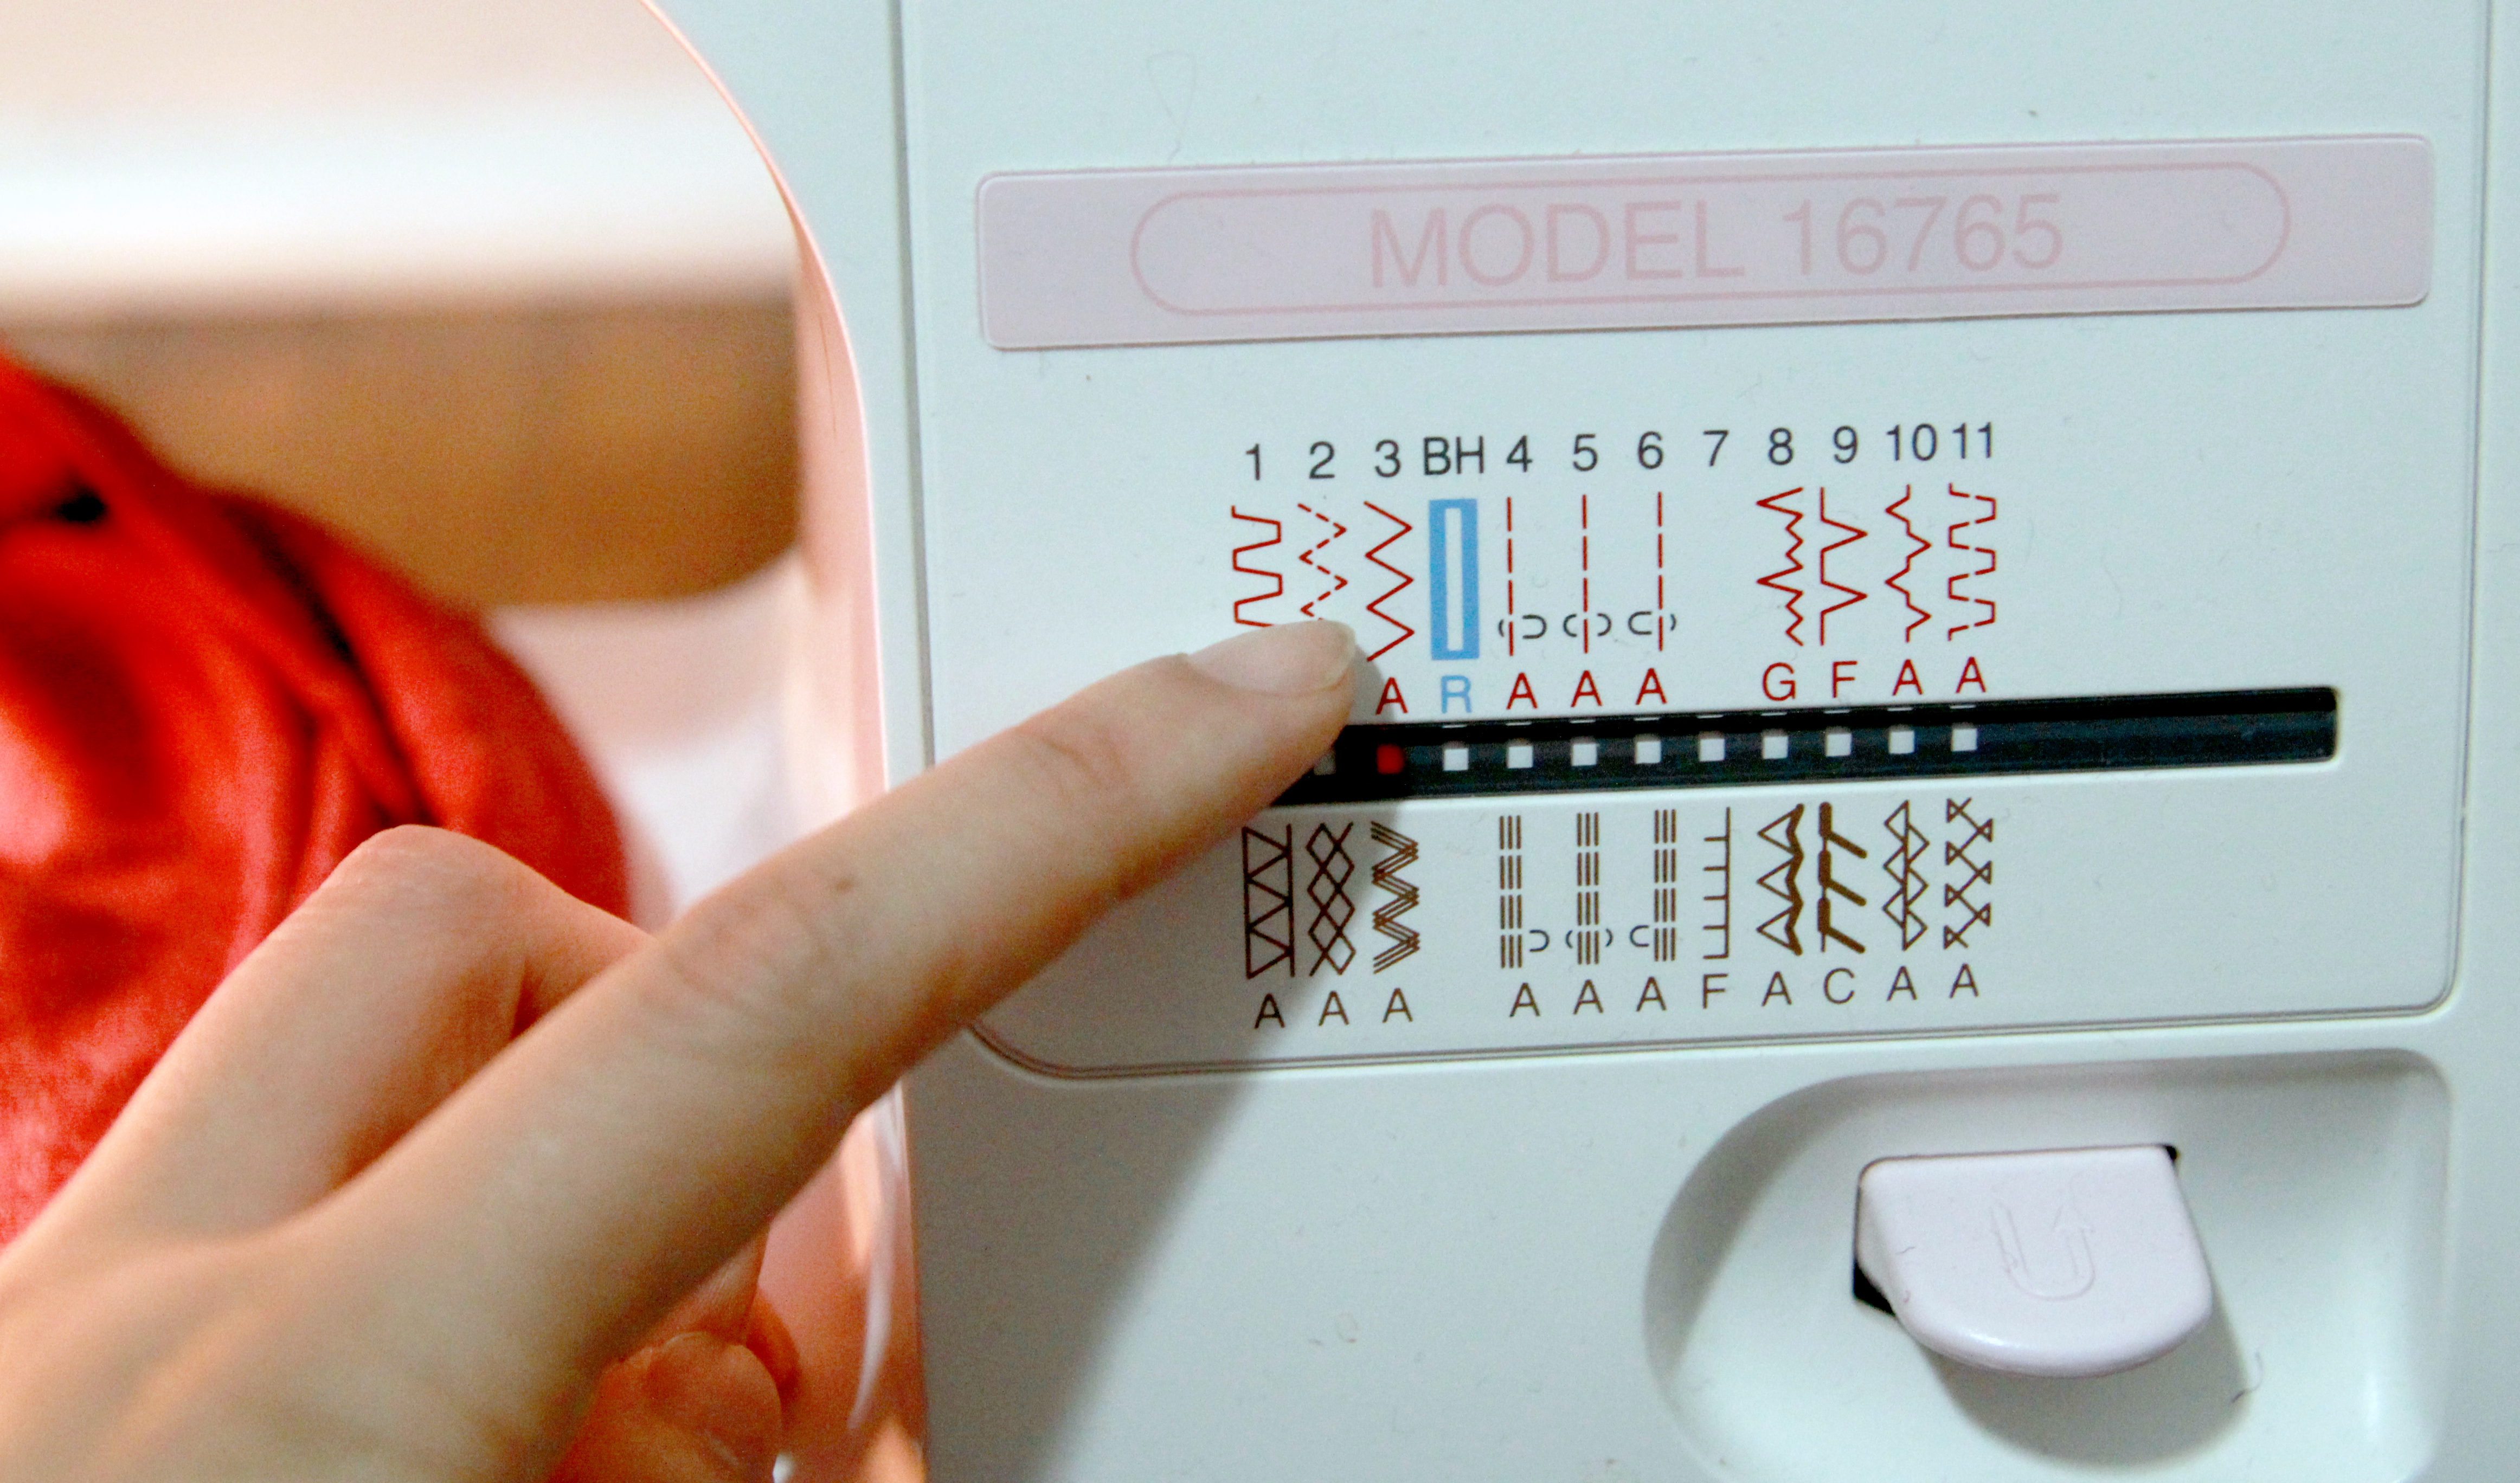
8. Put your machine in the zigzag stitch mode. The length and width of the stitch depends on the size of your letter and your personal preference.
9. Start the stitch at the bottom and work your way around.


 Materials:


 Then you’ll have to carve the cake to give it a rounder smoother more minion-esqe shape to it. We used a lid to help guide us and ensure that it stayed round. It will be easier to cut if you let the cake cool. If you cut while it’s warm, it’s more likely to crumble.